 ENG
ENG


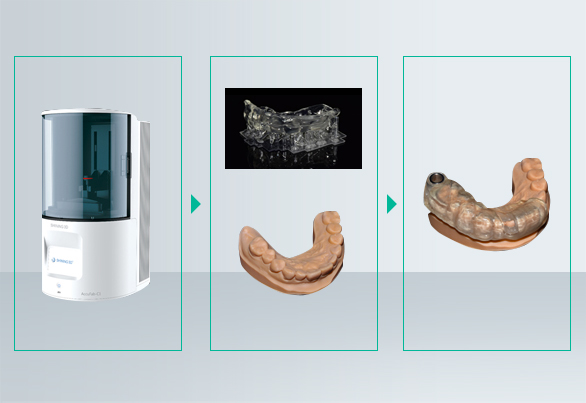
Table of Contents
A team at YinZhou Oral Hospital created a surgical guide in maxillary sinus lifting to better plan for the operation using SHINING 3D solutions.
Case introduction
Hospital and staff
Hospital: YinZhou Oral hospital
Attending Doctor: Zheng Hui, Yang Jia Ning
Surgeon: Zheng Hui, Yang Jia Ning
Solution Designer: Yang Jia Ning, Cao Ming Tao
Patient information
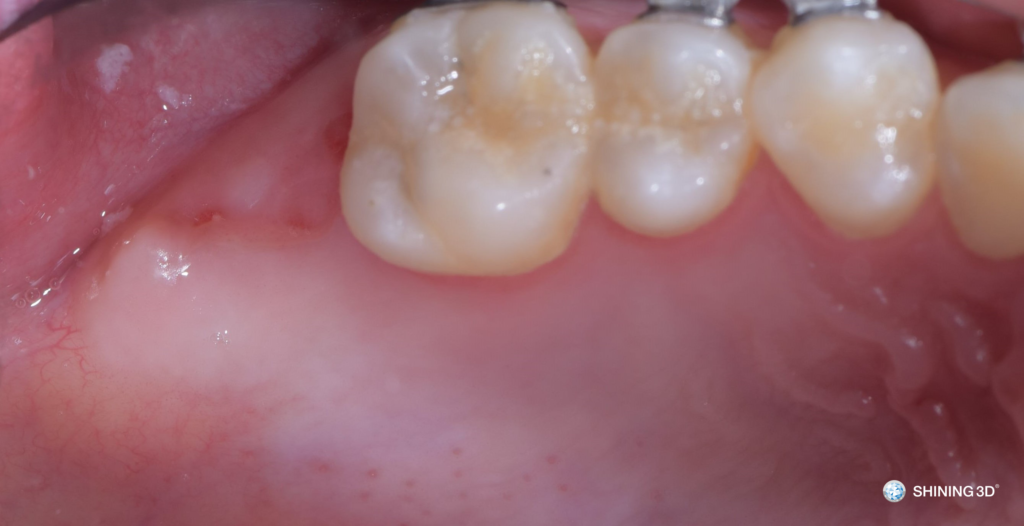
Chief Complaint: tooth 27 was removed 3 months ago due to a large defect, implantation is required by the patient.
Examination: Tooth extraction area is healed well without obvious acute or chronic inflammation.
Diagnosis: Tooth 27 was missing
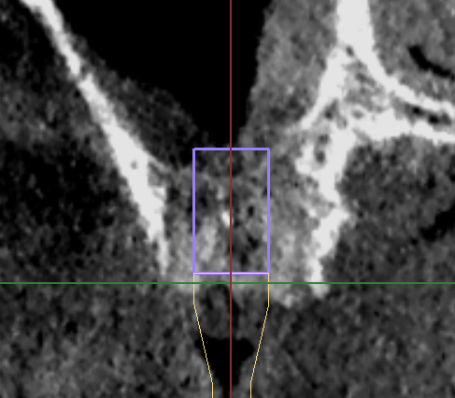
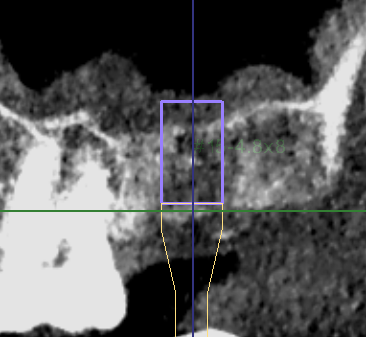
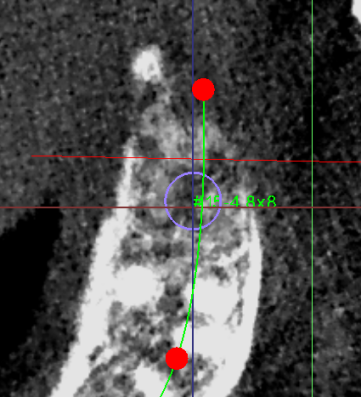
Pre-op CBCT: #27 bone height 6.6mm & width 11.3mm.
Treatment plan
#27 Implant under the guidance of digital surgical guide during maxillary sinus lifting.
Workflow
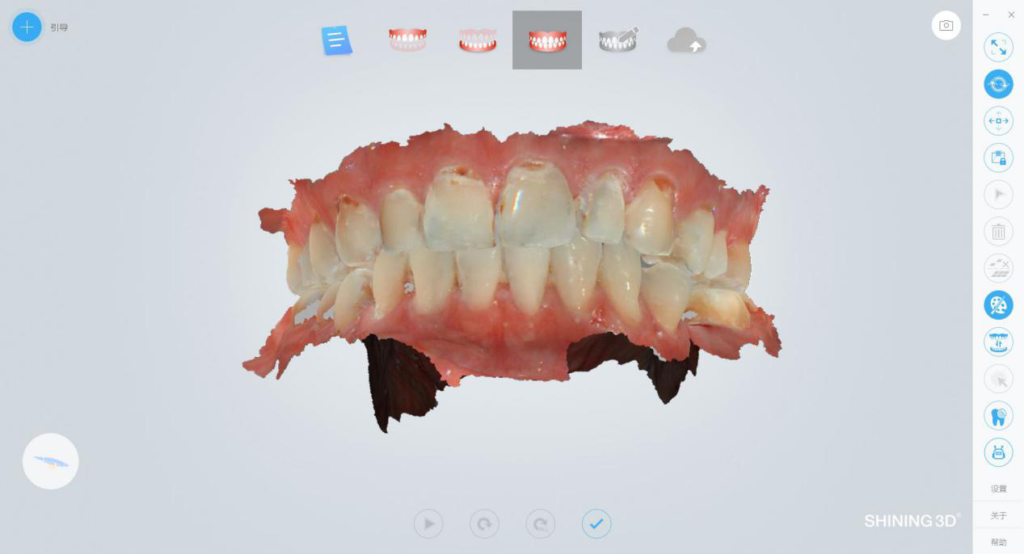
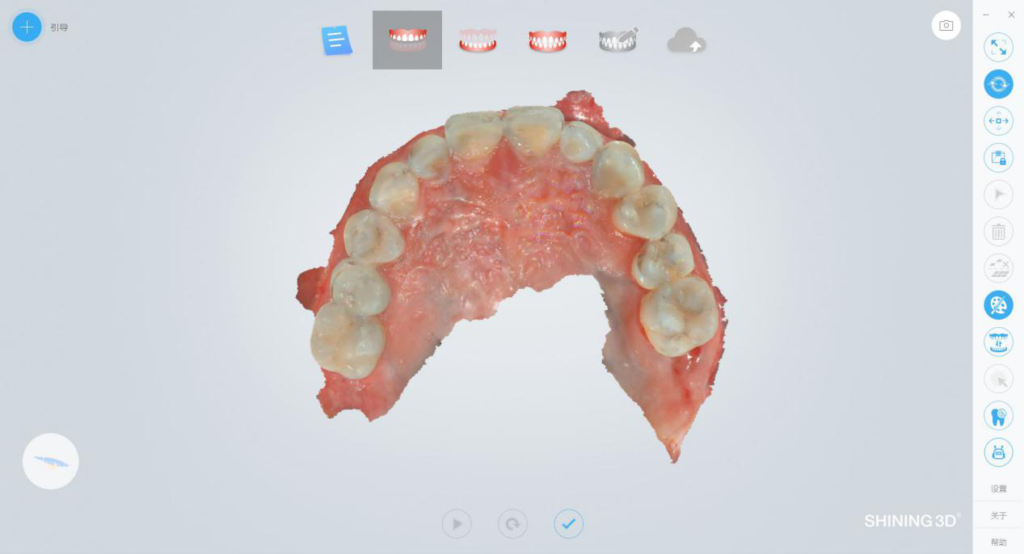
I. Data acquisition with an intraoral scanner
Obtain true color data of the jaws with an intraoral 3D scanner.
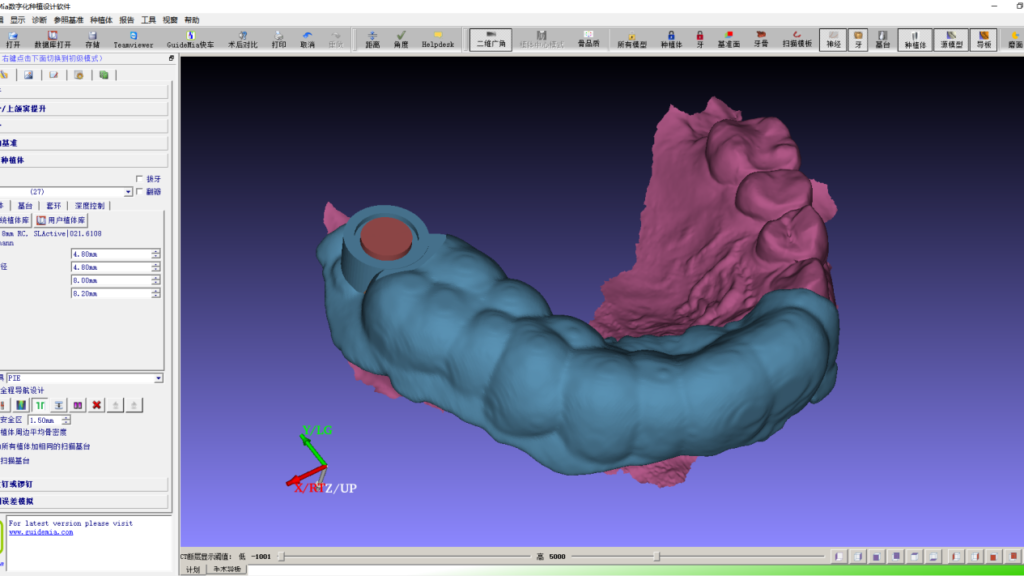
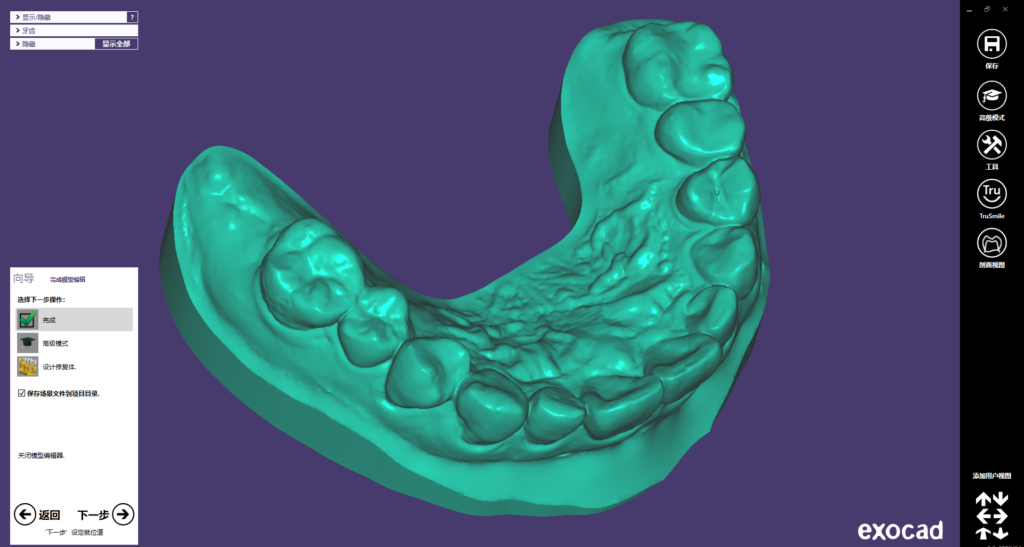
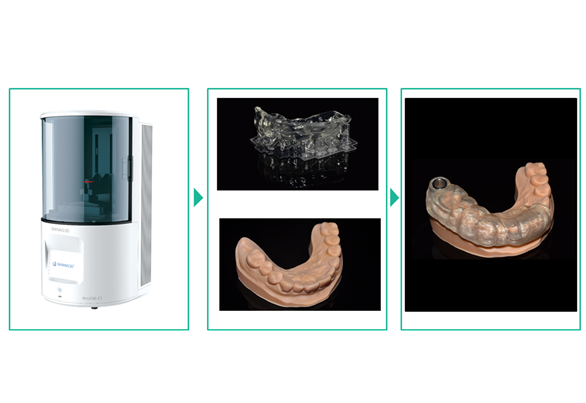
II. Designing the surgical guide
- Design with GuideMia surgical guide software:
- Plan to place BL Straumann 4.8mmx8mm on position #27.
- The implant is more than 2mm far away from the buccal bone plate and more than 2mm away from the adjacent tooth root.
- The implant will be placed at a depth of 6mm and a bone plate of 0.5mm was reserved for the sinus floor.
- The maxillary sinus augmentation procedure will be performed for approximately 2mm.
2. Design of surgical guide with GuideMia & model with Exocad
III. Printing of surgical guide & model
Print surgical guide & model with printer AccuFab-C1.
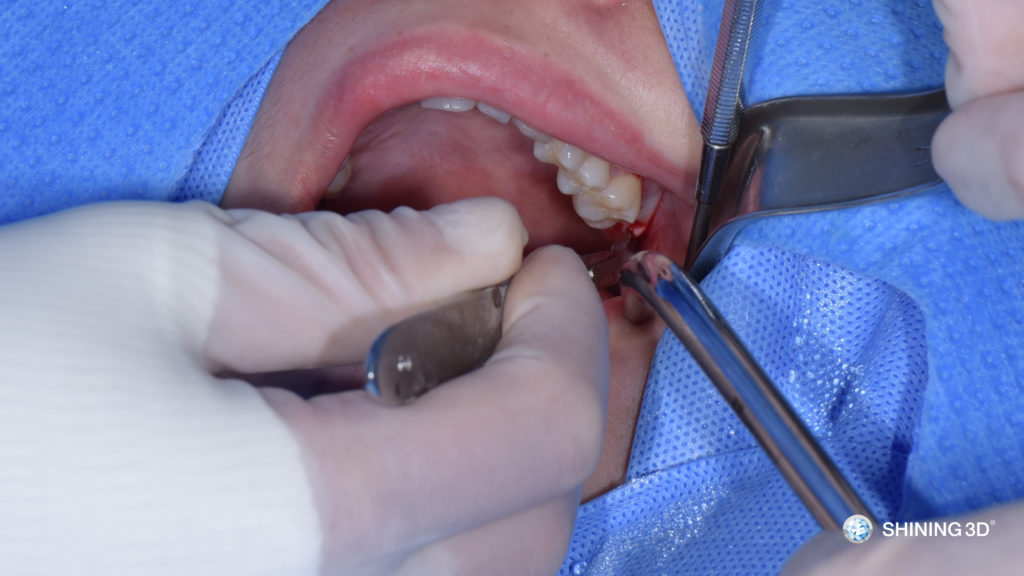
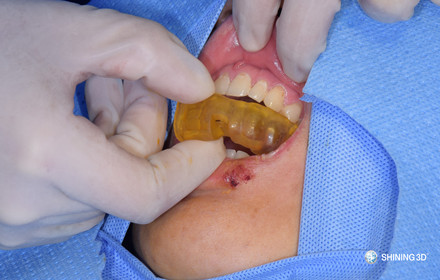
IV. Surgical procedure
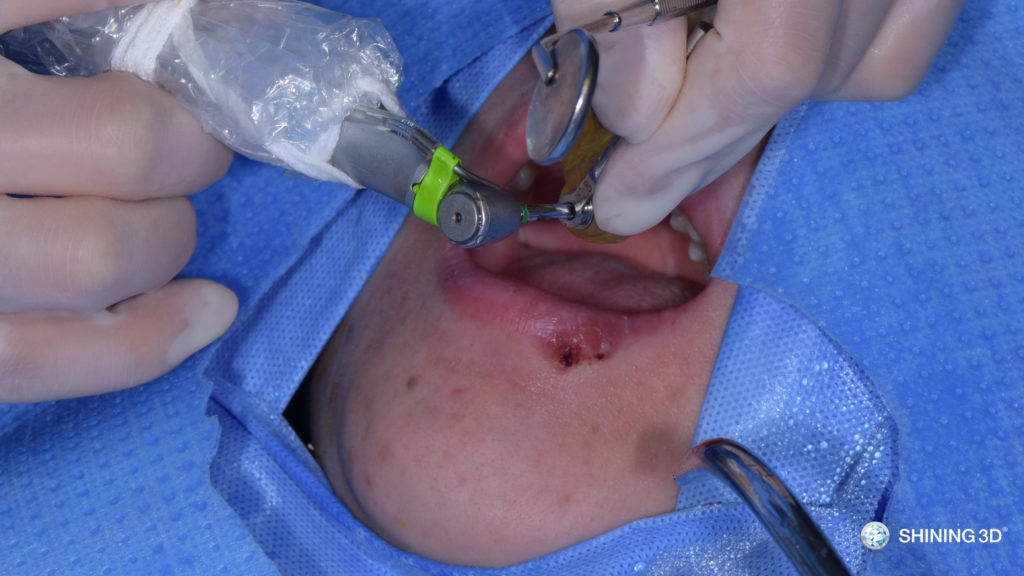
(1) Pre-op photos.
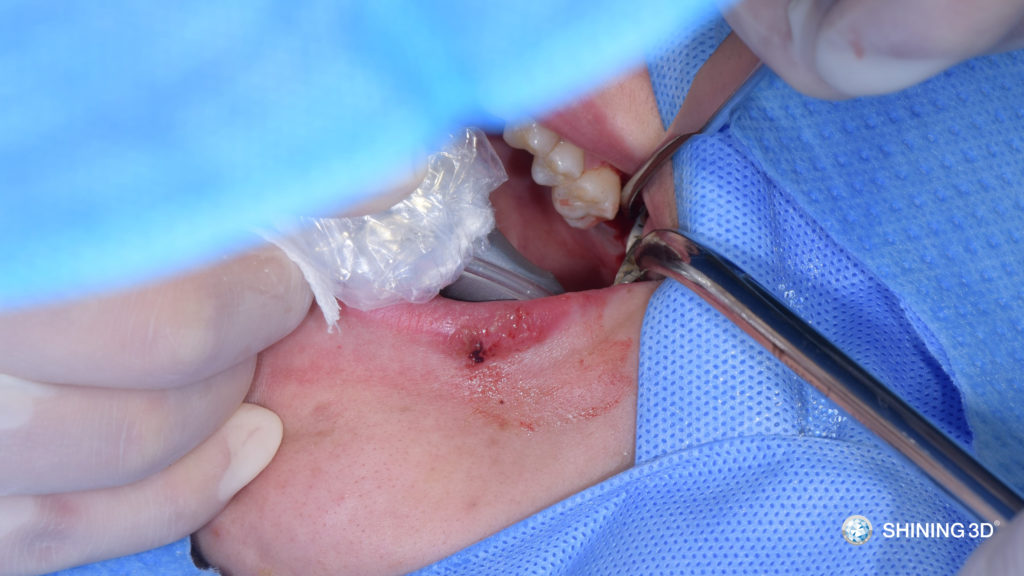
(2) Flap surgery.
(3) Insert surgical guide.
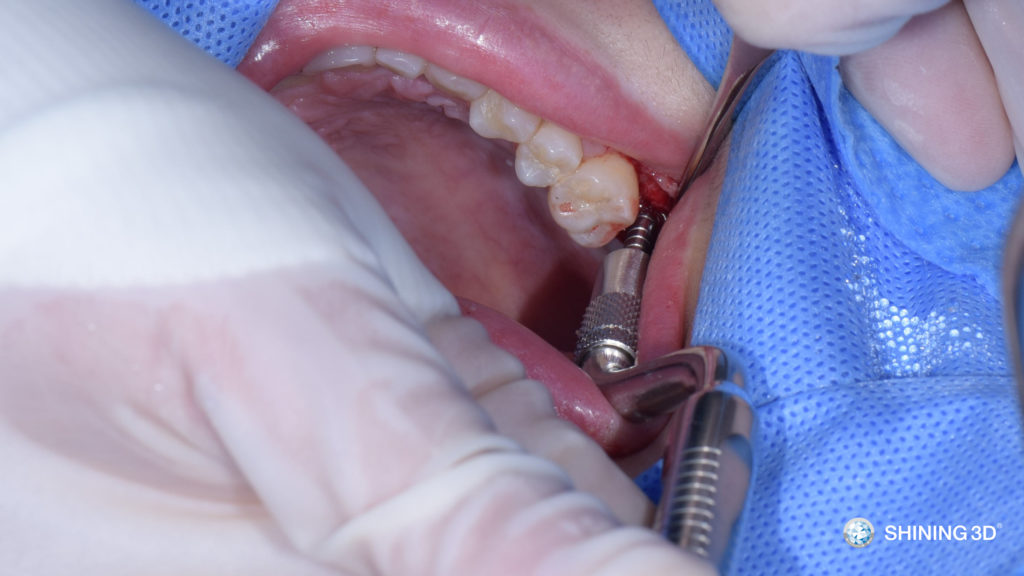
(4) Locate the position under the guidance of surgical guide.
(5) Use a 19mm twist drill to prepare the implant bed until diameter 3.8mm under the guidance of surgical guide.
(6) Hit the remaining bone plate with the internal lifting tool and the sinus membrane will be stripped to perform maxillary sinus elevation.
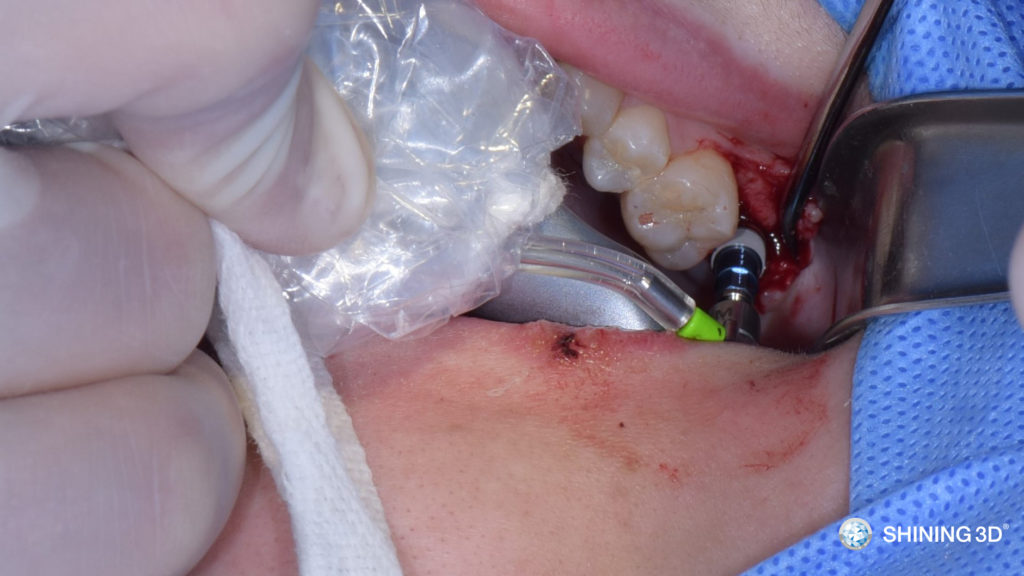
(7) Final implant bed preparation.
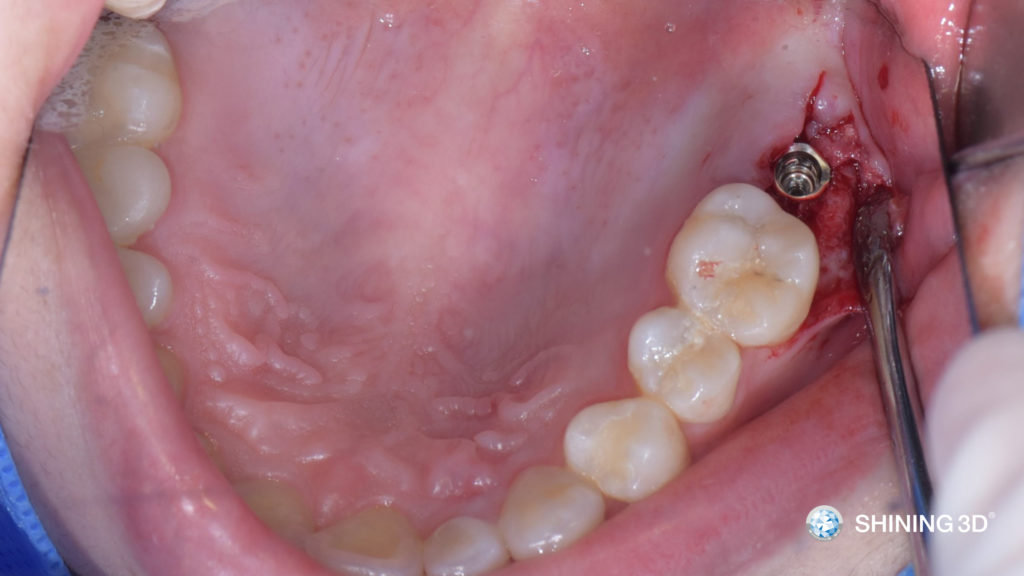
(8) Place in the implant.
(9) Implant is placed at a predetermined depth and position.
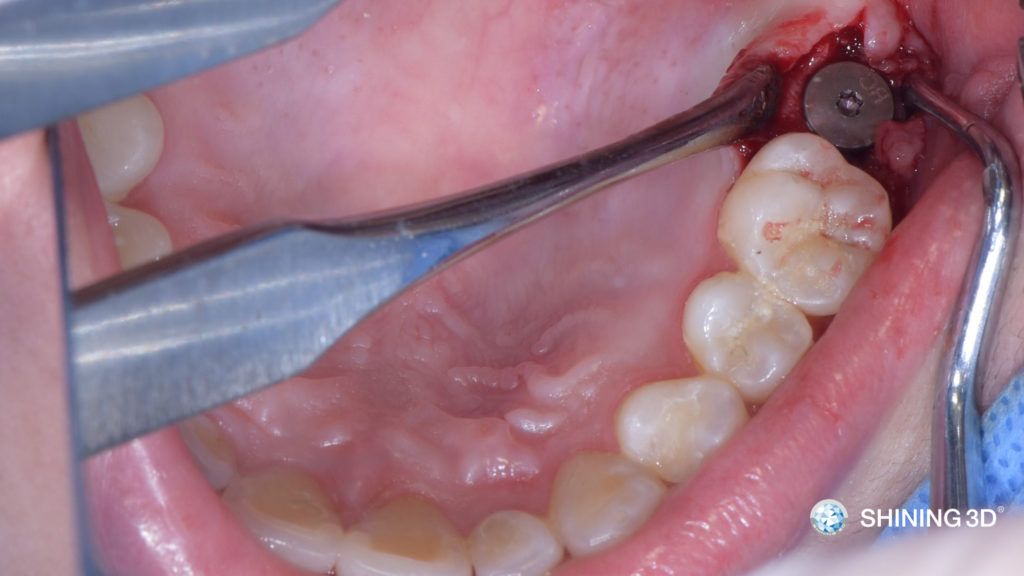
(10) Screw in the large diameter cover screw.
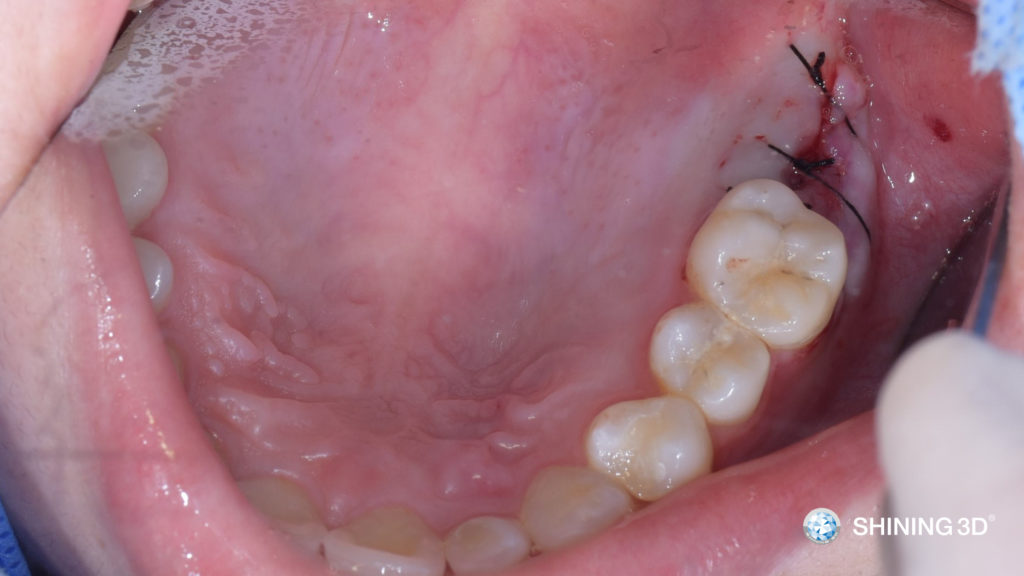
(11) Suture.
Summary & feedback after surgery
- The second molar of the upper jaw is usually the blind area of the surgeon. A surgical guide can make implant planning more accurate for operation. So that the implant can be placed accurately in the operation.
- For percussive maxillary sinus lifting, the maxillary sinus floor should be reserved with 0.5mm thick bone mass before percussion. However, it is difficult for the surgeon to accurately retain 0.5mm of bone mass during the operation. If too little bone mass is retained, it is likely to cause damage of the sinus membrane; if too much bone mass is retained, it is difficult to strike, which ultimately leads to greenstick fracture. The surgical guide is used to prepare the implant bed, accurately retaining 0.5mm bone mass, and so that making the inner lifting safer with higher success rate.
Doctor’s comments on chair-side implantation
- It is more convenient and faster to get the guide immediately on chairside, which greatly shortens the production time. Usually it would take at least 3-6 days to produce the guide at the lab.
- Through practice on the clinical side, we believe that the accuracy of the surgical guide made by 3D printer on chairside can satisfy the clinical requirements.
- If we make surgical guide with chairside 3D printer, it is the doctors who do the design by themselves. Therefore, the results of the design will meet our requirements, and we can achieve a restoration-oriented or an aesthetics-oriented implant surgery under the guidance of surgical guide.