 ENG
ENG


Table of Contents
This case study explores the use of real-time scan for implant restoration with the Aoralscan 3 intraoral 3D scanner from SHINING 3D.
Introduction
The conventional implant method involves the impression-transfer technique. This technique uses a transfer bar/cap placed into the silicon impression to determine the implants’ position. Due to multiple transfers and model casting throughout the process, there is a probability of inaccuracies and precision errors in conventional impressions.
Now, it is possible to take digital impressions with intraoral scanning systems such as the Aoralscan 3. This method is not only proven to be accurate but can also cover more clinical scenarios than conventional methods. Digital impressions undeniably offer numerous benefits in terms of convenience for clinics, and is increasingly popular in prosthodontics.
For one, intraoral scanners quickly and accurately capture 3D virtual models. Secondly, they help save time and resources by eliminating the error-prone transfer process, model disinfection, packaging, and shipping. Intraoral scanning also offers numerous benefits such as real-time visualization, easy and selective repeatability, clean impressions, affordable material use, and archivability, to name a few.
Below is a step-by-step guide to using real-time scan for implant restoration with the Aoralscan 3 intraoral scanner from SHINING 3D.
Real-time scan for implant restoration
Remove healing abutment before scanning and start to scan the upper arch. The gingival emergence profile scan would be complete then.
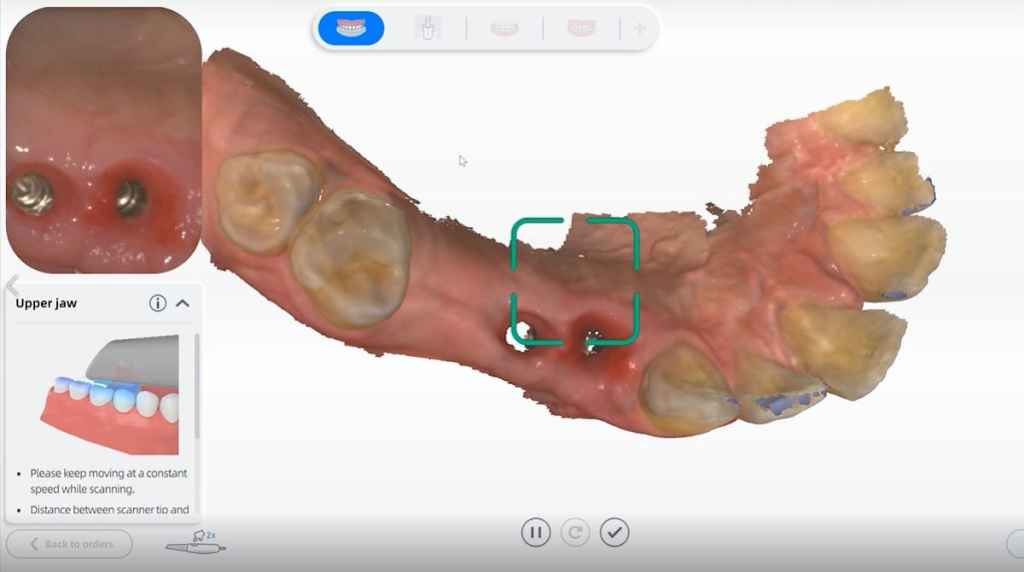
Dig the hole for the subsequent scan of scan-body.

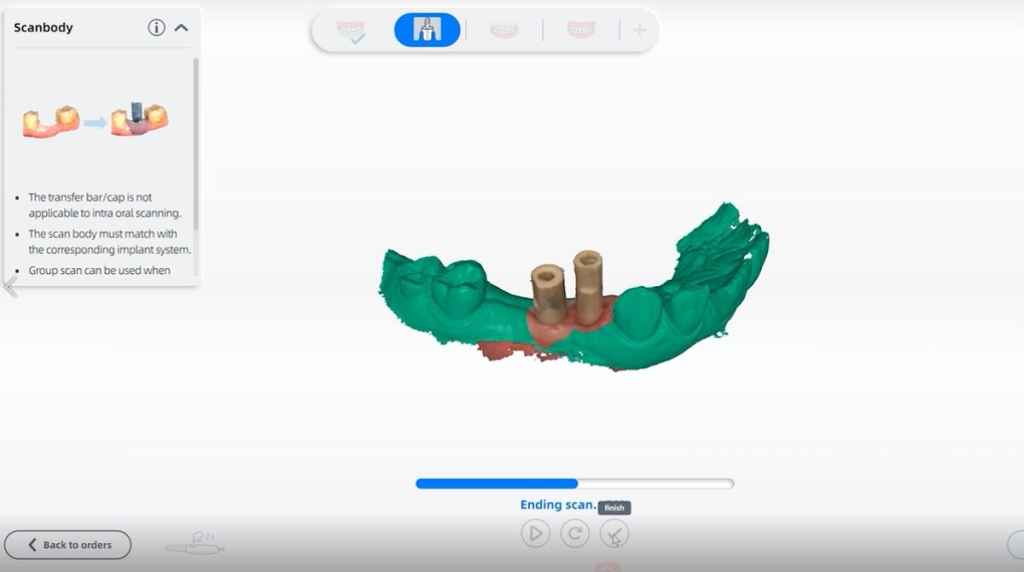
Insert scan-body and start to scan directly in patient’s mouth.
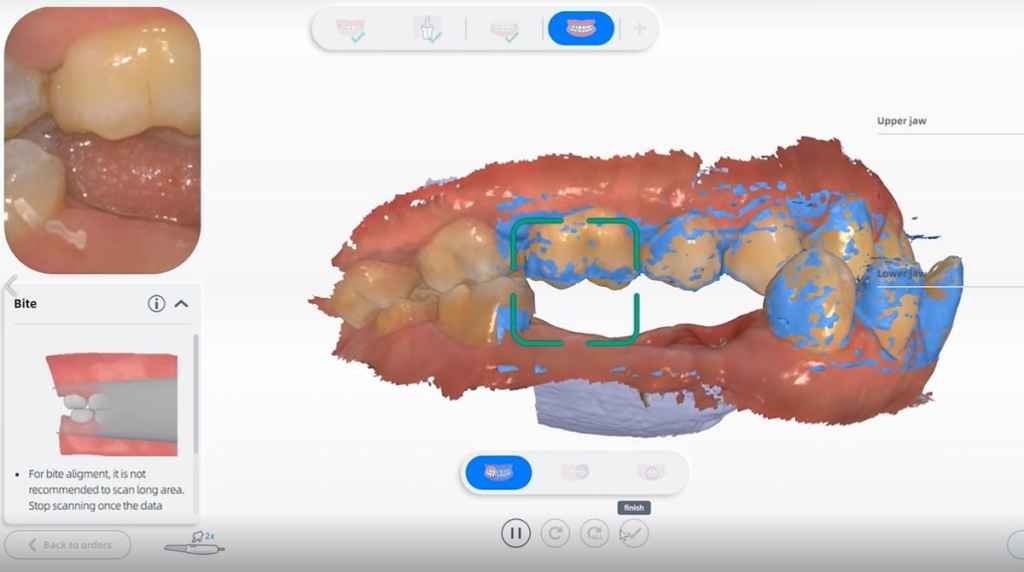
Scan the opposite arch.

Scan bite. The upper arch and lower arch will be matched automatically.
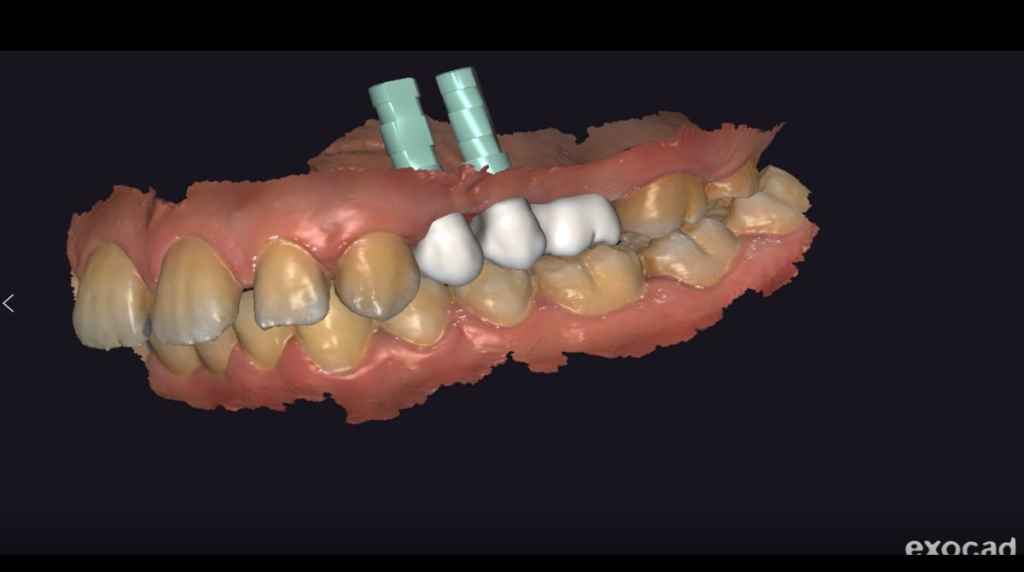
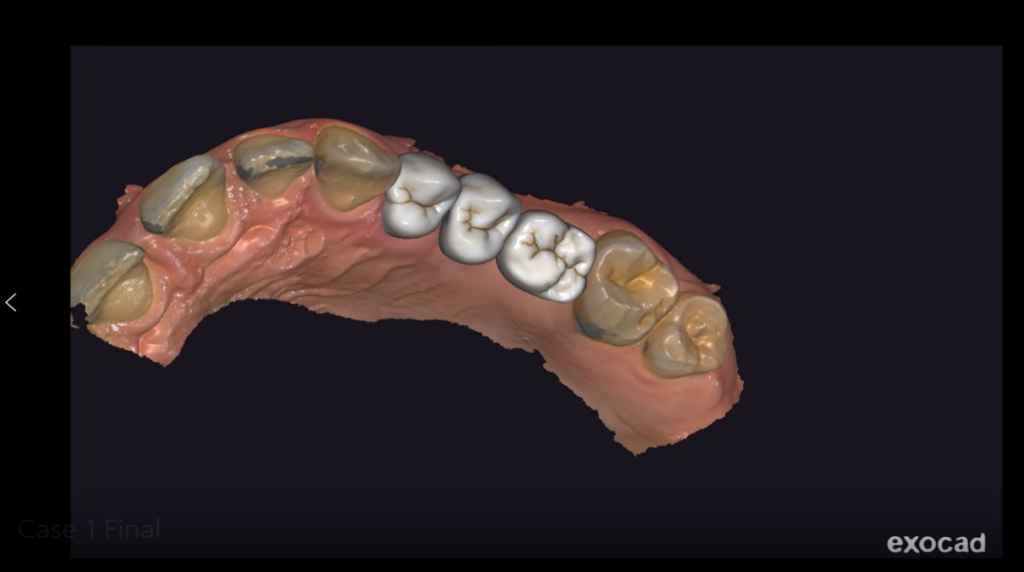
Import the scanned data into EXOCAD for design purposes. Afterward, export the STL of restoration for milling.
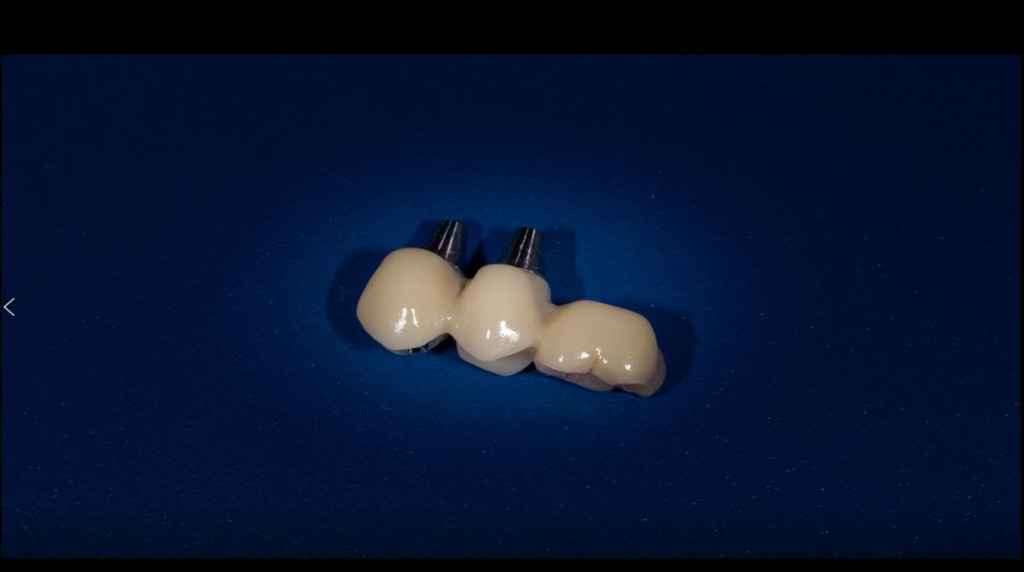
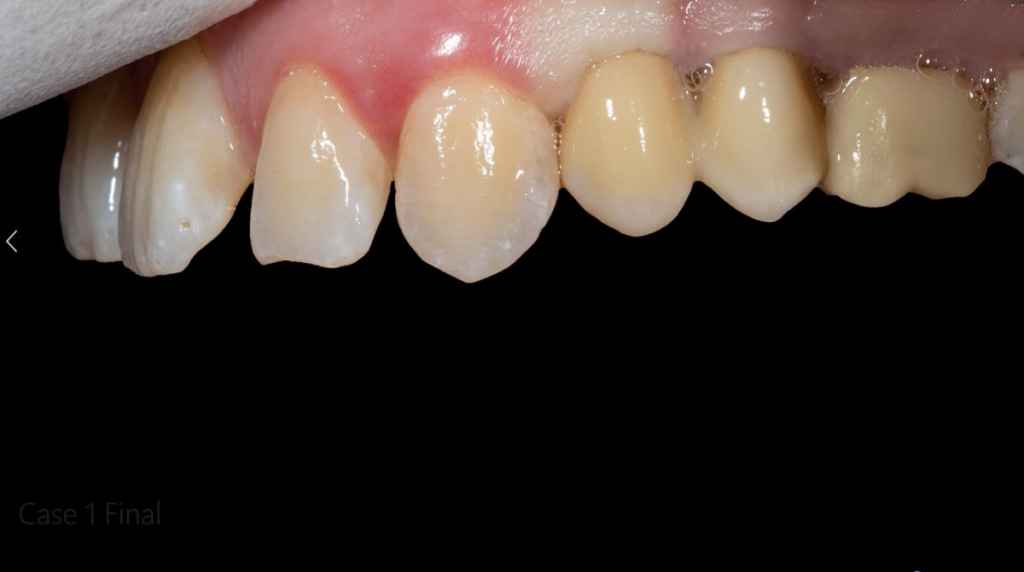
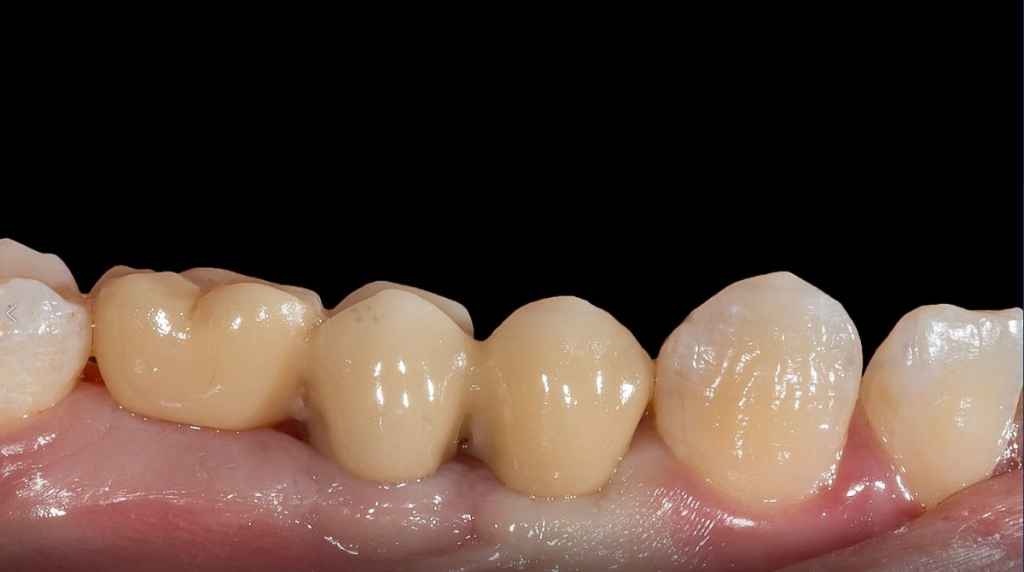
Try the restoration in the patient’s mouth and finish implant cementation.
Conclusion
Using real-time scan for implant restoration with the Aoralscan 3 offers a more seamless experience for both patients and dentists. Contact us today to see how to implement digital dentistry in your clinic.