 ENG
ENG


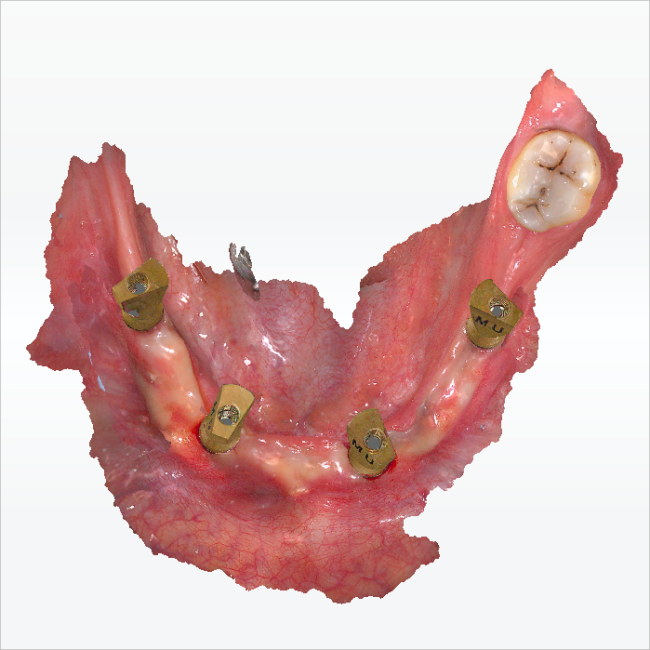
Table of Contents
Edentulous patients have great difficulty in achieving comfort, aesthetics, and function with conventional full dentures. The use of total prostheses screwed to 4 implants, all-on-4 implants, is a very popular solution as it is an effective way to restore aesthetics and function to totally edentulous patients. Today’s case comes from Dr. Luis Estuardo Pacheco, who helped to rebuild the patient’s smile using digital technology.
Case Profile
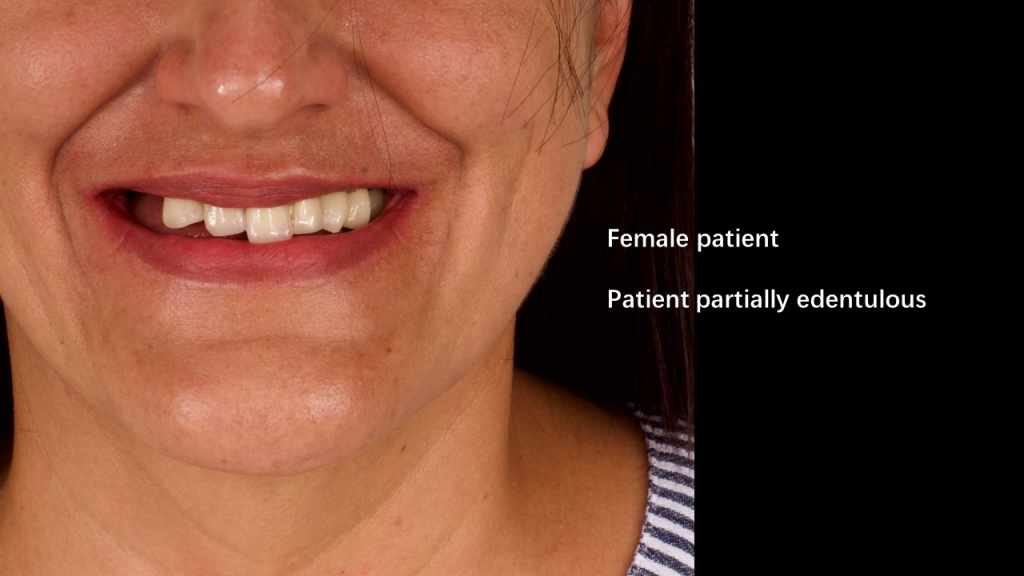
Fig 1: A female patient who had suffered partially edentulous.
The old restorations were chipping and wearing off during prolonged use, causing secondary caries and some discomfort. The patient required smile reconstruction and functional restoration.
Data Collection
At the patient’s first visit, expect for the panoramic radiograph, the dentist also captured her initial intraoral data using Aoralscan 3 which was clear and complete, making it easier for the dentist to effectively communicate with the patient.
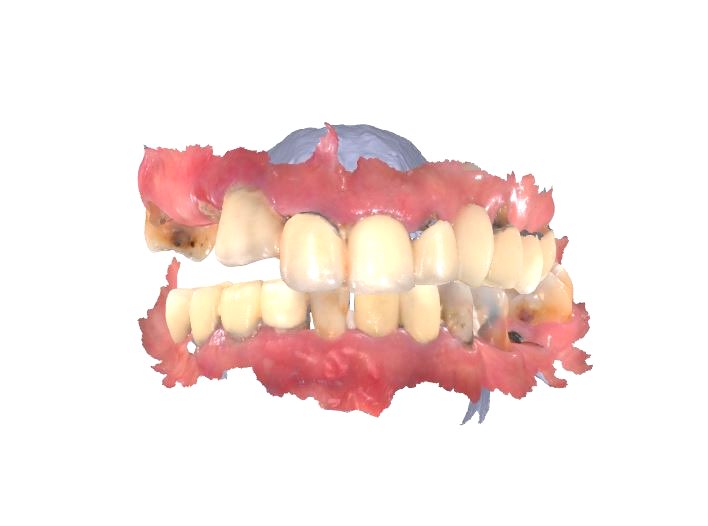
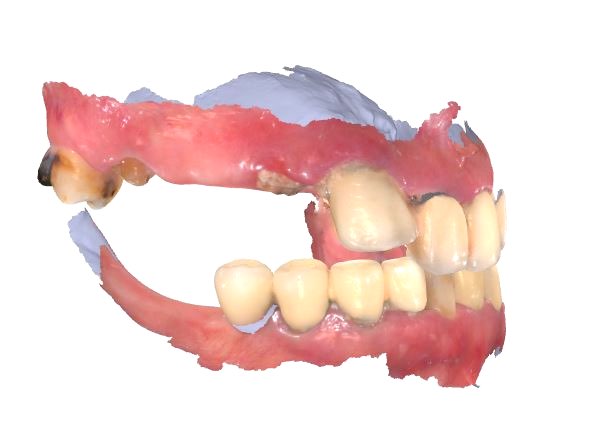
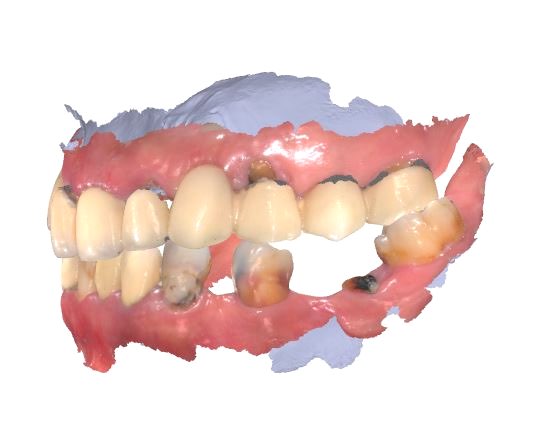
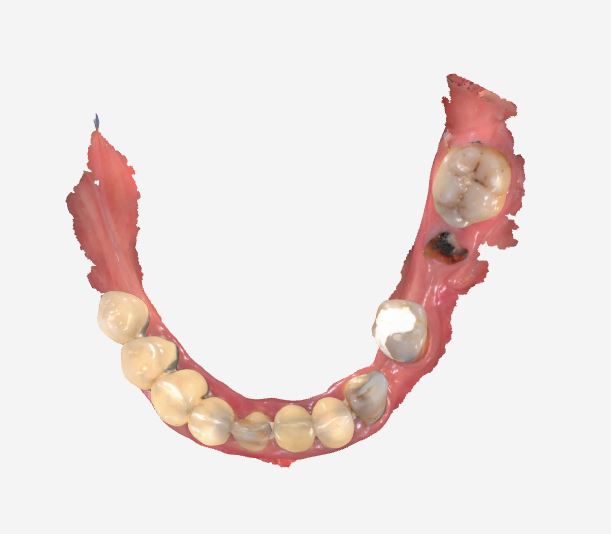
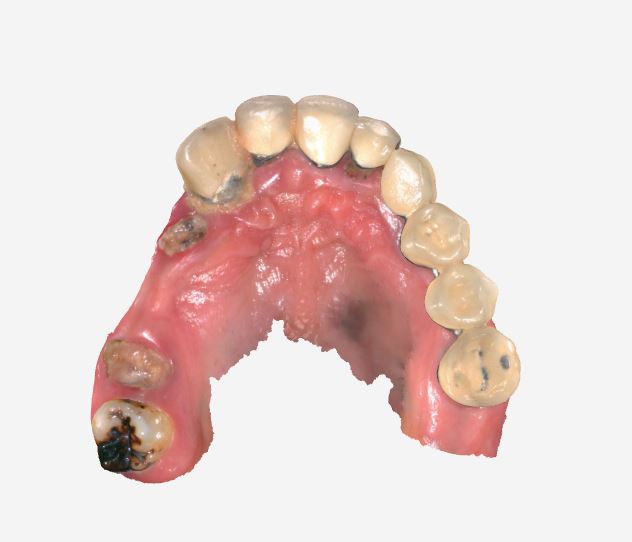
Fig 2-6: The initial intraoral scan data before treatment.
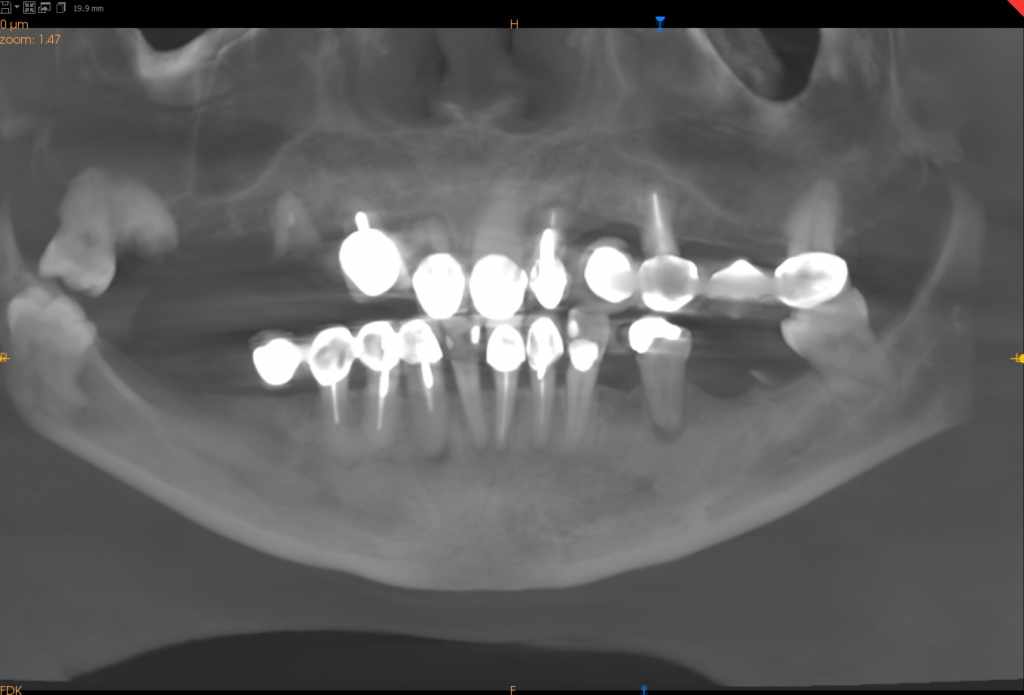
Fig 7: The initial panoramic radiograph data
Likewise, the dentist also obtained her face data using a facial scanner for better analysis during the design process.
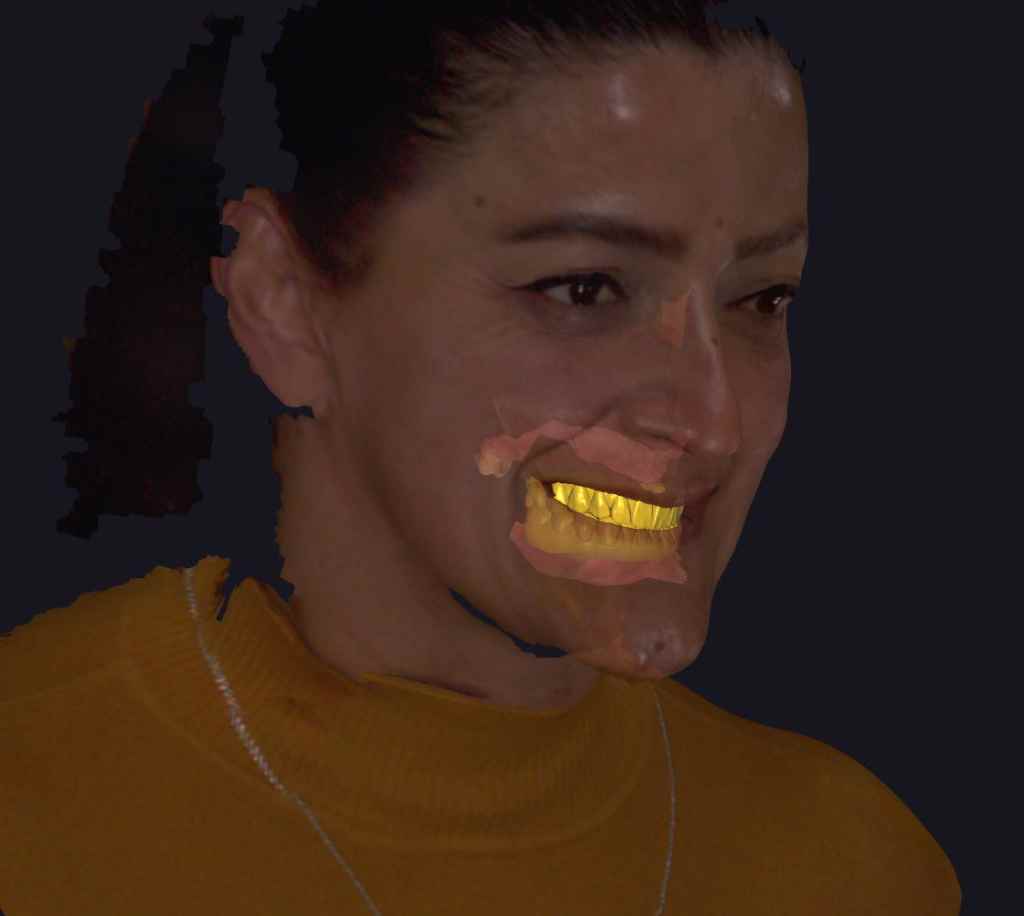
Fig 8: The face scan data which can be imported into exocad for further design.
Treatment Plan
As there is no possibility of retention for the remaining teeth, the current prosthesis would be replaced by new ones. After comprehensive consideration, the final treatment plan is to have 4 implant bodies in the upper jaw, and 4 implant bodies in the lower jaw, with bridge restorations made by zirconia with all-on-4 implants.
During this process, the dentist constructed a DSD simulation to show the patient how her teeth may look after treatment, and foresee her future smile.
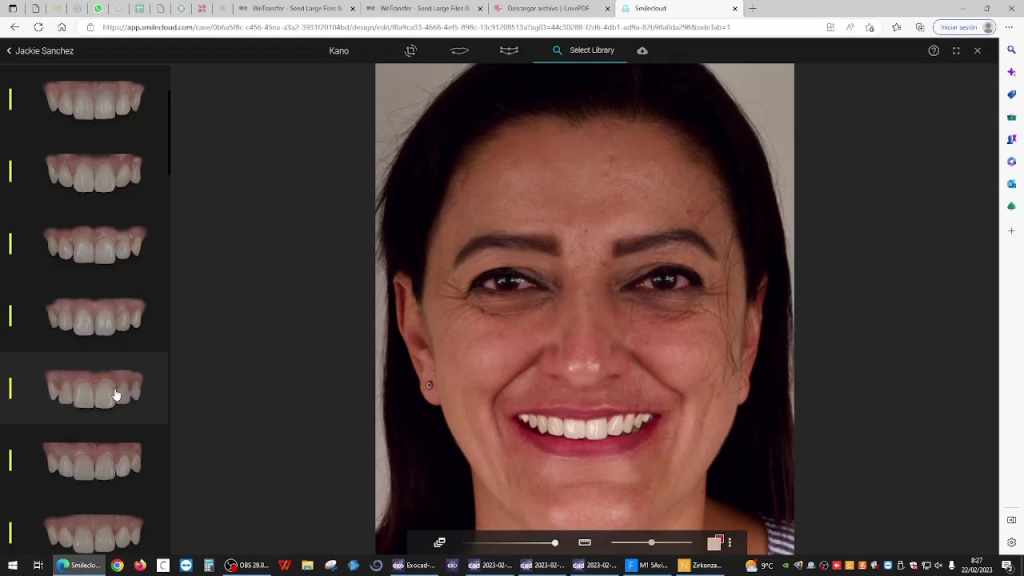
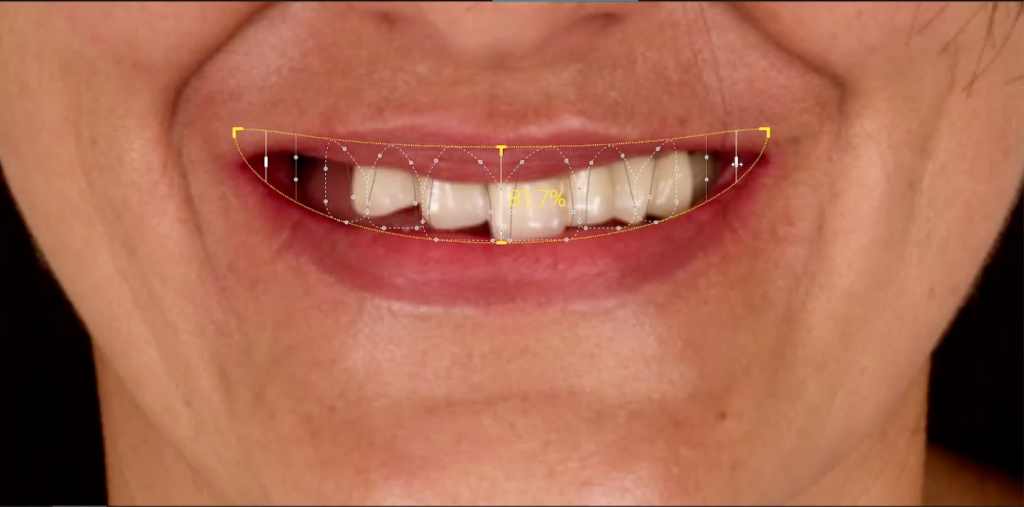
Fig 9, 10: The DSD simulation process to show the patient her future smile.
Treatment Process
Implant Surgical Planning
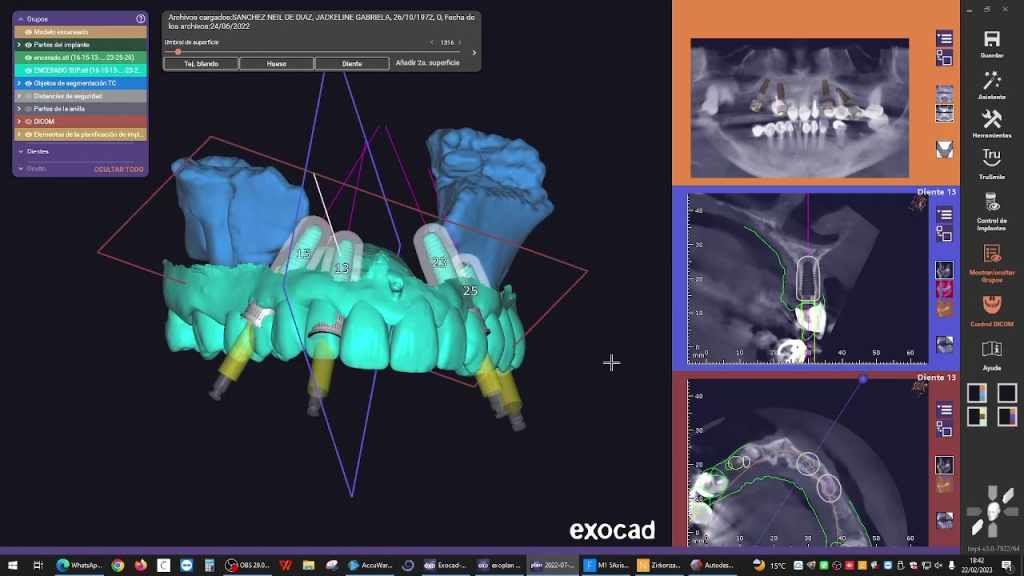
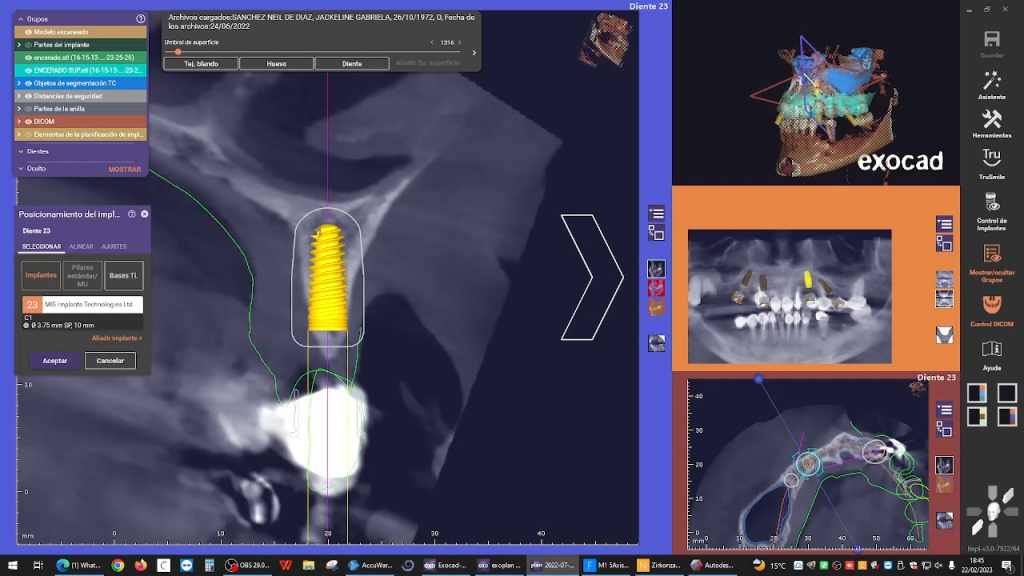
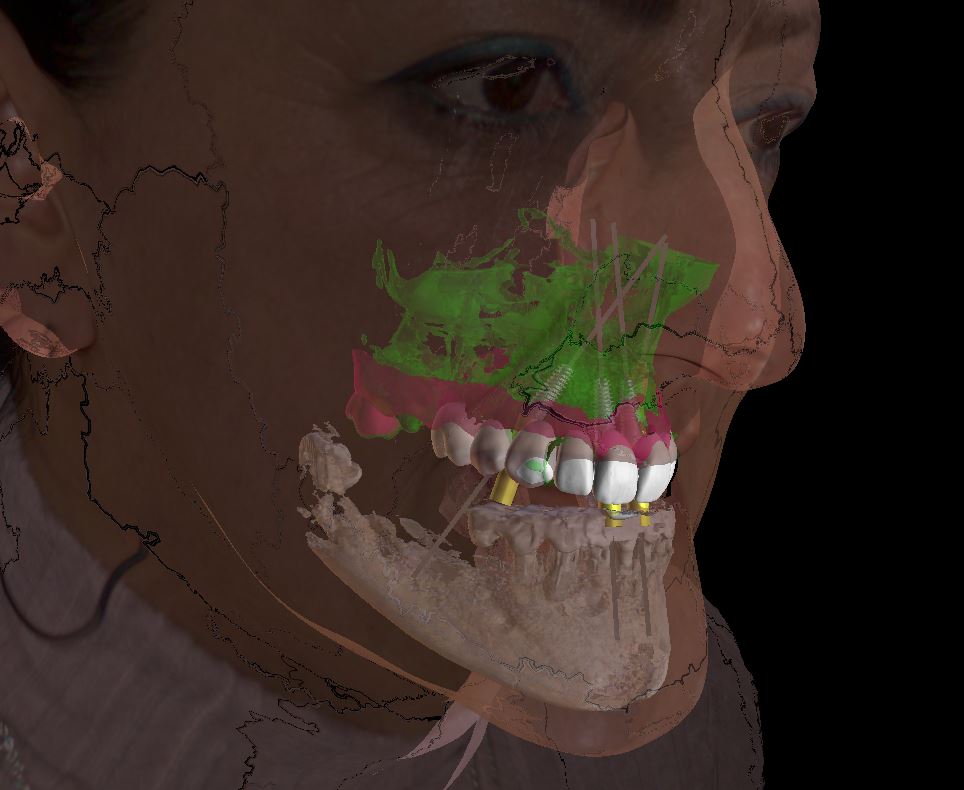
Fig 11, 12, 13: The implant surgical planning was made in exoplan with the information, including face scan data, panoramic radiograph, and intraoral data.
The implant surgical guide was designed accordingly, and printed using AccuFab-L4K using resin SG01 from SHINING 3D.

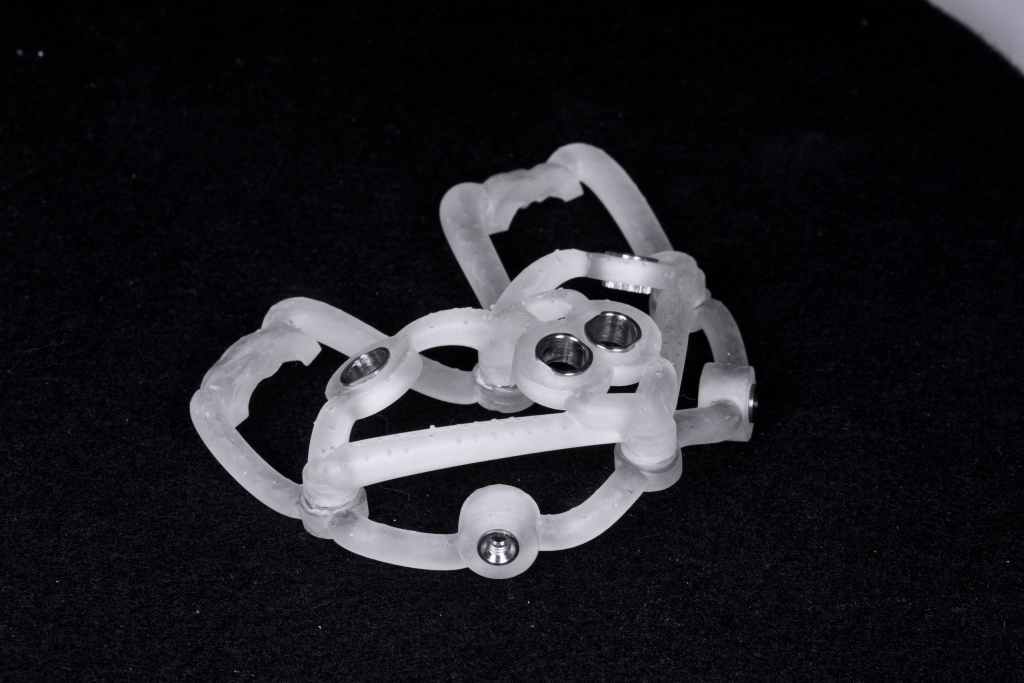
Fig 14, 15: The implant surgical guide for the upper jaw and lower jaw.
Surgery, Scan and Design Restoration
After all surgical preparations were completed, the dentist implanted 4 bodies in the upper jaw, and 4 bodies in the lower jaw. Post-surgery, the dentist designed the upper and lower restoration in exocad. It was then printed in temporary resin from SHINING 3D and placed on the patient after the surgery.
Following a 4-week period where the patient was allowed to get used to the new vertical dimension and occlusal adjustments, minor aesthetic corrections were made if necessary.
Afterwards, temporary dentures were scanned with the new modifications, and a reference model was integrated into the design within exocad to make the final modifications.
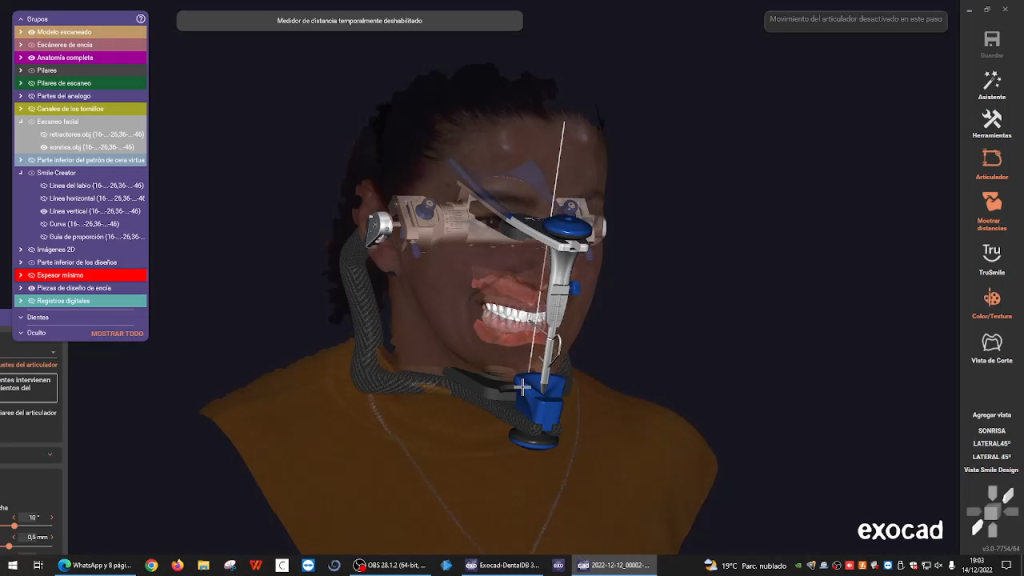
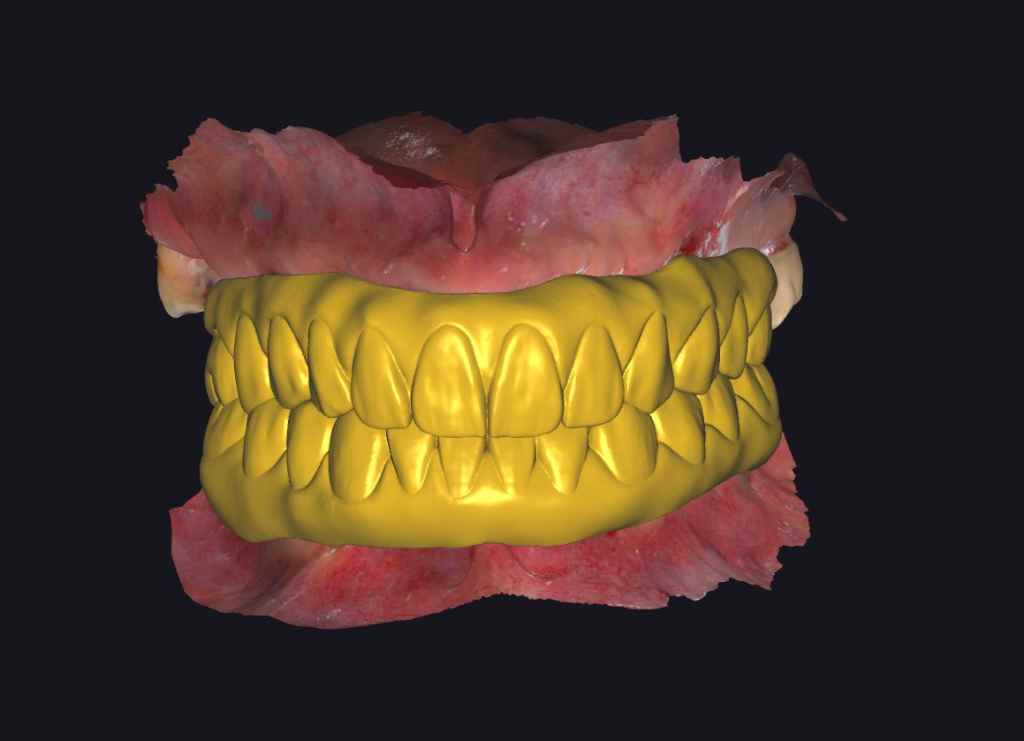
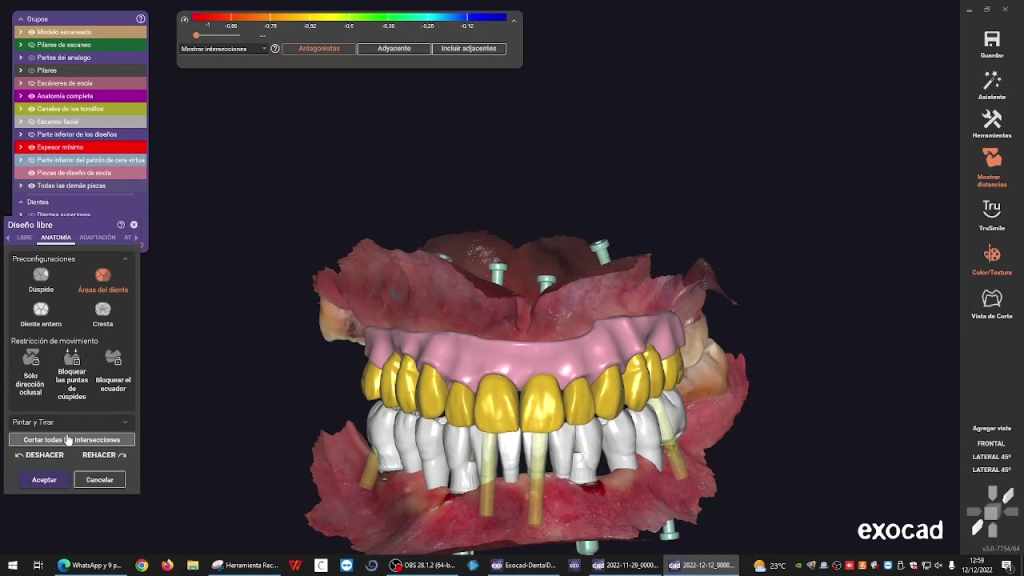

Fig 16-19: The temporary denture design process in exocad
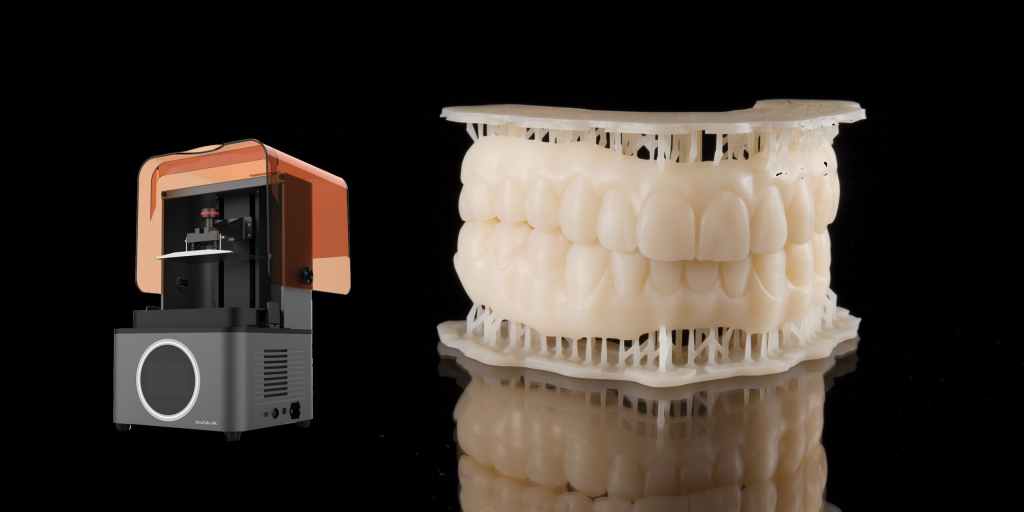
Fig 20:The temporary denture printed by AccuFab-L4K
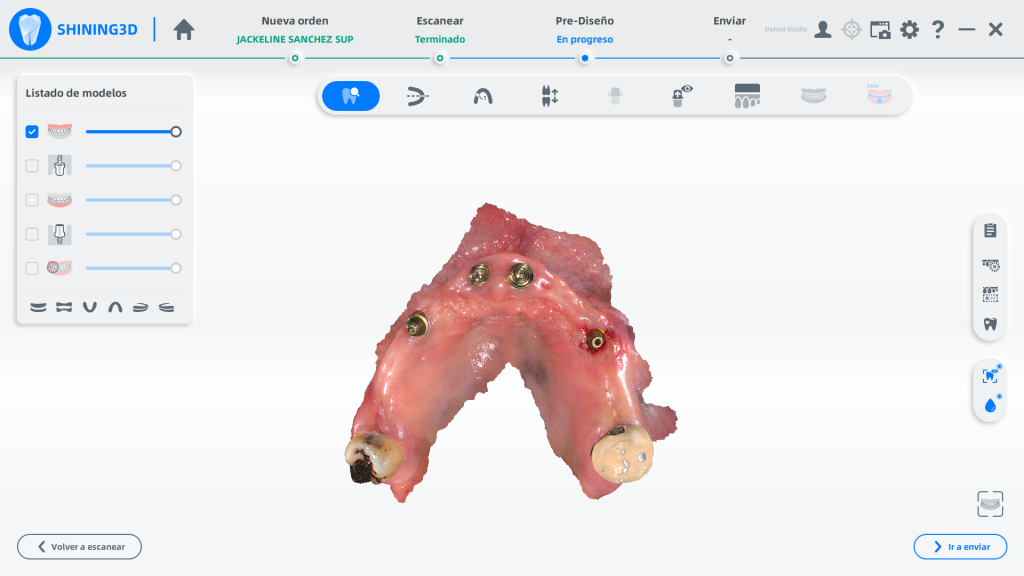
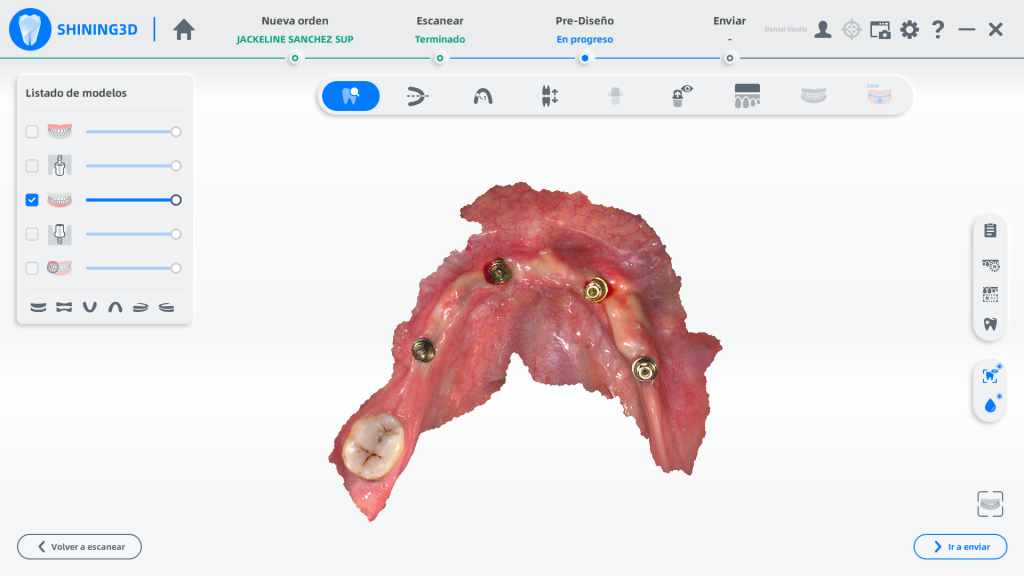
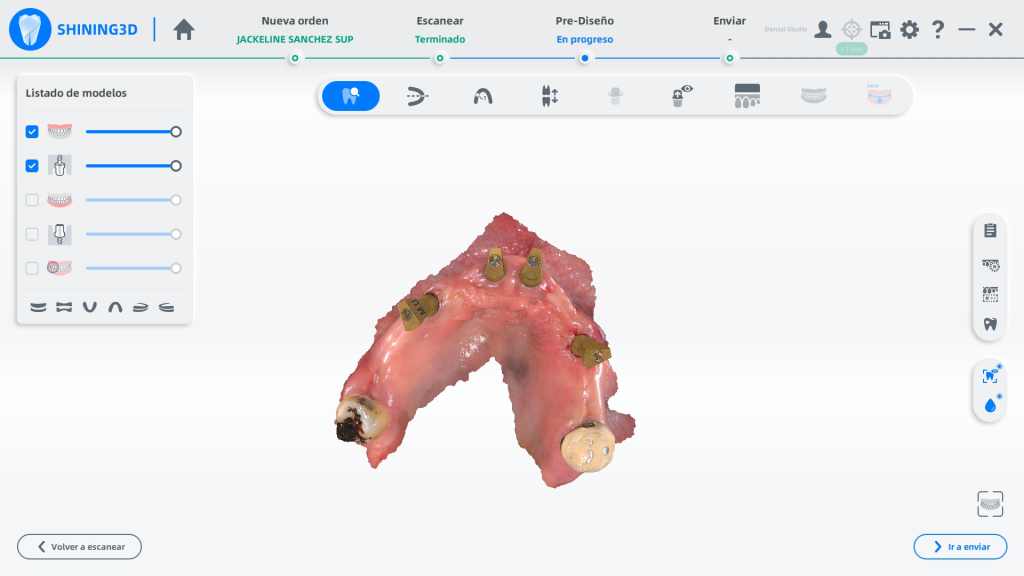
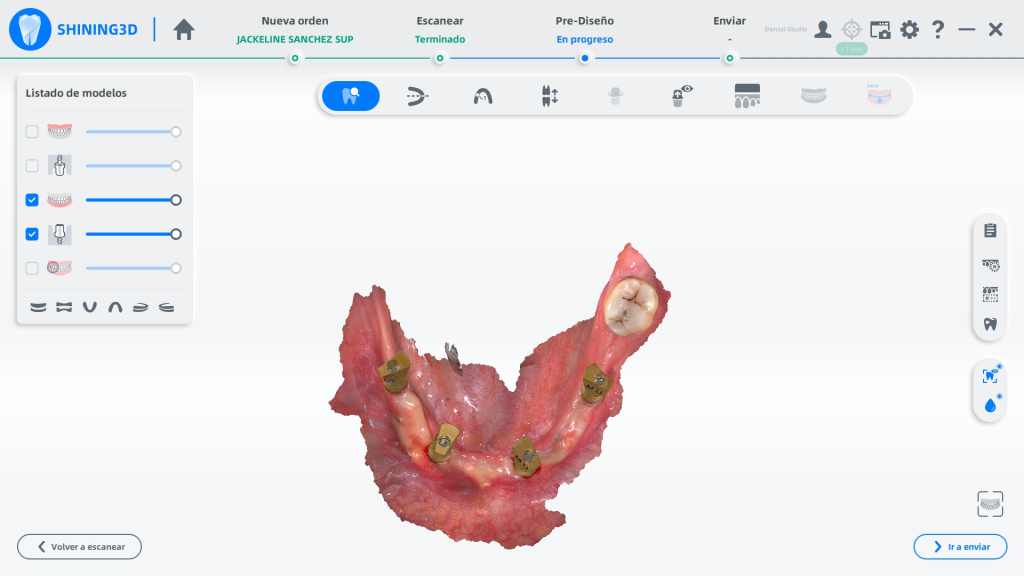
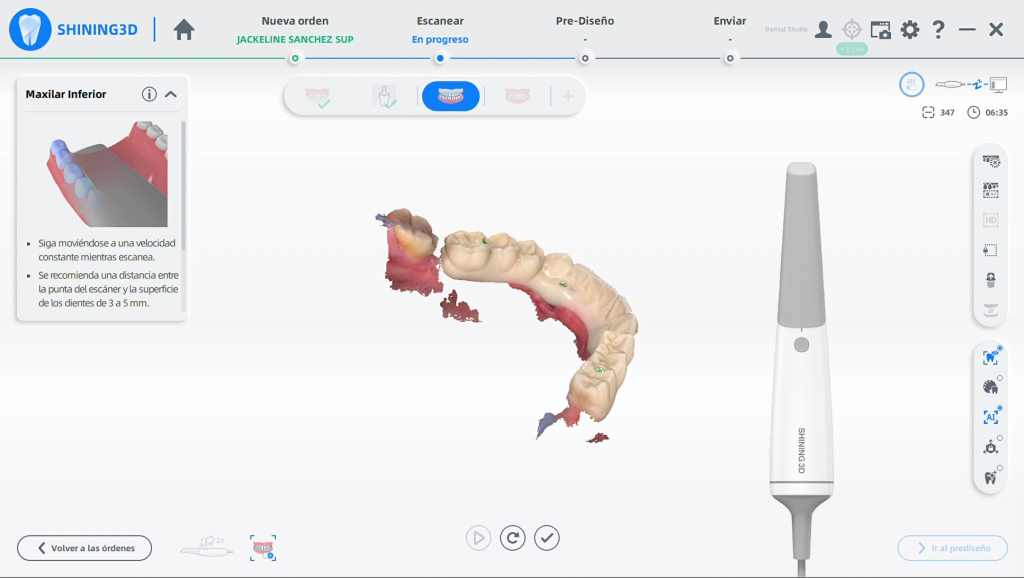
Fig 21-25: Scan temporary denture after patient used to the new vertical dimension
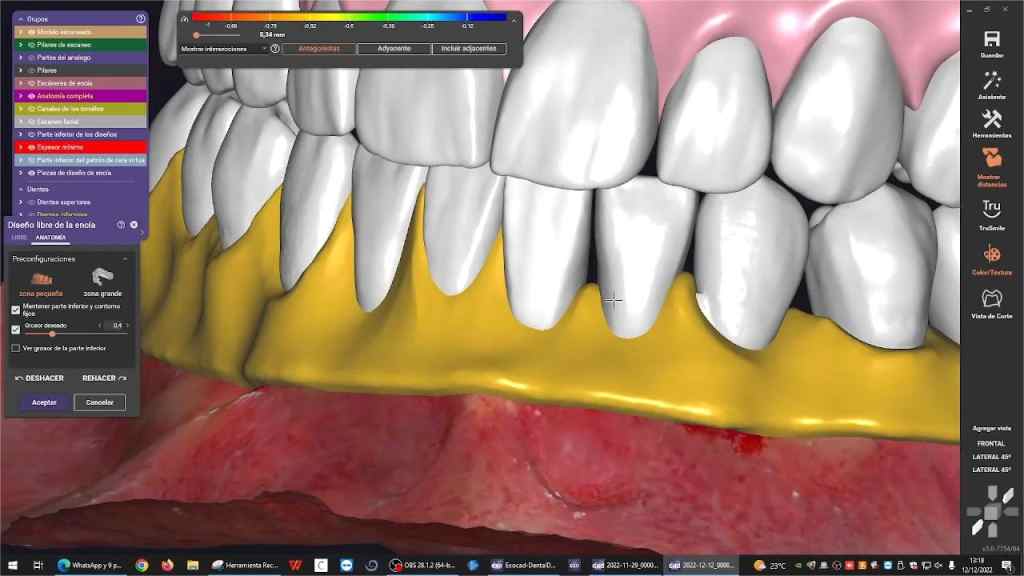
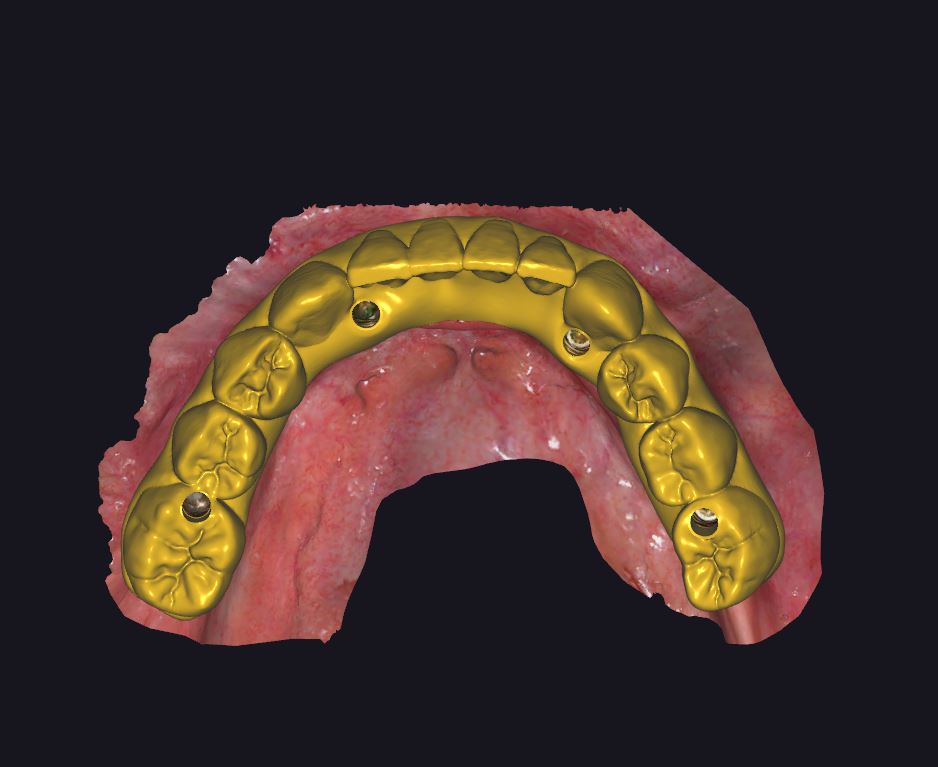
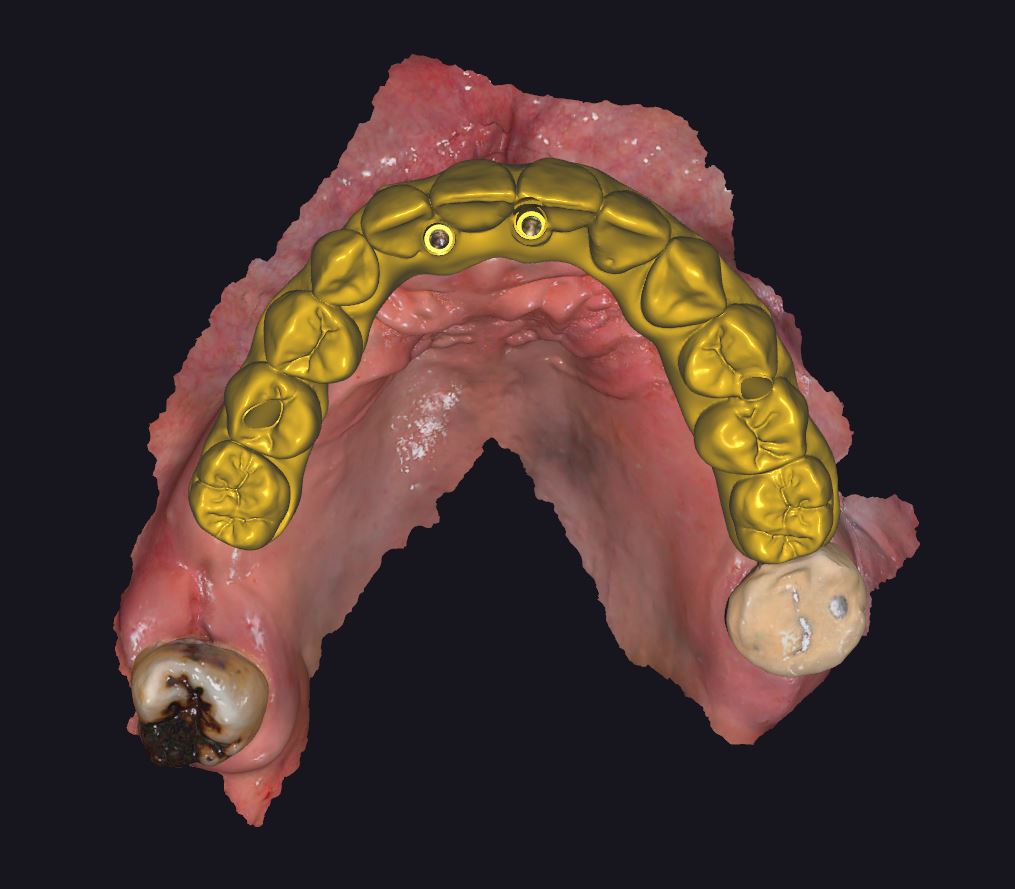
Fig 26-28: Design the final restorations in exocad
Fix Final Restoration
The final restoration is made with zirconia. There was very little adjustment in the final fixing process, and the patient was very satisfied with her final restorations and results of the treatment about all-on-4 implants.
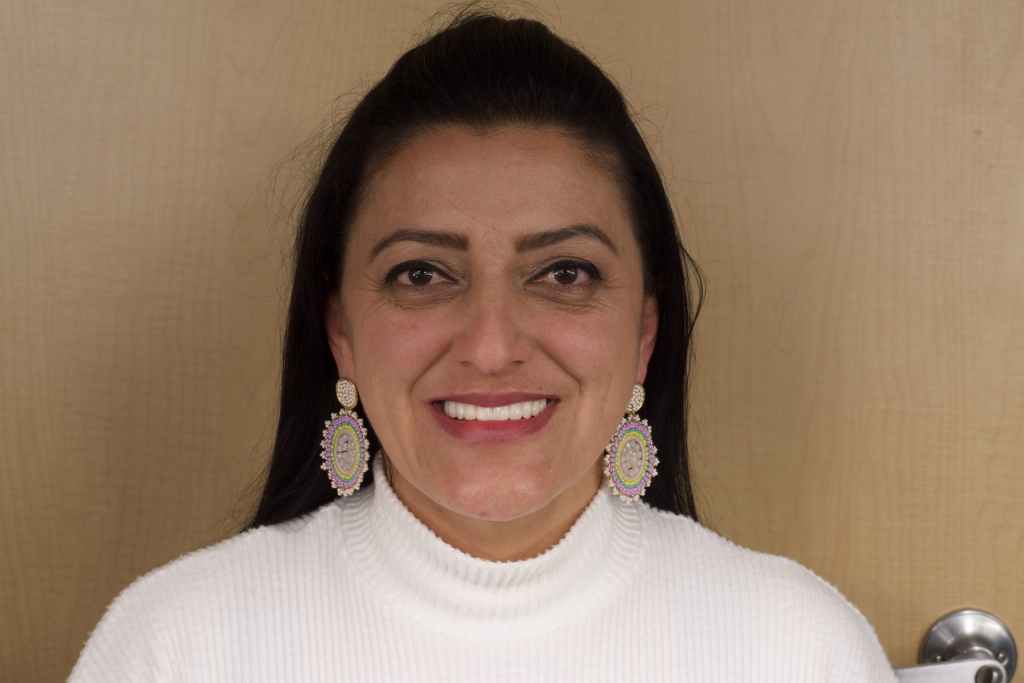
Fig 29: The photo after treatment.
Comments from Dr. Luis Pacheco
The use of the intraoral scanner, facial scanner, and the possibility of 3D printing from SHINING 3D has revolutionized modern dentistry, making workflows simple and efficient.
With these products and technology, the patient is more digital, and the data can be recorded and tracked easily, to achieve an effective process and better result.
About Author
- Dr. Luis Estuardo Pacheco
- DDS., MSc.
- CEO at Dental Studio, Guatemala.
- Senior CAD/CAM consultant, Scientific Team Lab (STL), 3D Labs CAD/CAM Laboratories, Guatemala.
- Senior consultant in oral and maxillofacial radiology at 3D Xray, Guatemala.
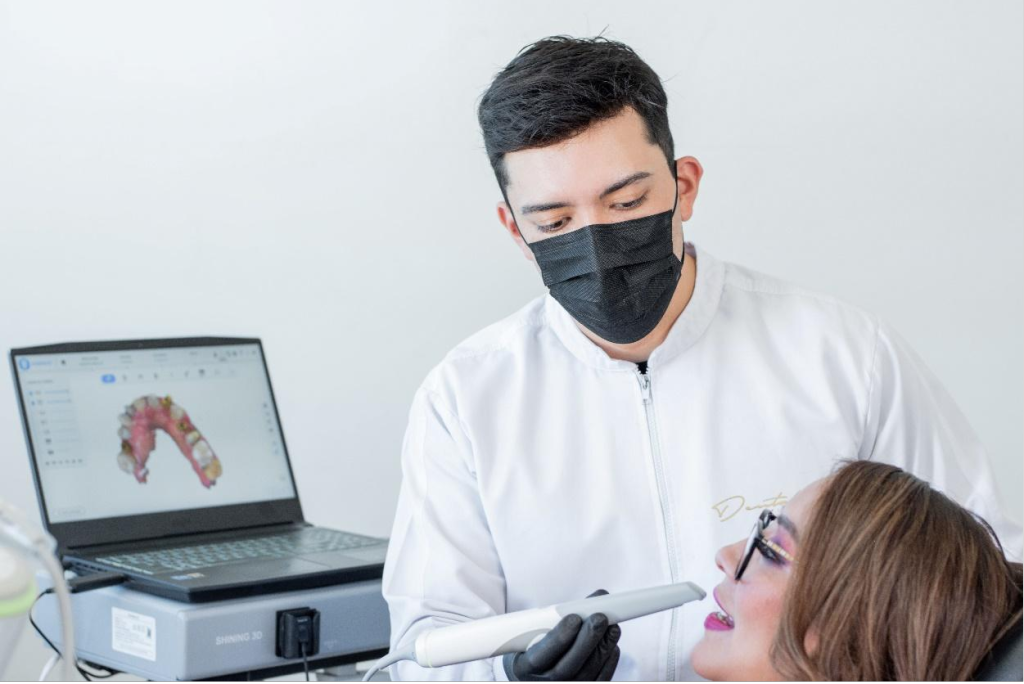
Fig 30: Dr. Luis Estuardo Pacheco