 ENG
ENG


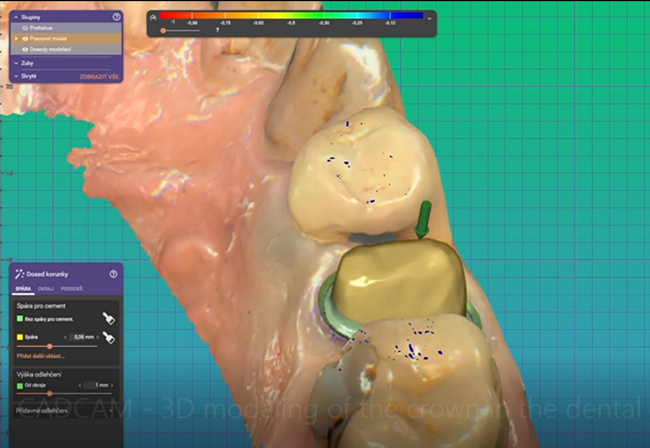
Table of Contents
Find out how to replace physical dental impressions with digital dental impressions using an Aoralscan from SHINING 3D.
Introduction
Traditionally, creating a dental impression involves using a specific material to form a mould of the arch. It’s not only potentially inaccurate, but also uncomfortable for the patient. It can be even more unpleasant for those with anxiety or those that have a very sensitive gag reflex.
This technique involves inserting the impression material into the mouth and then shaping it so that it covers the teeth and gums. When the impression sets, a model of the mouth is formed. These models are then sent to a laboratory where dental technicians will use them as a basis for a new restoration, such as a crown or bridge.
Digital dental impressions offer an accurate, comfortable, and quick alternative to traditional methods of taking impressions. Let’s see this digital process in action with the following case study.
Digital dental impression case
This case explores the use of a digital dental impression for the creation of a crown. The dentist used an Aoralscan device from SHINING 3D.
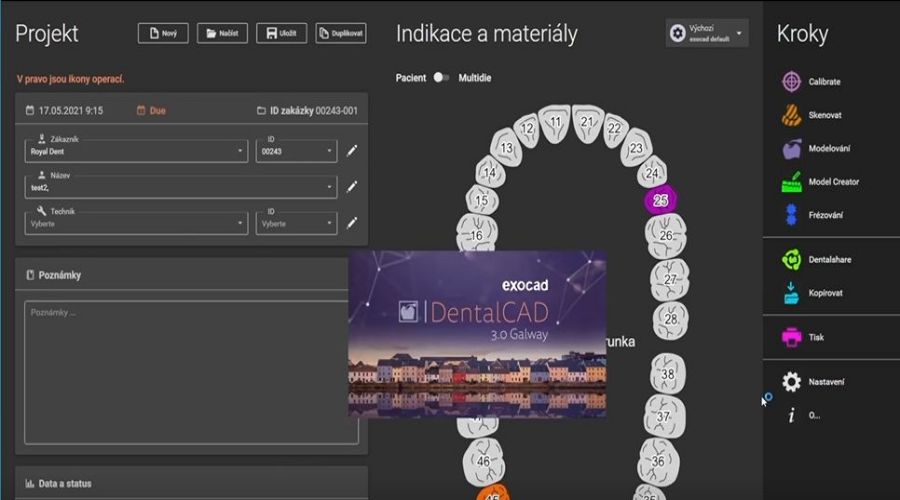
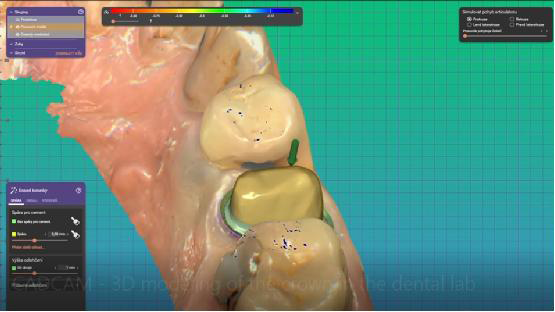
First, the dentist creates an order from exocad, then clicks “Design” to load the digital impression captured with the Aoralscan.
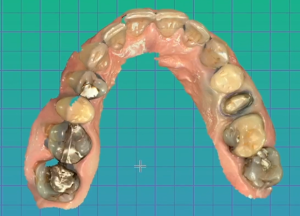
Here is the imported Aoralscan data. With the reference of the true color, the dentist and the technician can accurately understand the patient’s oral condition.
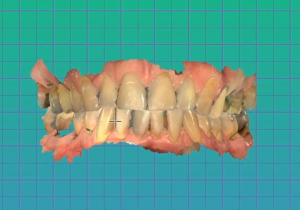
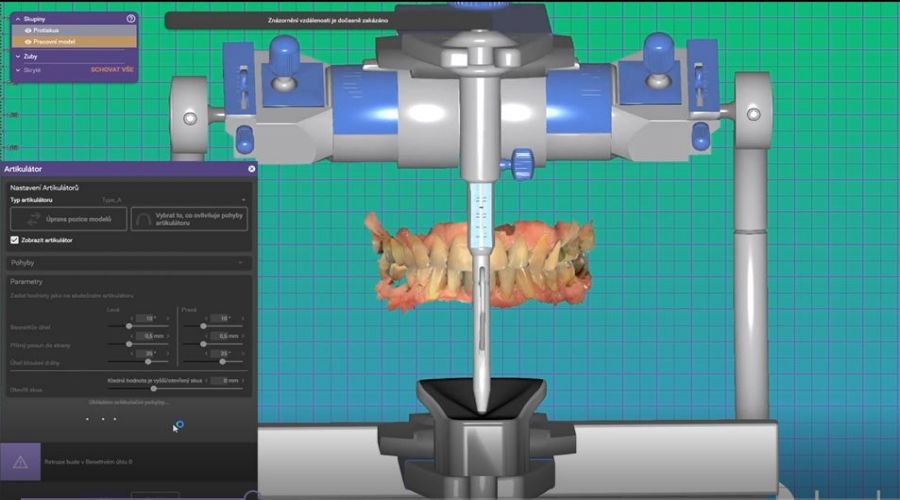
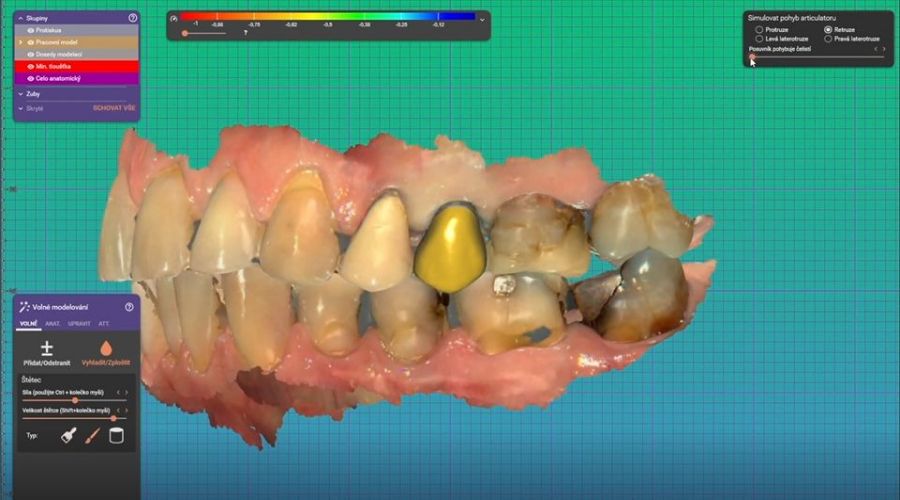
Then, if needed, it is possible to adjust the bite in exocad.
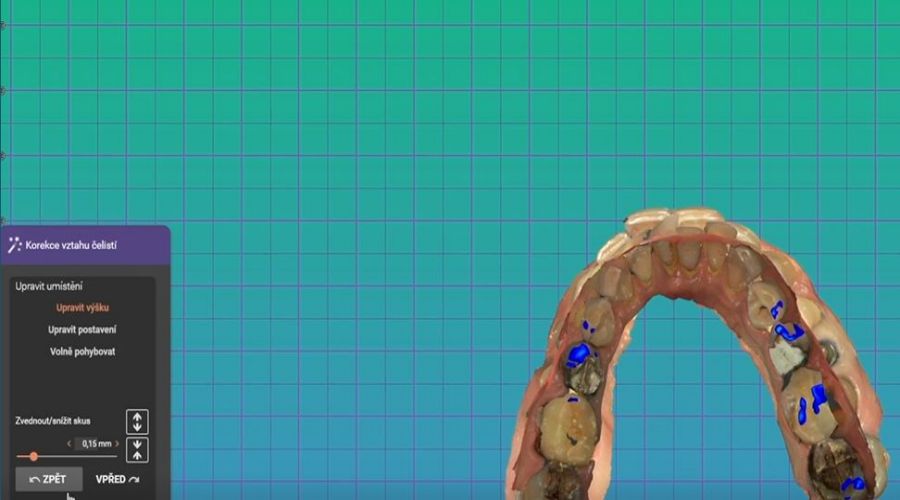
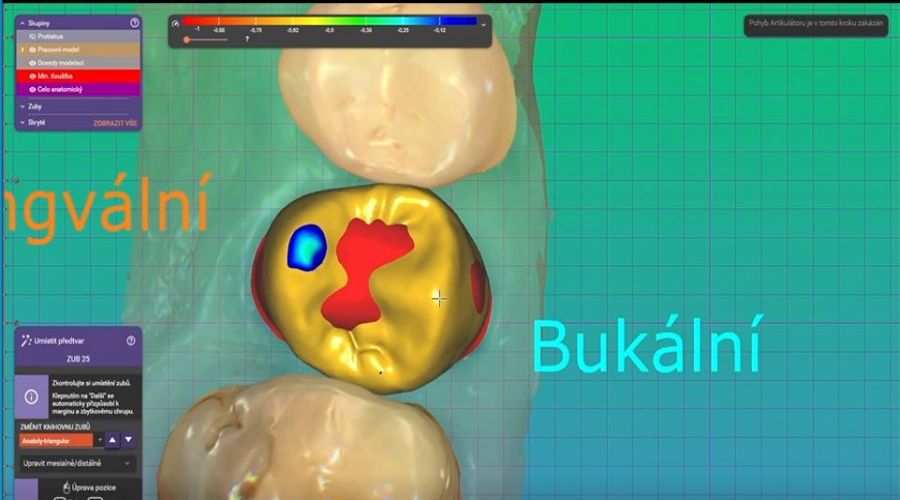
For a more accurate occlusion, the dentist can activate the “virtual articulator” feature from exocad. This makes it possible to view and adjust the position manually.
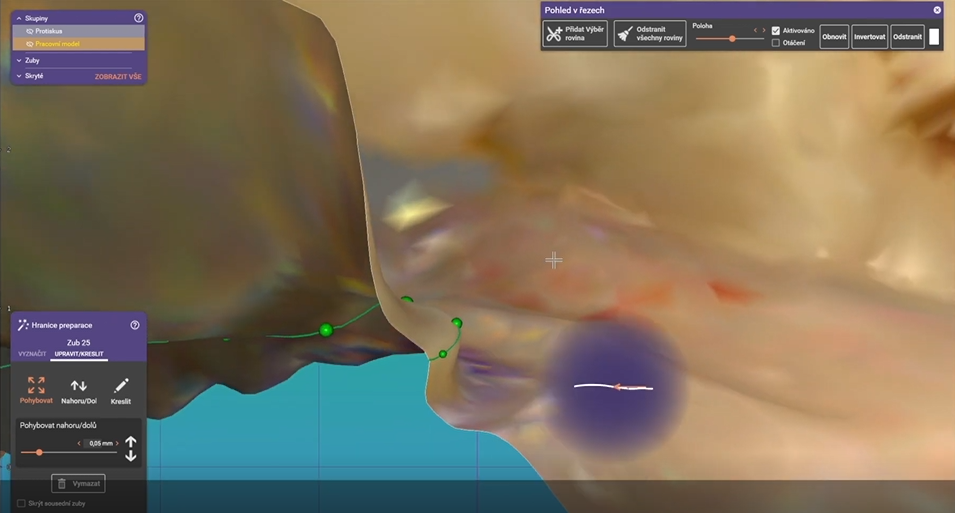
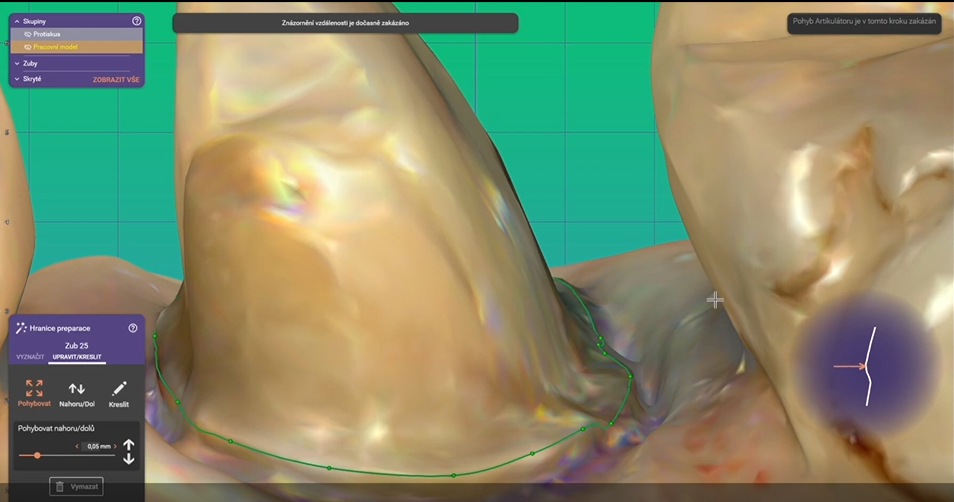
The next step is to draw the margin line. If the margin is not clear, the dentist can draw it during the 3D scanning process. The margin line can be loaded from Aoralscan software to exocad.
After that, we can set the crown bottom parameters.
Finally, the dentist can design the crown and finish.
It’s then possible to export the designed crown into nesting software, to then output the NC file for milling.
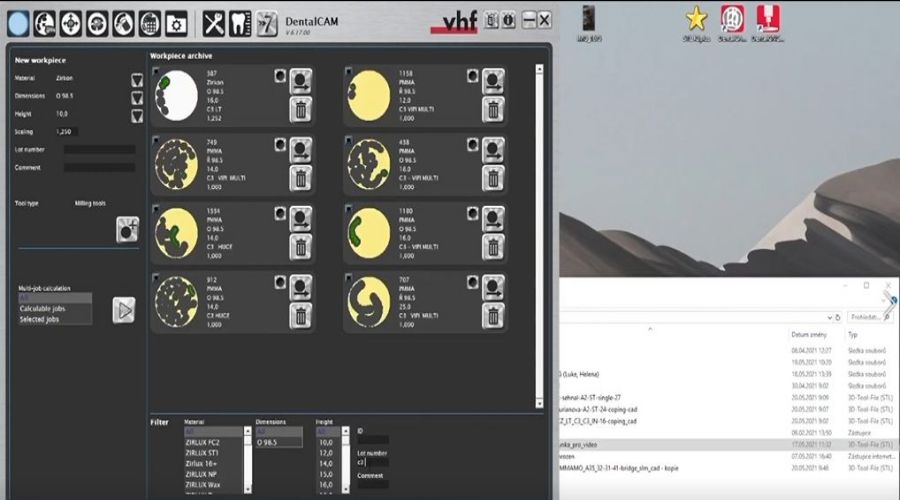

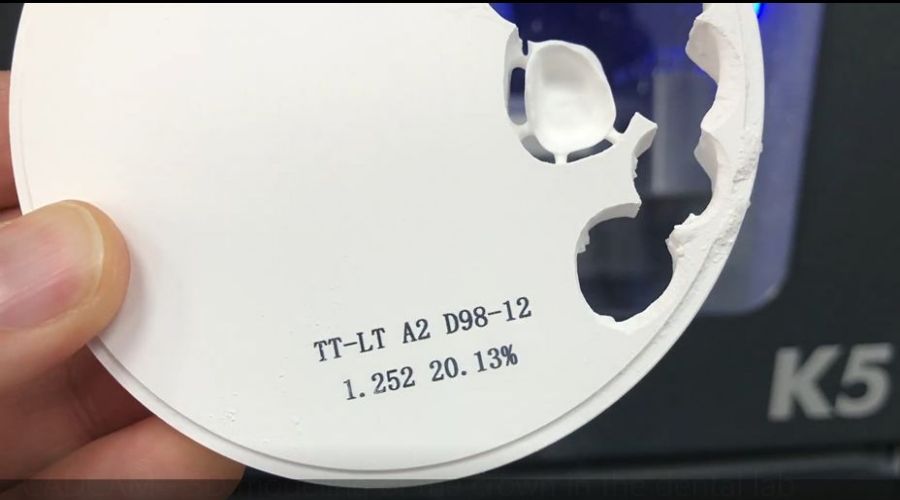
The milling machine then mills the crown.

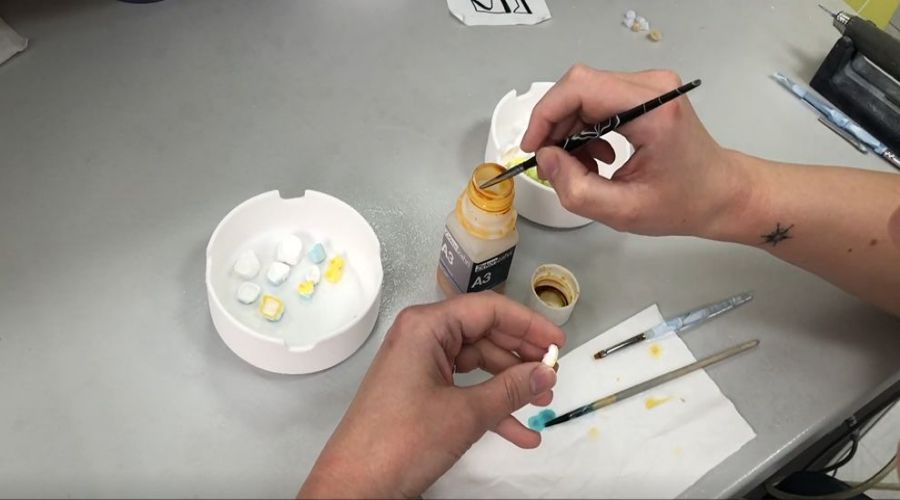
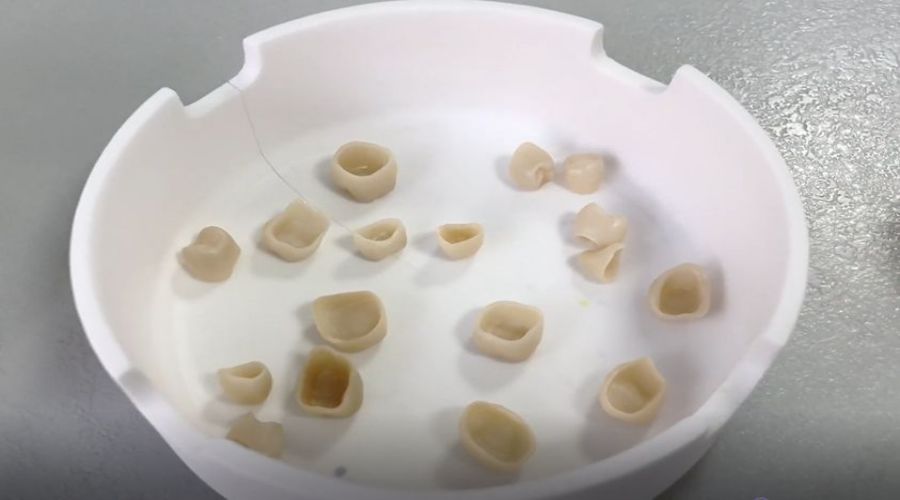
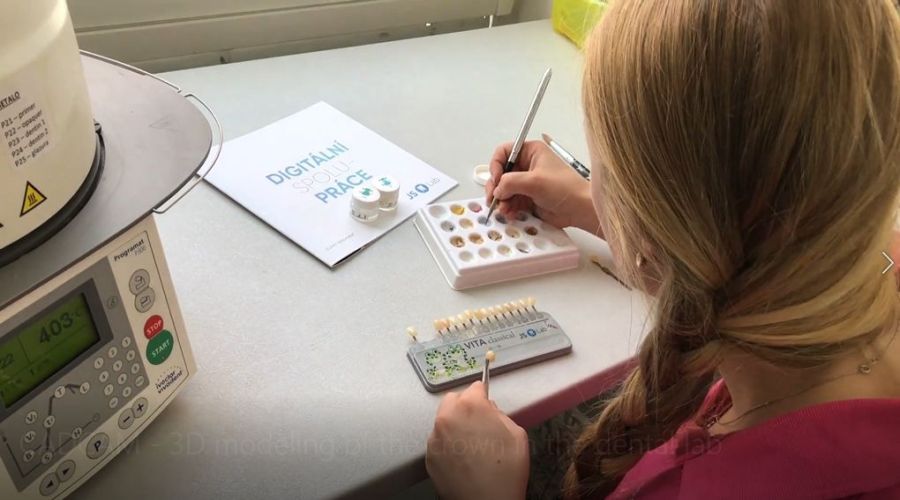
After this automated process, it’s time to manually finish the milling and stain the crown.
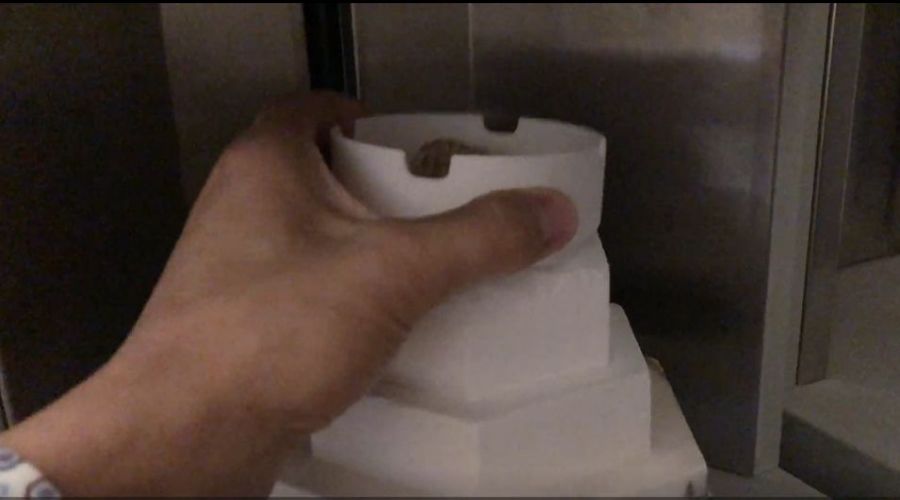
The crown then undergoes sintering in the surface.
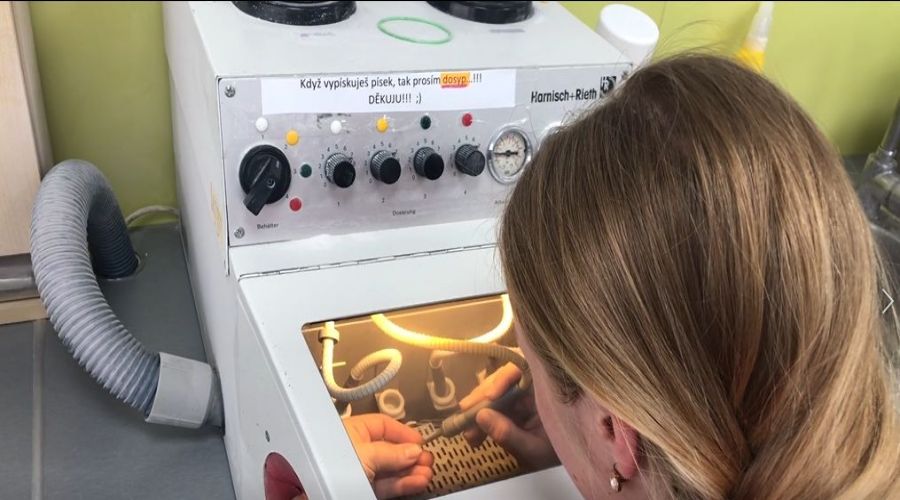
After glazing, sandblast the inner side of the crown.
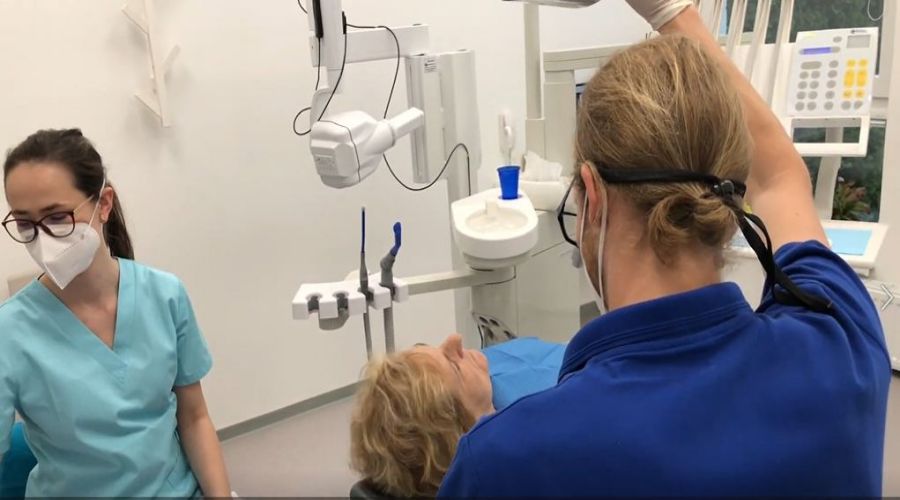
Directly try the crown on patient’s mouth and finish cementation.
Conclusion
Digital dental impressions can be just as- or even more- accurate than traditional physical impressions. They also help save time, providing a digital file directly with colors and crucial details. And all of this with a more comfortable experience for the patient.