 ENG
ENG


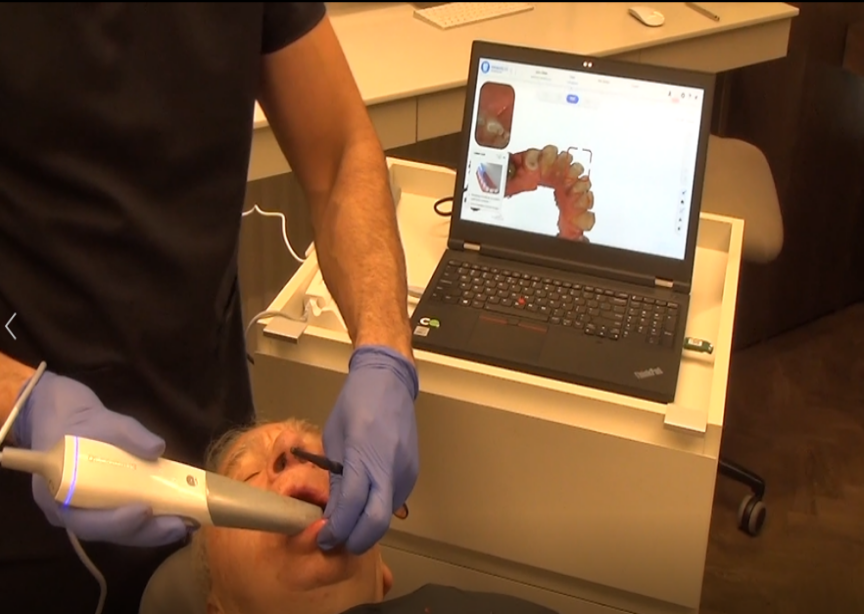
Table of Contents
This case explores the use of 3D scanning for immediate implants and immediate loading of anterior teeth. We use the Aoralscan 3 from SHINING 3D to capture teeth, gingiva, and scanbody.
Introduction
The patient in this case was a 65-year-old man who presented with a four-unit fixed prosthesis with the maxillary incisor. In addition, the patient had serious alveolar bone resorption and gingiva atrophy. The dentist planned to remove the bridge and extract teeth #11, #12, and #22, to then immediately place implants and make a new restoration.
Here is a look at the patient’s initial oral state:
Surgery and preparation
First, the dentist removed the patient’s bridge.
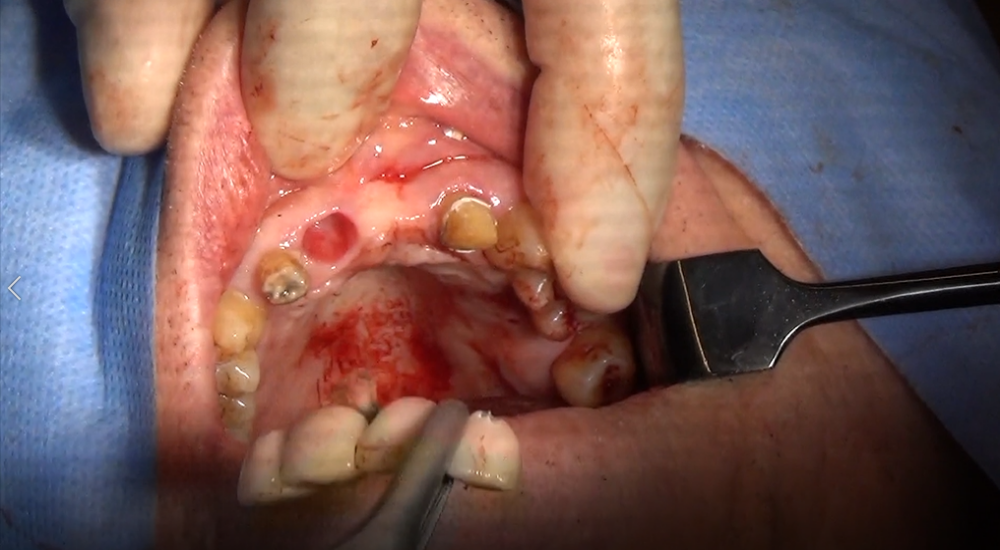
Then, the dentist extracted teeth #11, #12, and #22.
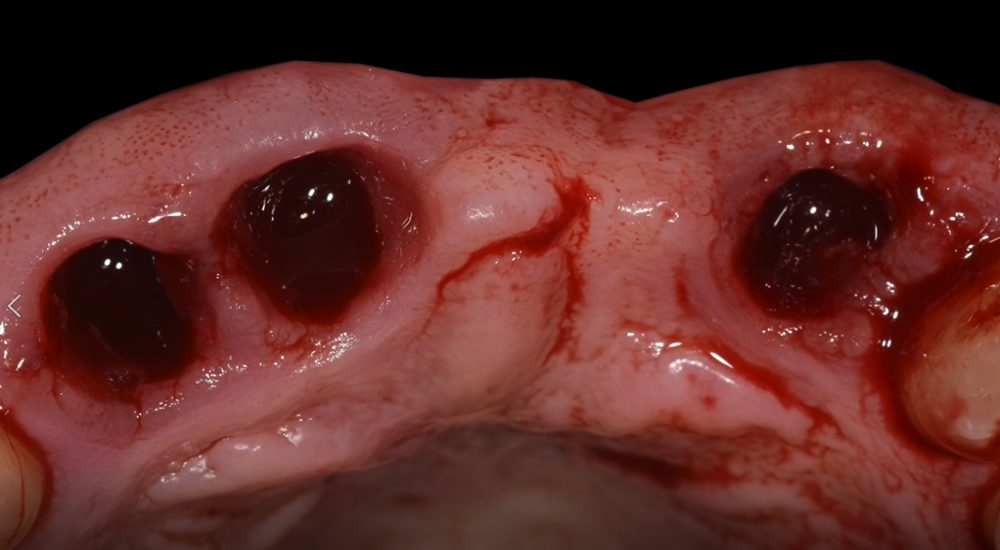
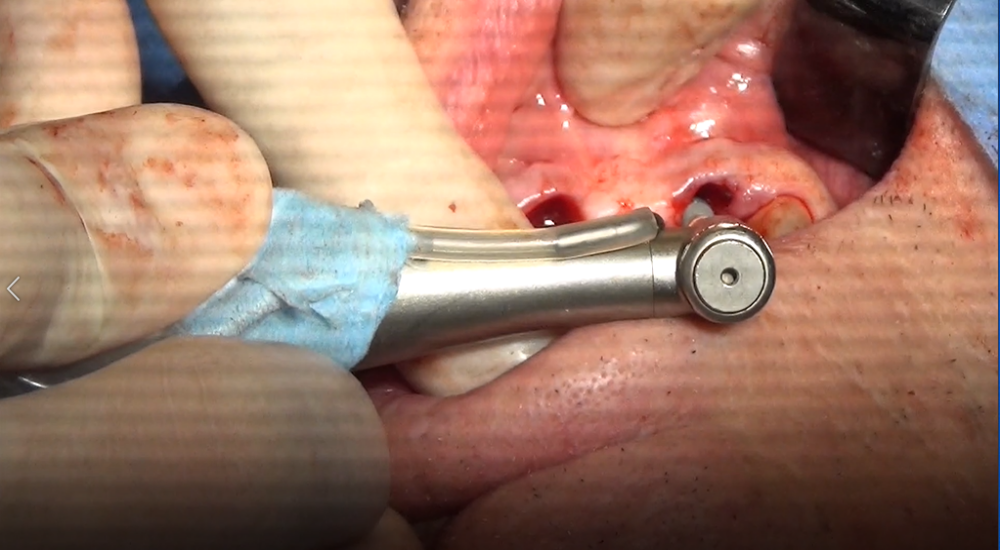
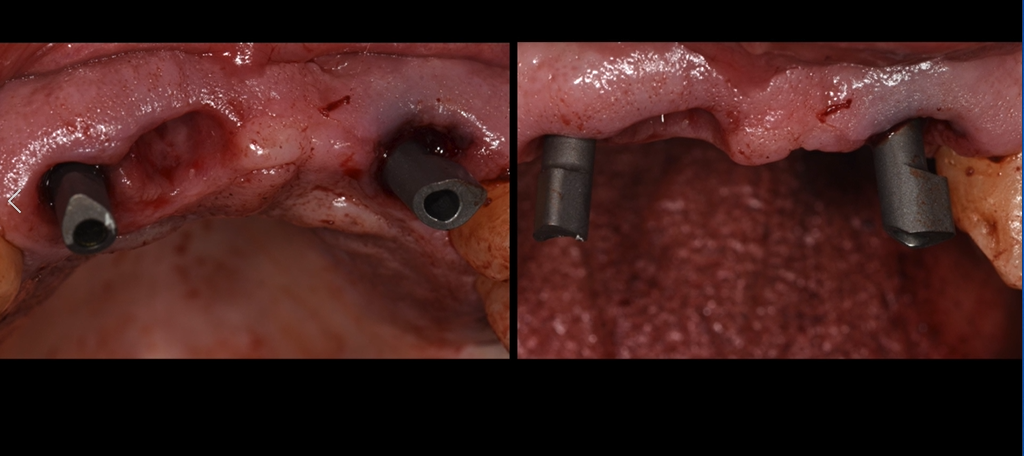
After that, the dentist immediately placed implants on tooth positions #12 and #22.
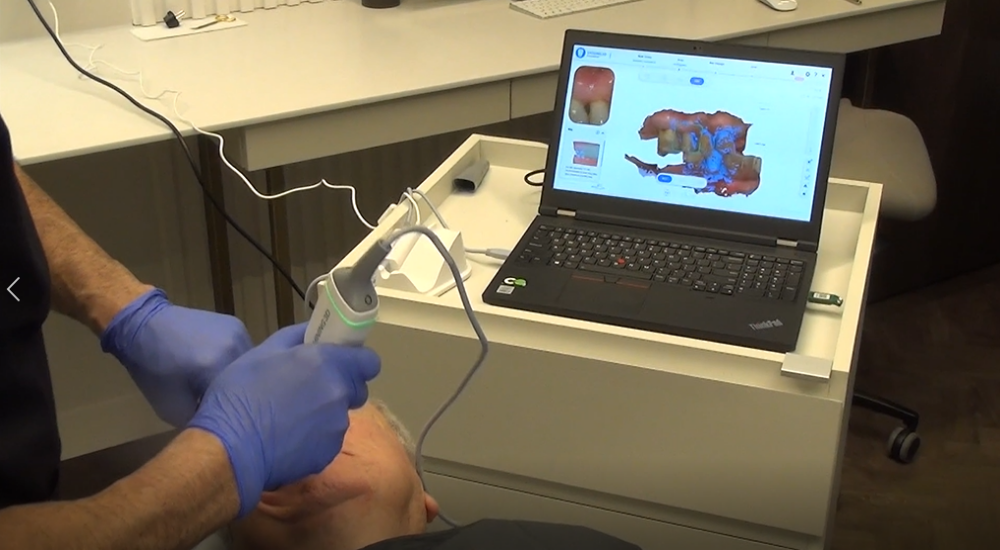
3D scanning process
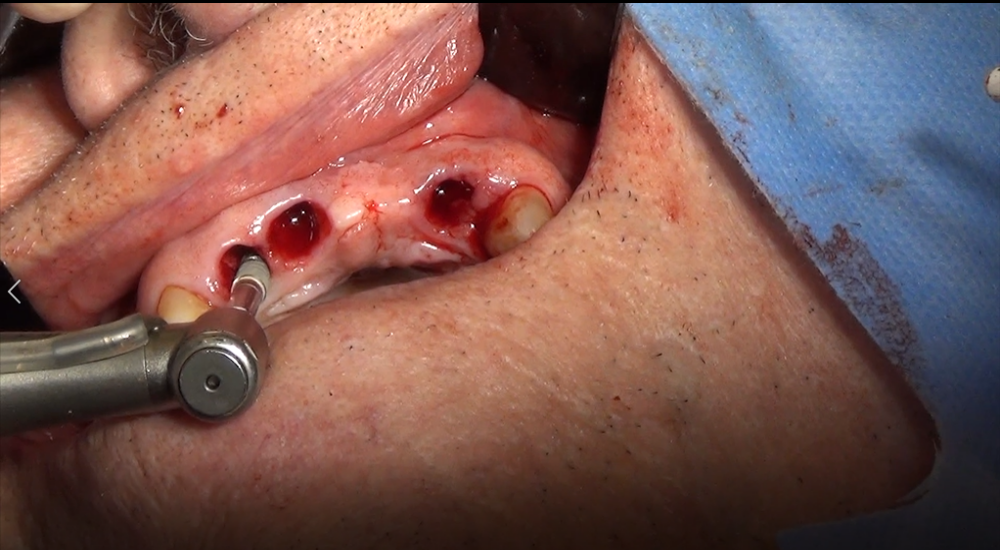
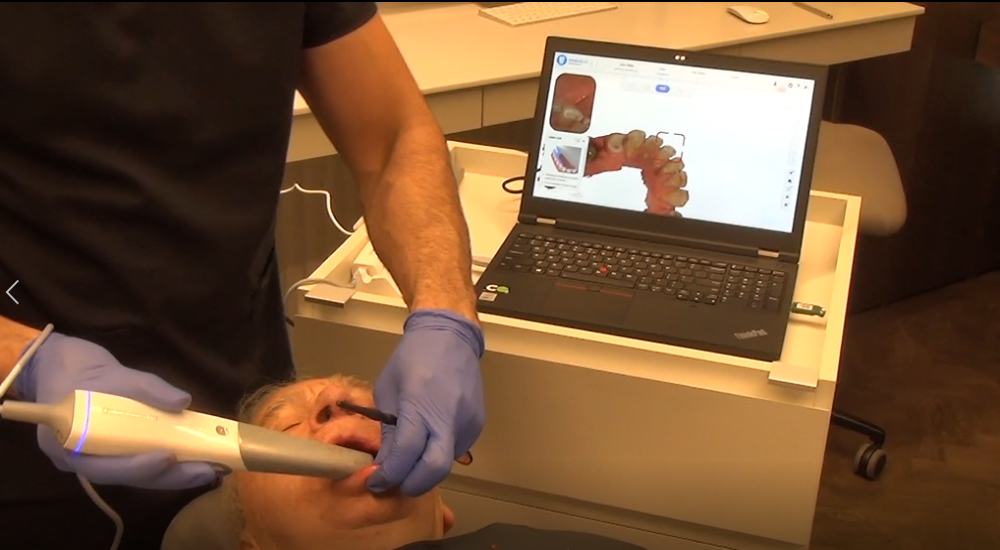
After surgery, we can immediately scan the mouth with the Aoralscan 3 to get the digital impression for subsequent restoration and model creation.
We scan the upper arch without scanbody. This takes less chair time compared to the traditional impression-taking method. It is also more comfortable for the patient.
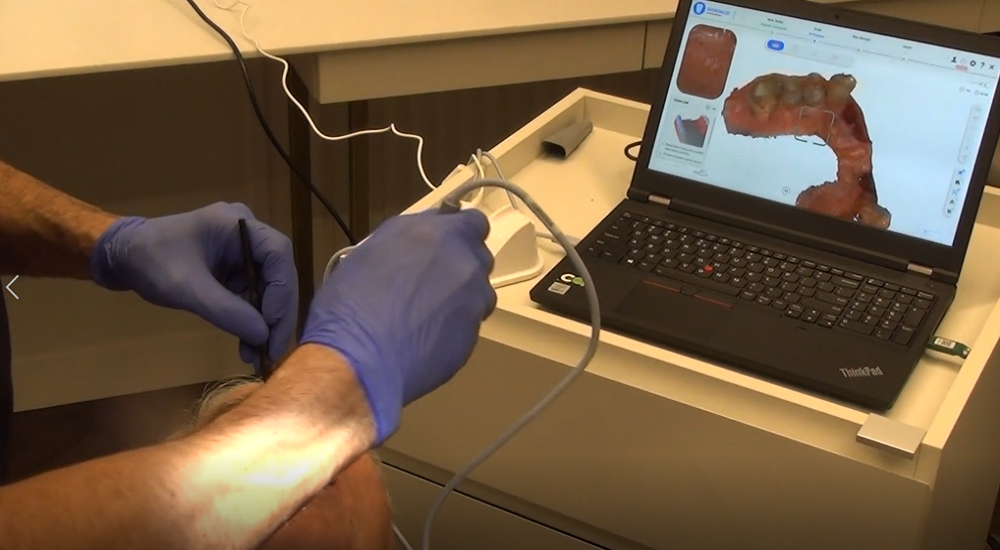
Then, we insert the scanbody and scan the upper arch again. The scanbody can be captured accurately and rapidly with the Aoralscan.
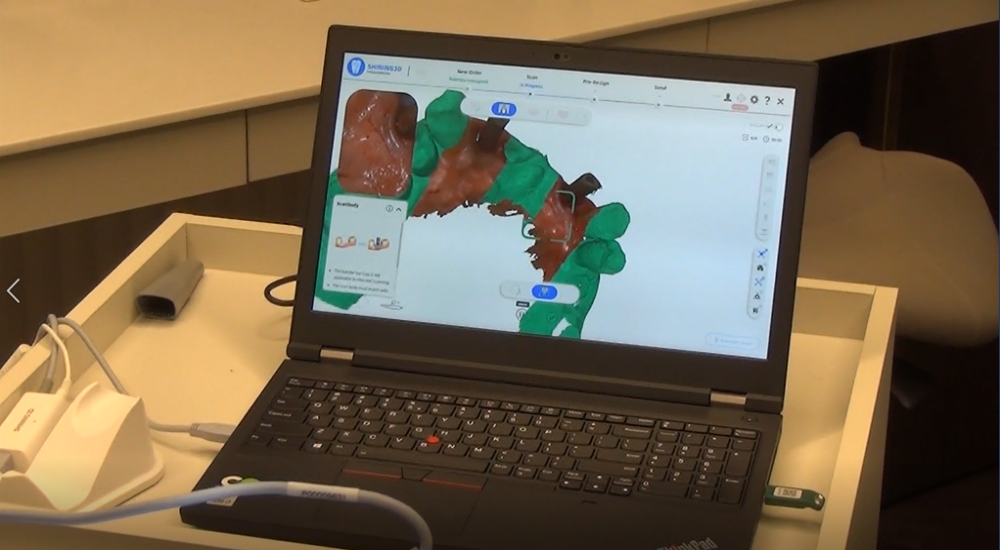
We then scan the lower arch as the antagonist.
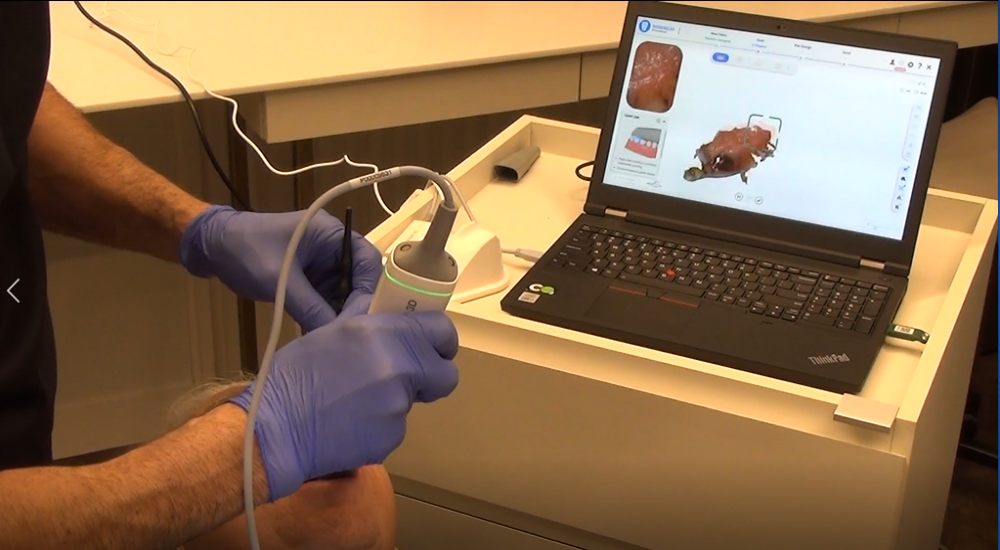
After that, we scan the bite. This gives us the complete impression, with a significant increase in efficiency, productivity, and accuracy. Next, the dentist can email the digital impression to the laboratory, rather than physically send a traditional impression tray.
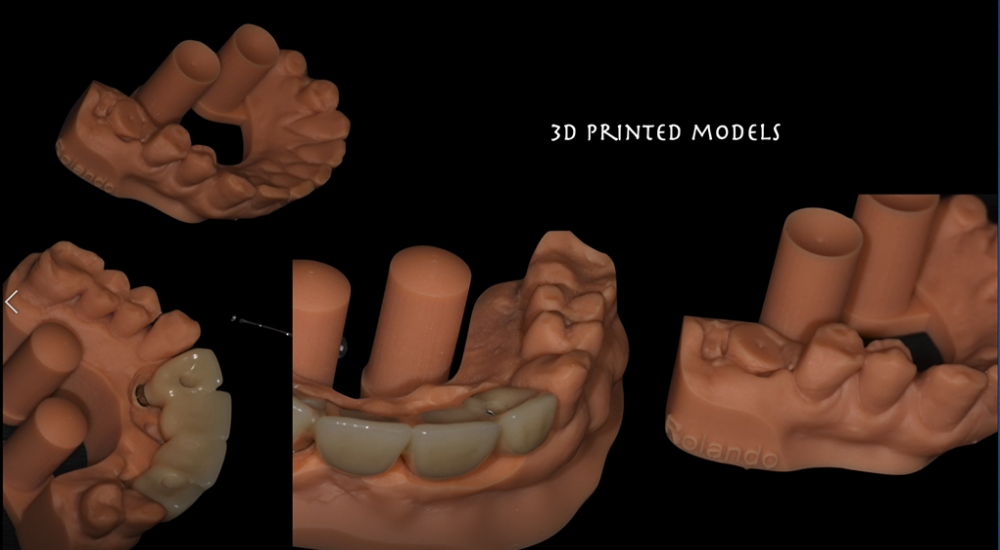
Design and 3D printing
We can then design the restoration and models based on the digital impression. Then, we print the models with the AccuFab-D1s, and try the restoration on the printed model.
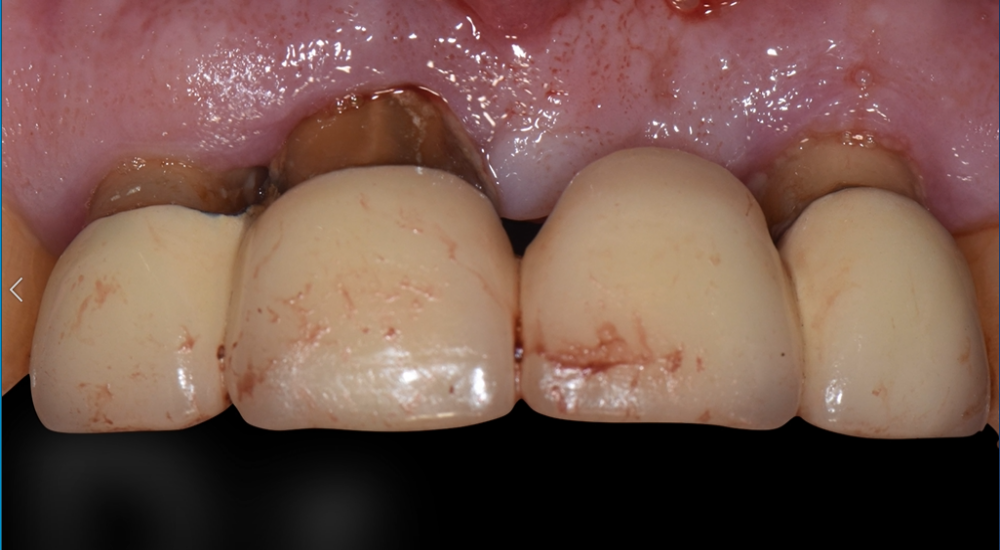
Finally, we try the restoration in the patient’s mouth and finish cementation. This is the result of the new restoration:
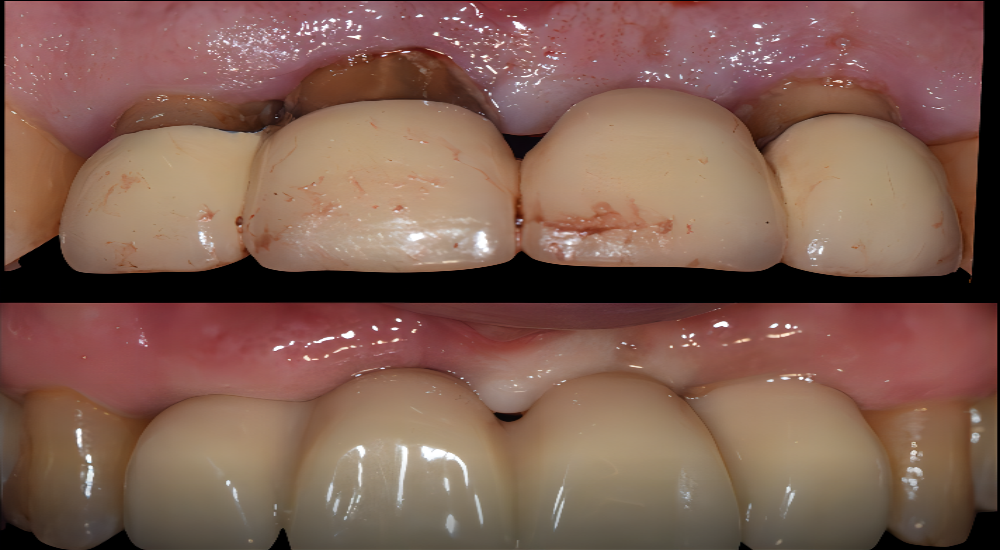
The patient is happy not only about the result of the new bridge but also about the digital impression-taking process. 3D scanning for immediate implants is an efficient digital dentistry application.