ENG
ENG


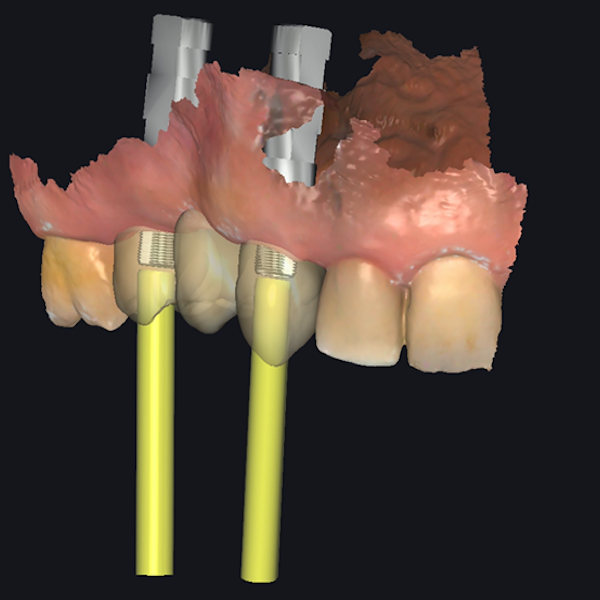
Table of Contents
With the development of dental implantation technology and the decrease in its cost, it’s easy for more patients to accept this kind of treatment, even if it means suffering an implant surgical operation. On the other hand, more and more dentists become specialists in dental implant restorations and all these factors contribute to the flourishing of implant treatment.
Background
Today’s case comes from Dr. Abd El-Rahman Khalaf and Dr. Kirollos Hany. They are dentists of the Faculty of Dentistry at Assiut University, Egypt. With rich experience, they can provide suitable treatment to patients through digital technology.
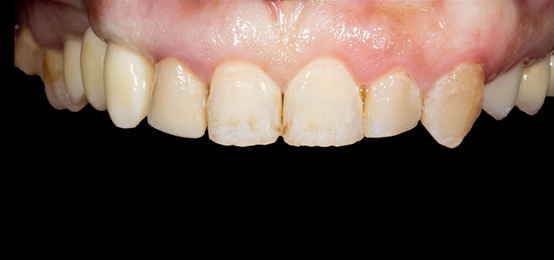
In today’s case, an implant treatment plan was made and carried out. By implanting two implant bodies at #13 and #15 and making a bridge restoration, dentists reconstructed the occlusion at this position.
Implant operation
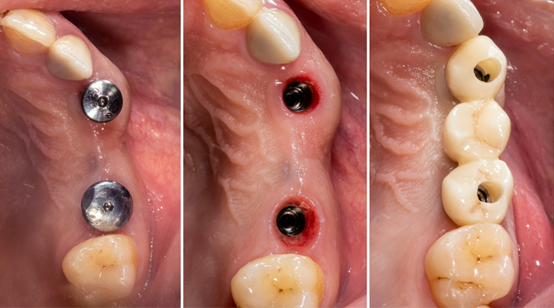
Dentists placed two Nobel implant bodies at #13 and #15 and waited several months for osseointegration before restoration in the second period, this would increase the long-term success rate of the treatment.
Scan
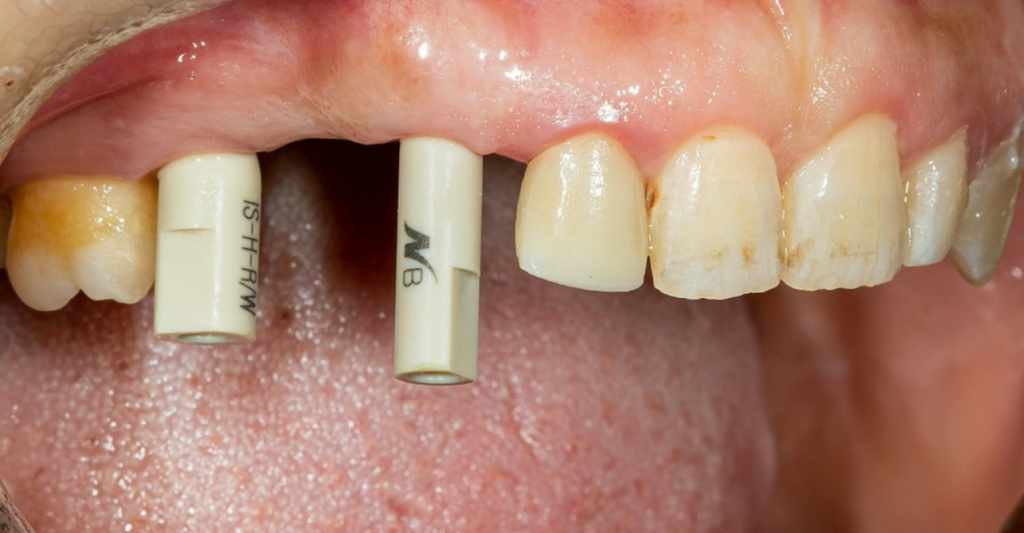
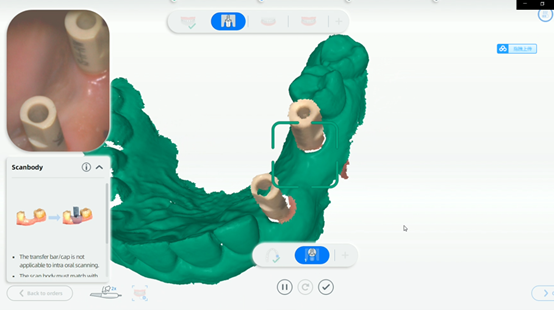
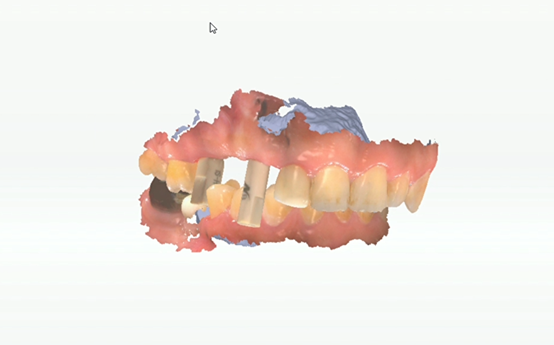
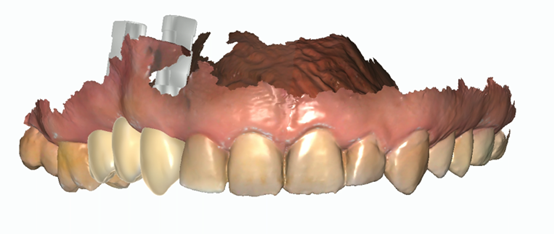
After the emergence was good and plump, dentists used Aoralscan 3 to capture the oral data. The first step was to get full arch data without the scan body (Fig 2), then choose and delete gingiva data around the implant, and insert the scan body for intraoral scanning (Fig 3). At last, scan to get occlusion data (Fig 4).
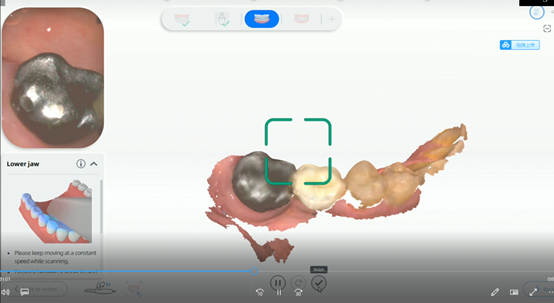
In this case, it is worth noting that although the patient’s 47# tooth is metallic, the Aoralscan 3 with metal tooth scan function activated would capture its morphology very well without additional powder spraying (Fig 5).

Computer-aided design
Dentists used exocad to design the bridge restorations(Fig 6, Fig 7, Fig 8). There are many contributors to consider, for example, the number of teeth our implant body can support, mostly, two implant bodies can support 3~4 teeth, spatial location and stress distribution of implants, occlusal relationship, etc.


Try-on provisional restoration
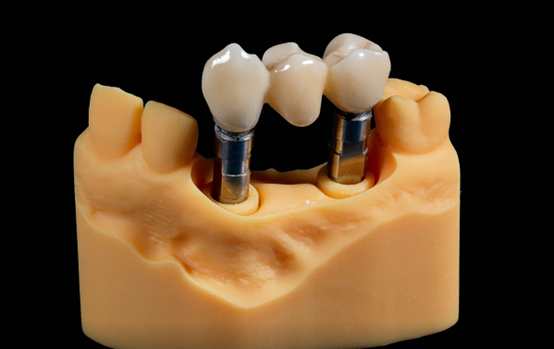
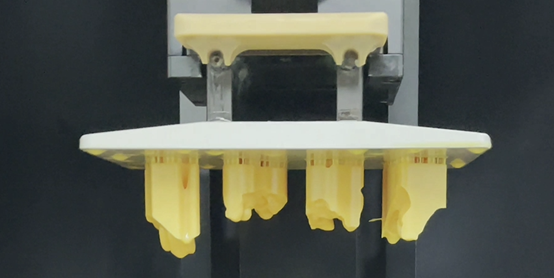
Dentists used DM12 resin to print the model by AccuFab-D1s (Fig 9, Fig 10). The printed model can be used for the quality inspection of temporary teeth, which were placed in the patient’s mouth during the waiting process for the final crown, making the whole treatment more comfortable.

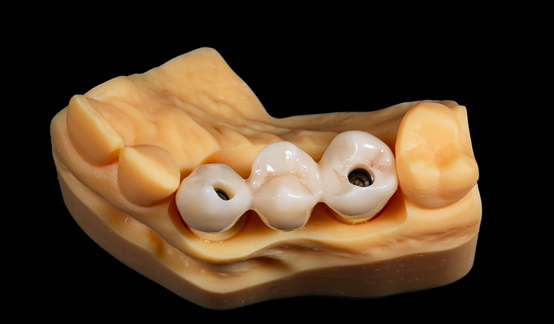
Final restoration
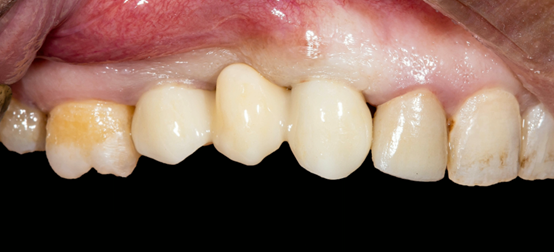
The material of the final implant restorations is monolayer zirconia. After inspection of the model (Fig 11, Fig 12), it was placed into the patient’s mouth. The morphology, occlusion, the colour of the final implant restorations are really good the customer is very pleased with the therapeutic effect (Fig 13, Fig 14, Fig 15).