 ENG
ENG


Table of Contents
With the rapid development of digital technology, dentists are striving to prevent the onset and stop the progression of disease through minimally invasive processes, removing and replacing with as little tissue loss as possible. For patients, this means fewer incisions and wounds and a faster recovery.
Today’s case comes from Dr. Sai Aom Kham, founder of Grand Family Dentistry & Implant Center. The experienced dentist for DSD treatments and certified dentist for dental photography who always uses cutting-edge digital technology to better serve his patients.

Fig 1: Dr. Sai Aom Kham
Case Profile
Patient’s gender: Female
Patient’s age: 31 years old
Main complaint: The patient was concerned about her overlapping teeth and yellow discoloration. She did not like the shape, size, and color of her teeth. Because of her smiling appearance, she had some social problems and lost her self-confidence.
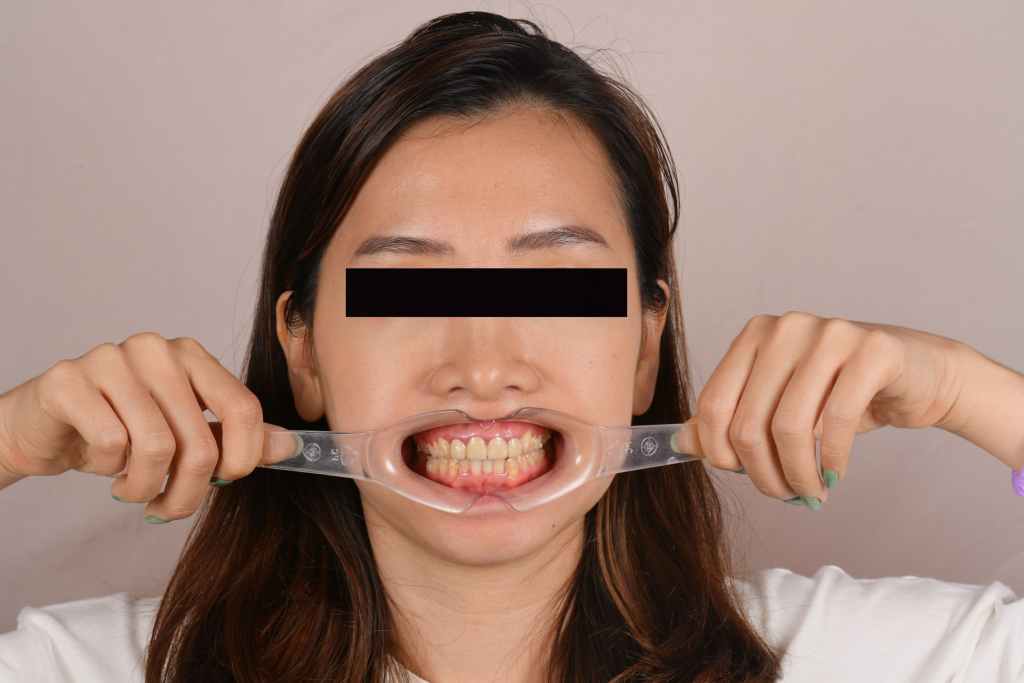
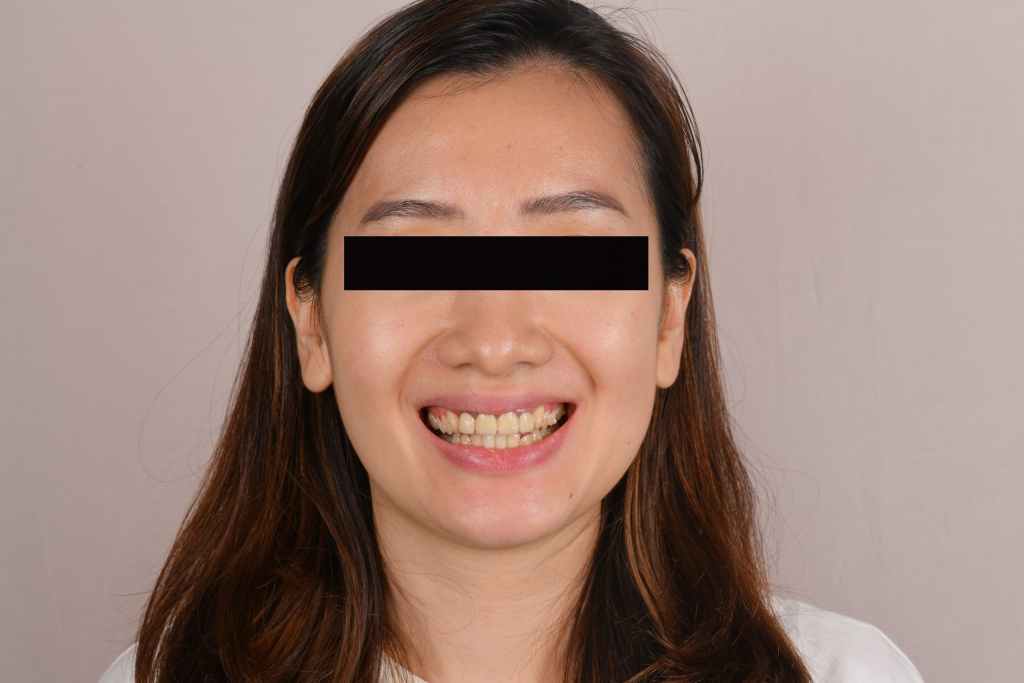
Fig 2,3: The patient’s smile photo
Case Analysis
The patient had many previous dental treatments with bad experiences. She was not satisfied with the four anterior crowns. So in this case, it is important to involve the patient in the treatment to achieve the aesthetic and functional goals in a reliable and efficient way. A digital impression is a good way to achieve this goal, and the repair with veneers and crowns would be minimally invasive.
Treatment Plan
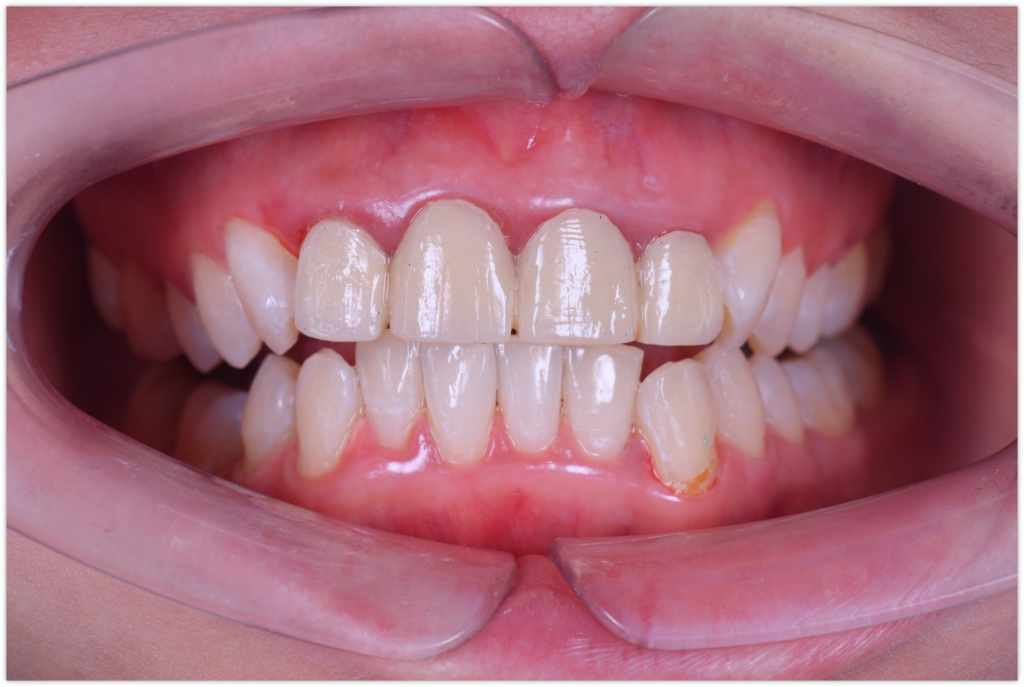
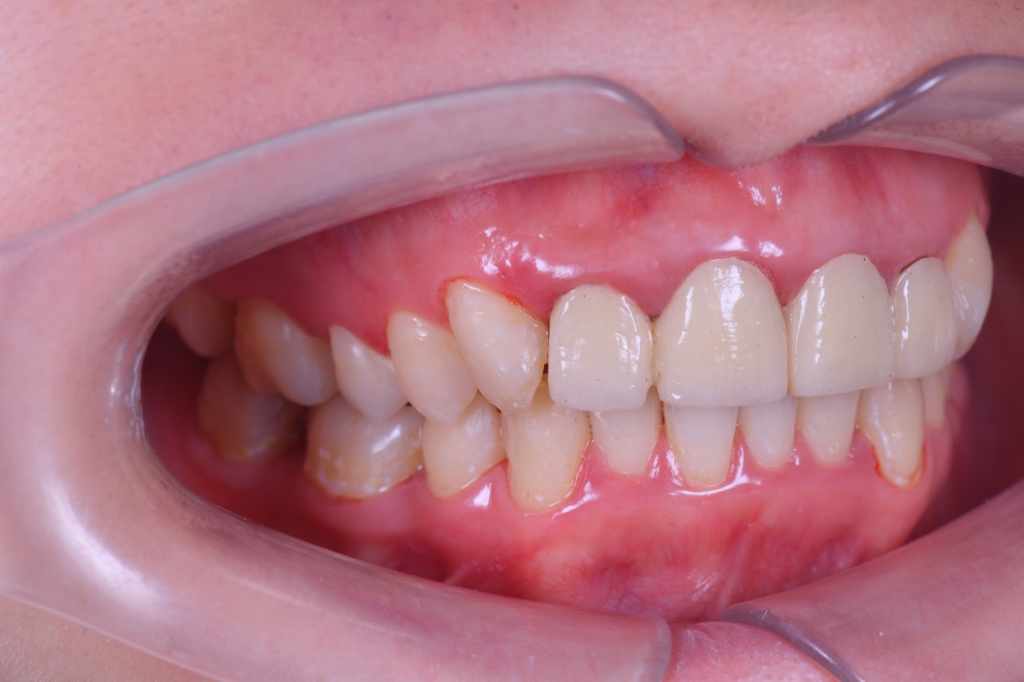
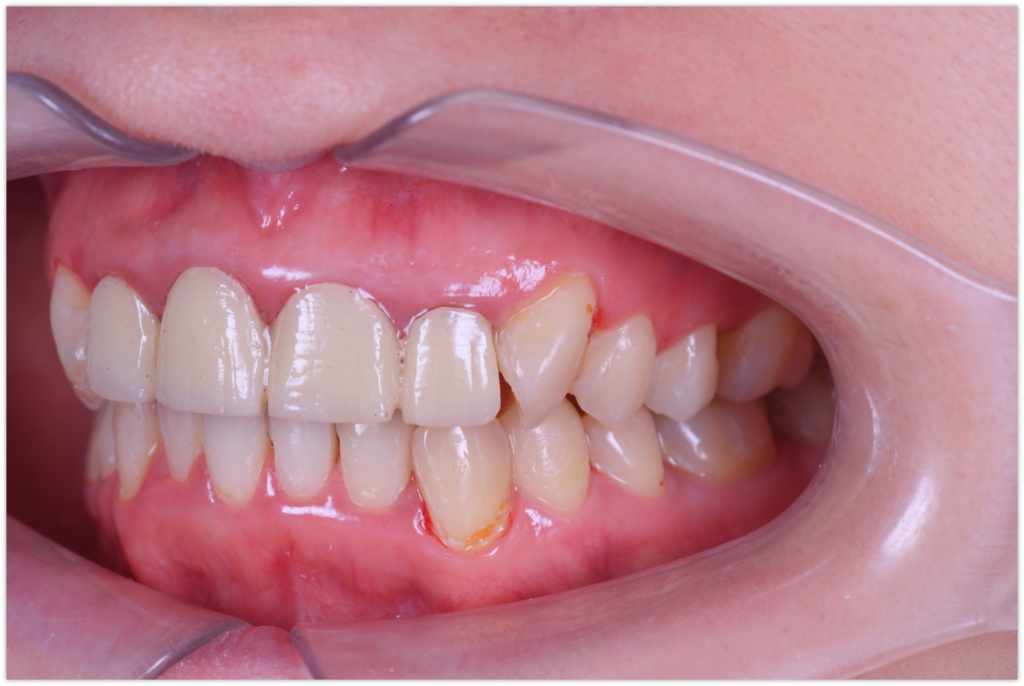
Fig 4-6: The different size, shape,zenith positions and prosthese of the patent’s teeth
The above three photos show the difference in size and shape of the teeth, different zenith positions, and several prostheses.
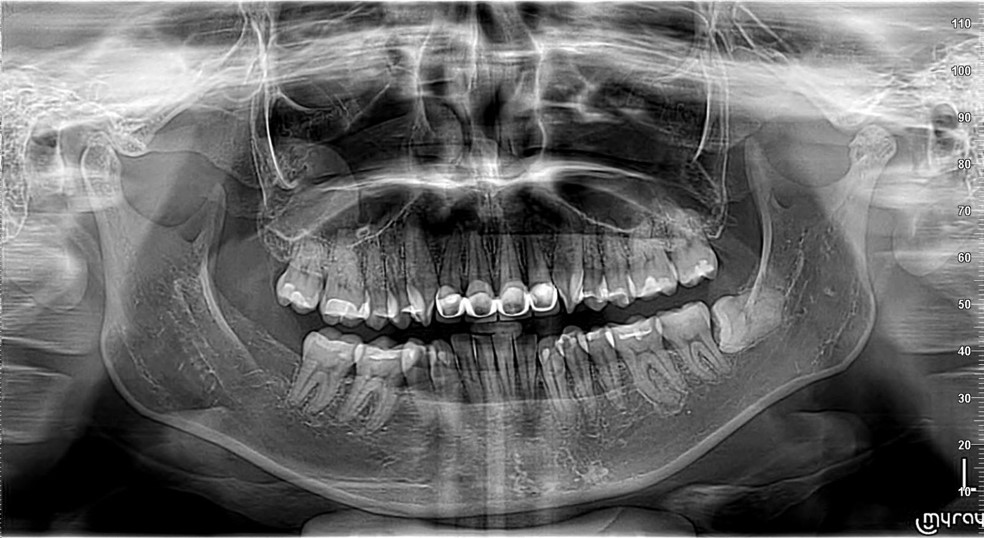
Fig 7: Extraoral radiograph of the patient (OPG view)
Considering the attractiveness and oral condition of the patient, our first treatment option was to remove the old bridge and replace it with temporary crowns. Then orthodontic treatment with Invisalign is performed, the last step is minimally invasive veneer treatment with 15#~#25 on the upper jaw, #45~#34 on the lower jaw.
Treatment Process: Remove the Old Bridge and Replace with Temporary Crowns

Fig 8: After PFM crowns removed & Core built up
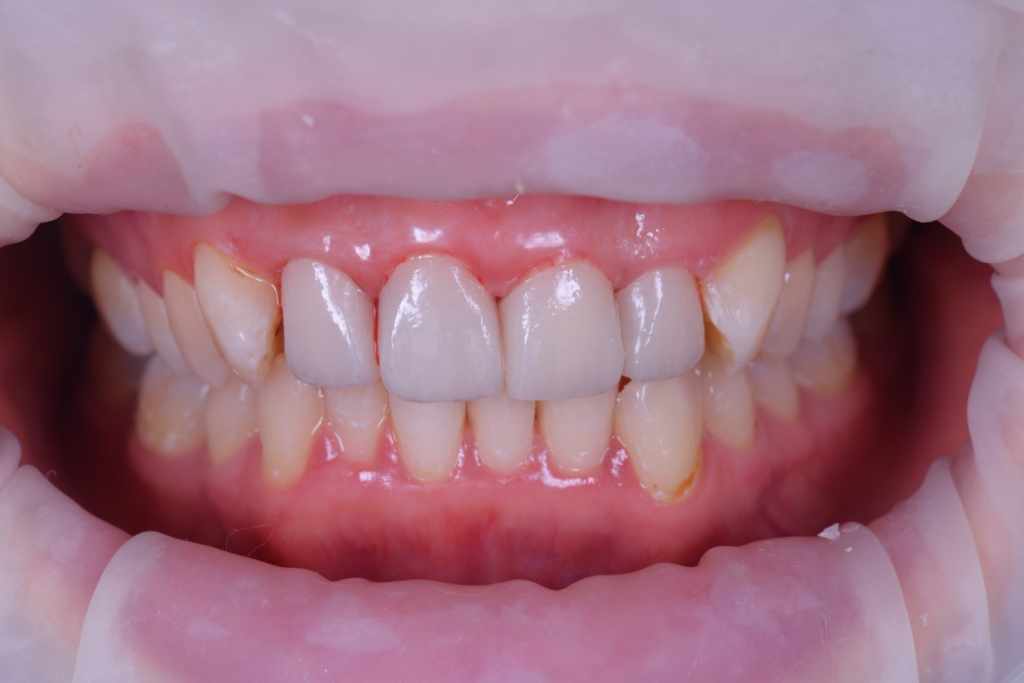
Fig 9: Temporary crowns were made and cemented into the patient’s mouth for the client to use during orthodontic treatment.
Treatment Process: Invisalign Treatment

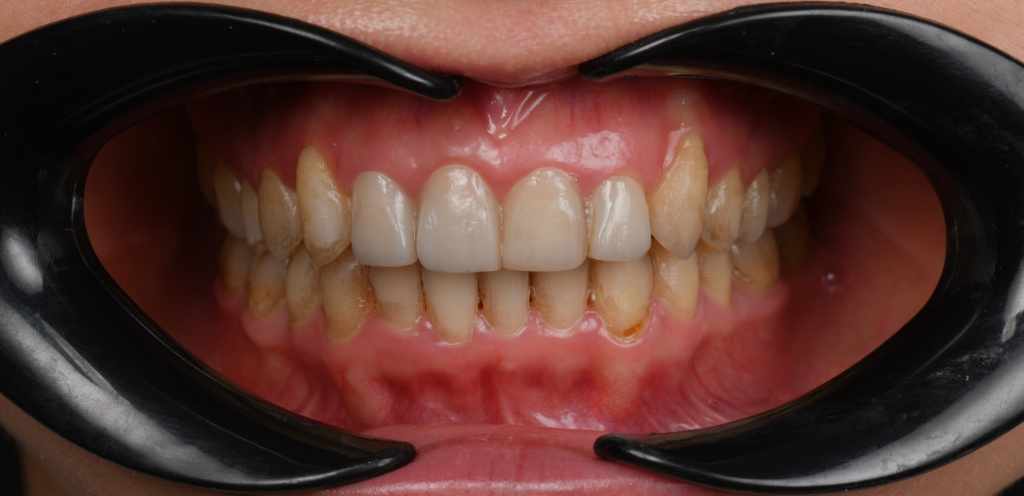
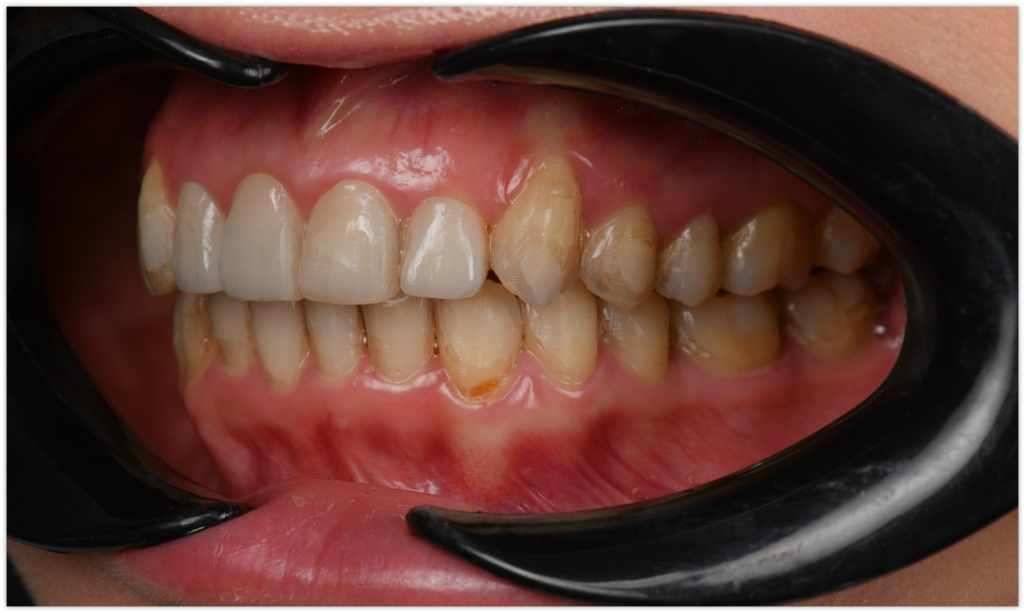
Fig 10-12: Intraoral view of the patient in occlusion after orthodontic treatment with Clear Aligner.
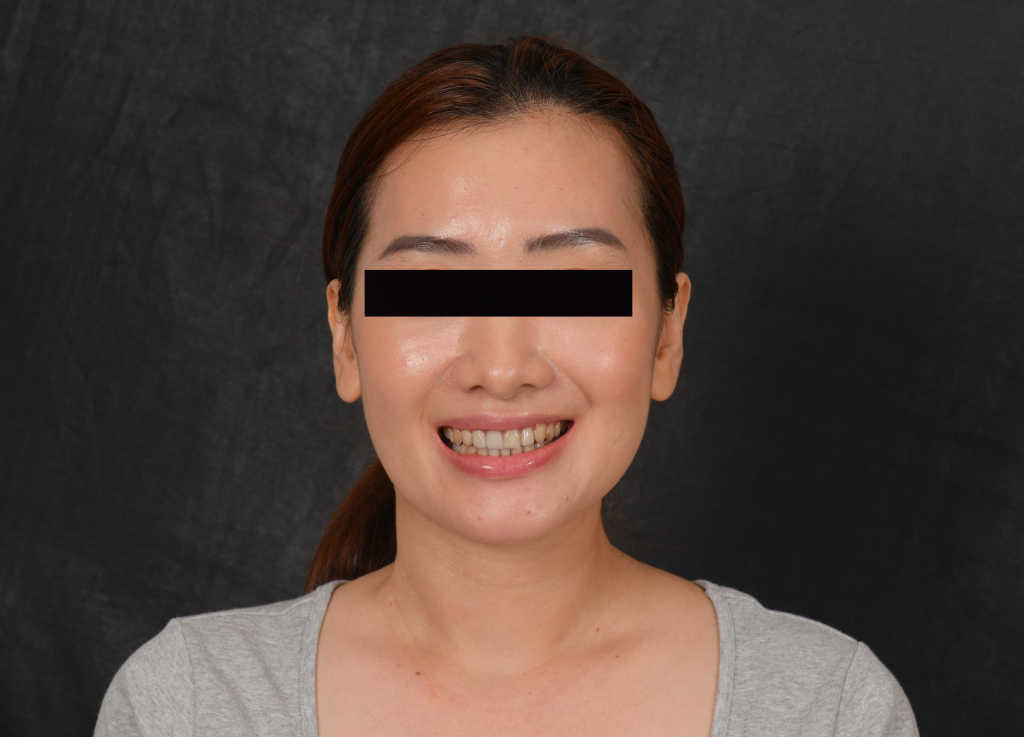
Fig 13:Front view of the patient after orthodontic treatment with Clear Aligner.
Treatment Process: Veneer Treatment
To perform the minimally invasive tooth preparation, the dentist first printed the maxillary and mandibular model using the AccuFab-L4D printer from SHINING 3D with DM12 resin . The model has a high accuracy that can be used for additional mockups.
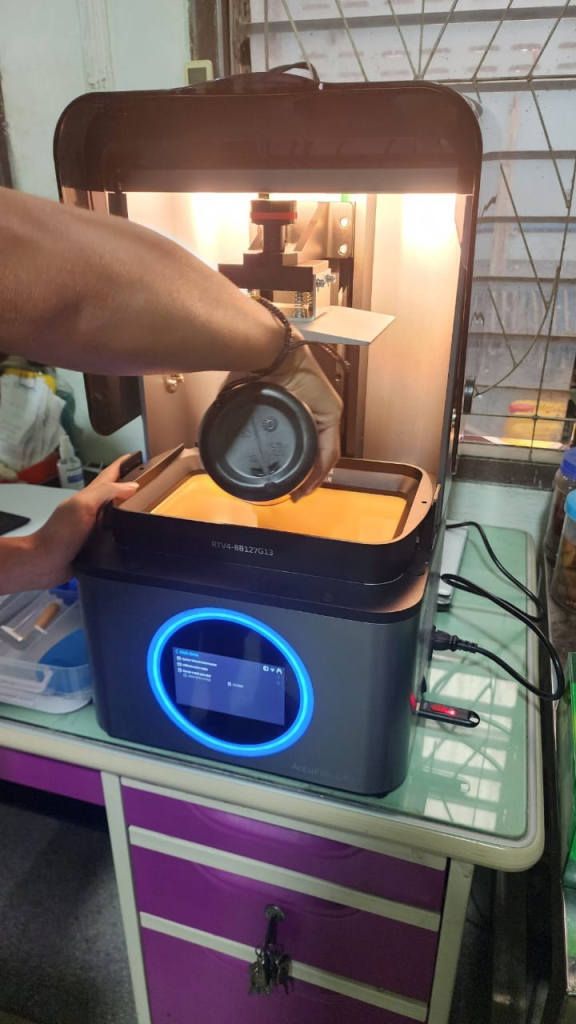
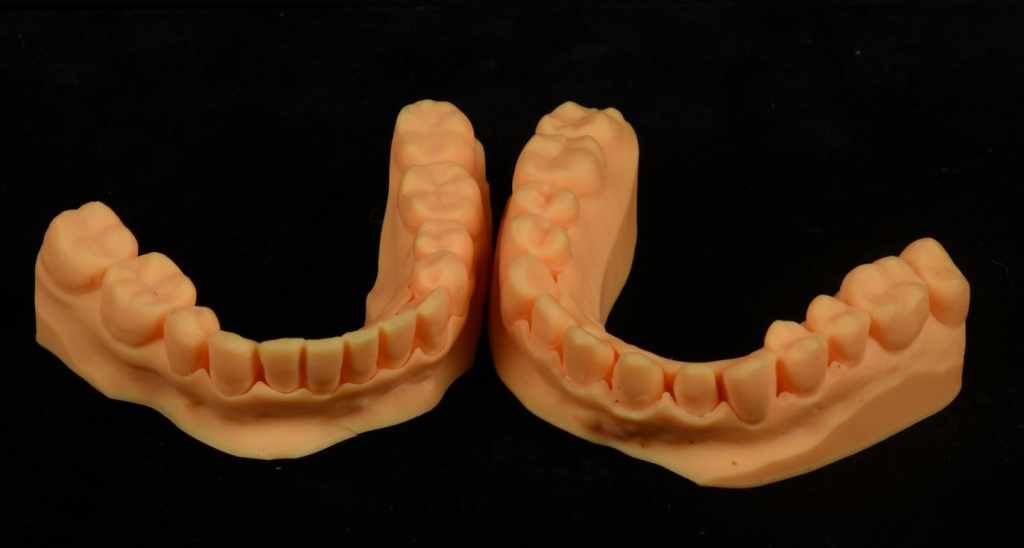
Fig 14,15: The AccuFab-L4D printer from SHINING 3D and the model it printed
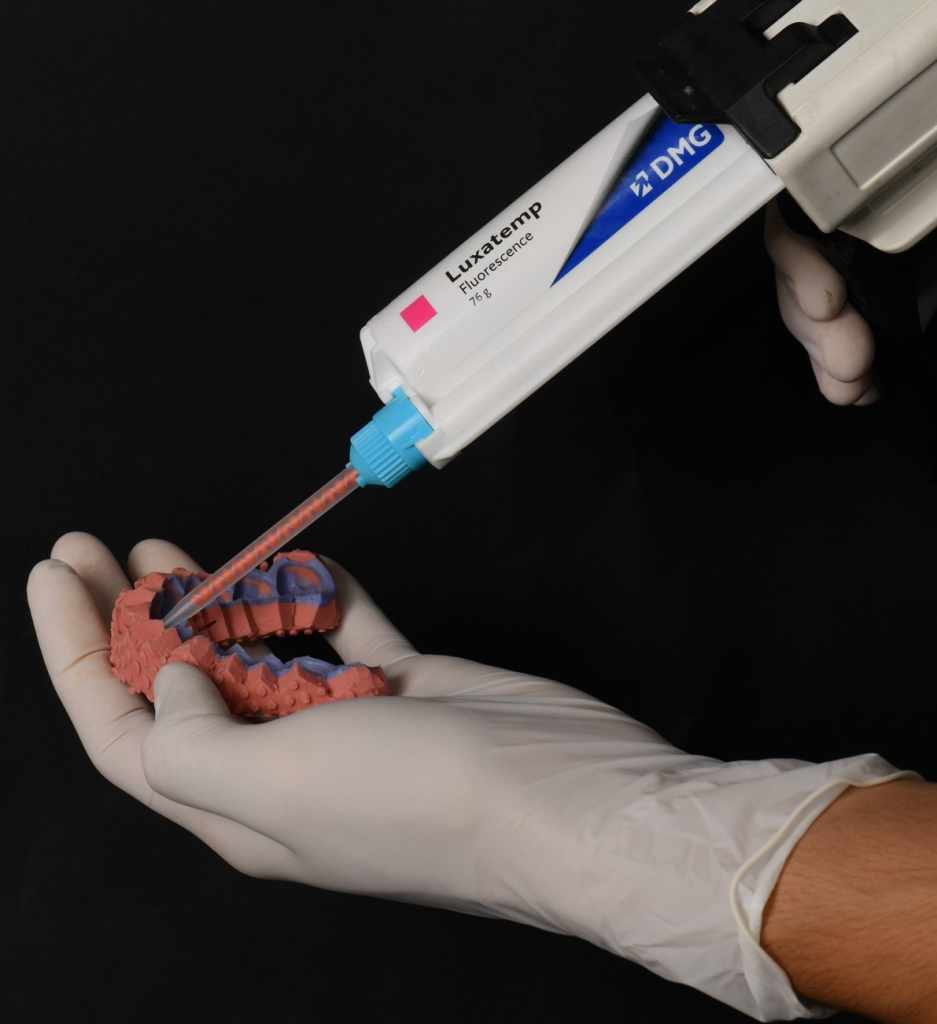
Fig 16: Do mockup
At this appointment, the patient can actively participate in her treatment and provide feedback on the shape of her teeth, which gives the mock-up great potential and facilitates patient acceptance in what is known as emotional dentistry. This is the mock-up of her mouth.
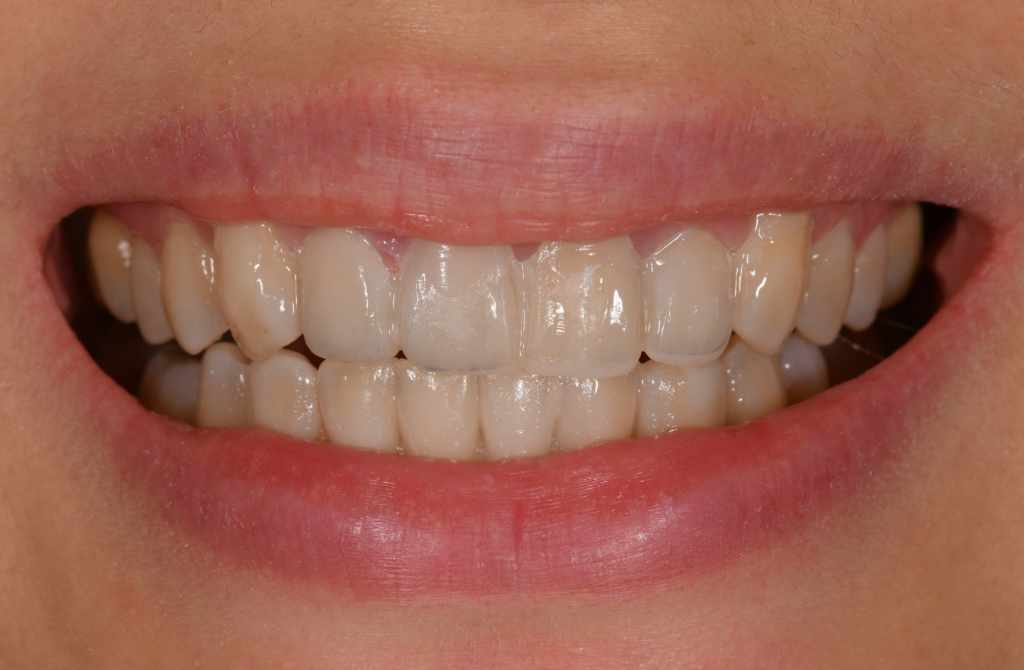
Fig 17: The mockup in patient’s mouth
After the patient was satisfied with the mock-up, the dentists started tooth preparation by diode laser gingivectomy in the upper anterior region and removed the limited tooth tissue.
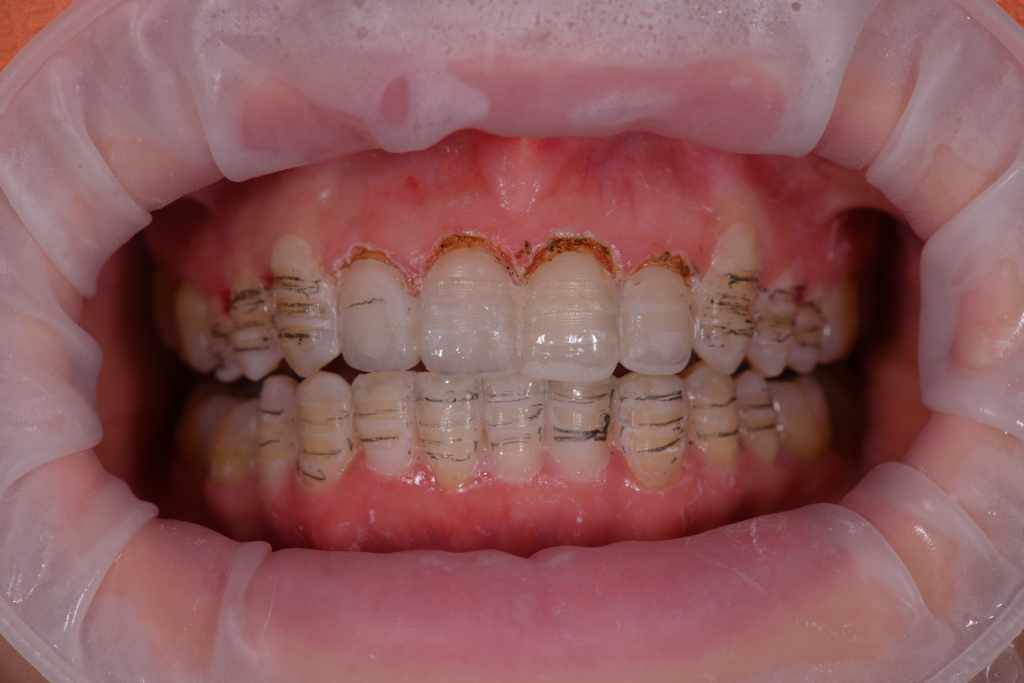
Fig 18: Veneer Preparation in progress
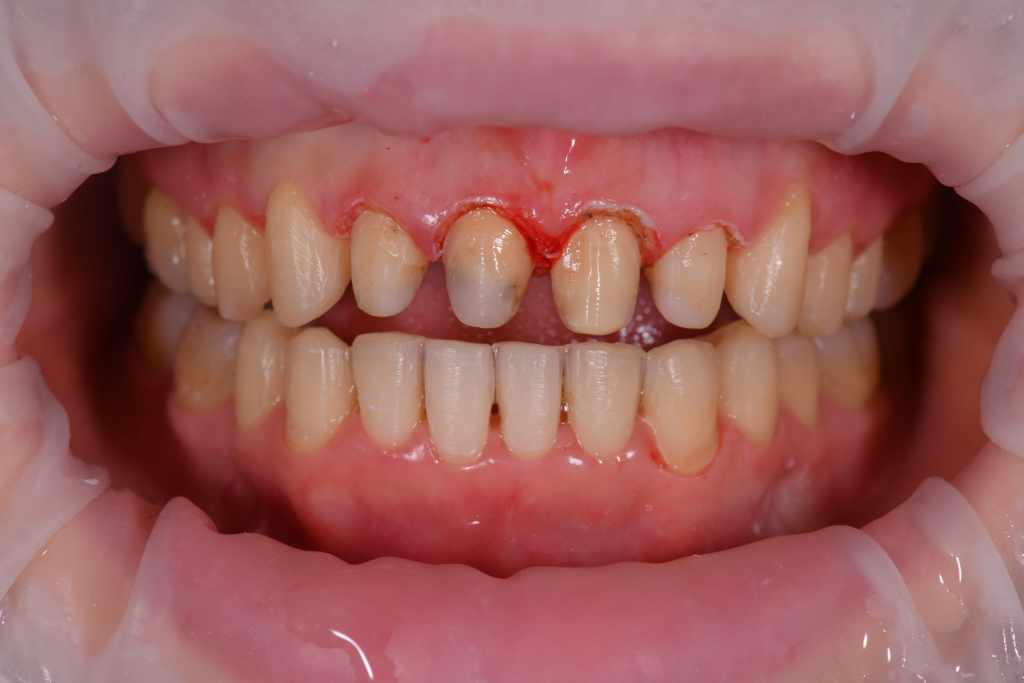
Fig 19: After Veneer & crown preparation
Treatment Process: Digital Impression with SHINING 3D’s Aoralscan 3
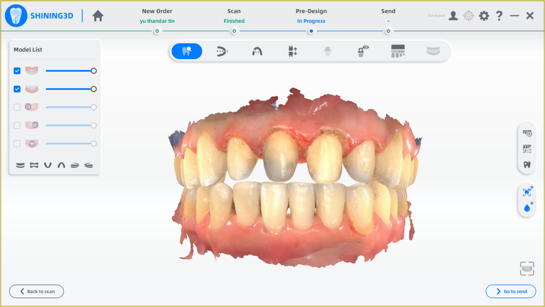
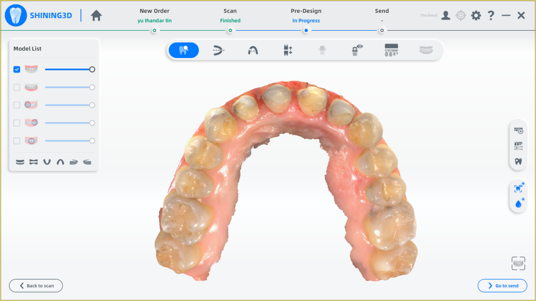
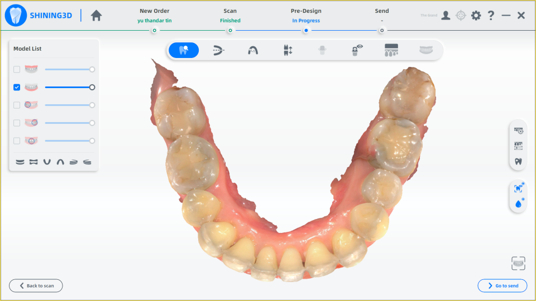
Fig 20-22: The intraoral data
After completion of the preparation, an intraoral scan is taken with Aoralscan 3. Complete intraoral scanning including the occlusion for a complete diagnosis of the patient. All details of the data can be clearly recorded with the intraoral scanner within one minute!
Computer Aided Design (CAD)

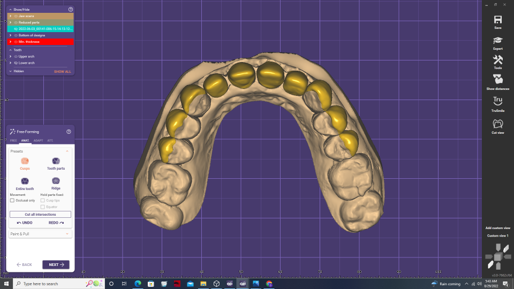
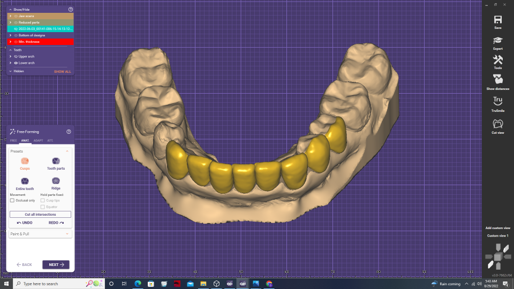
Fig 23-25: Design process in exocad
Then the dentist imported the digital scan data into exocad, designed 6 veneers and 4 crowns in the upper jaw, and 9 veneers in the lower jaw.
Veneers on Cast Model
After confirming that the veneers fitted well on the model, the dentists made an appointment with the patient for the final step of the treatment – fixing the crowns and veneers.
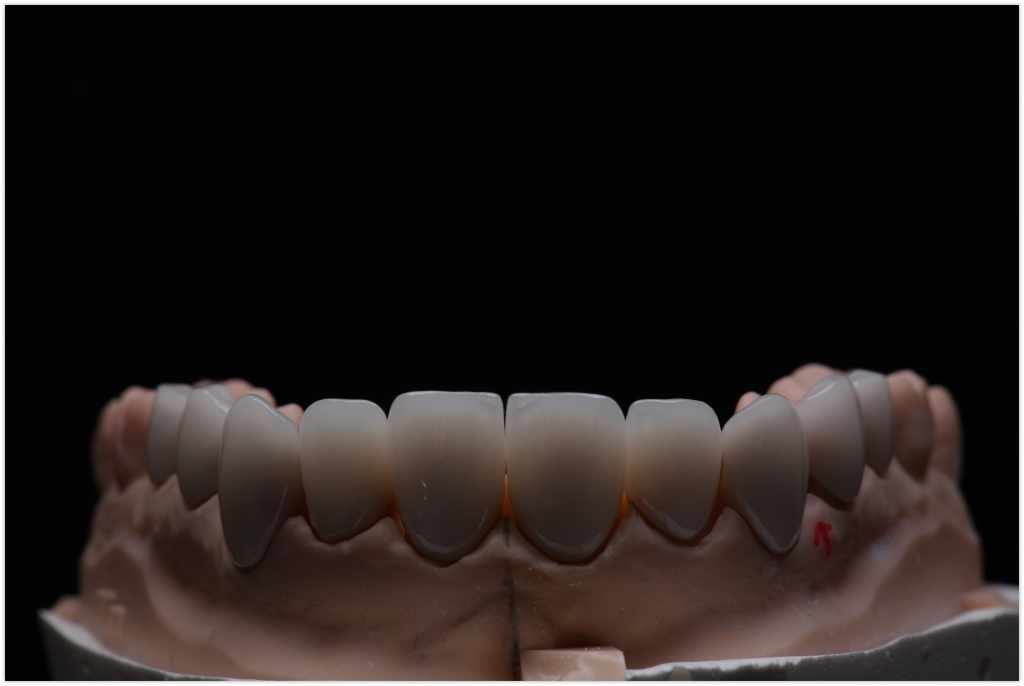
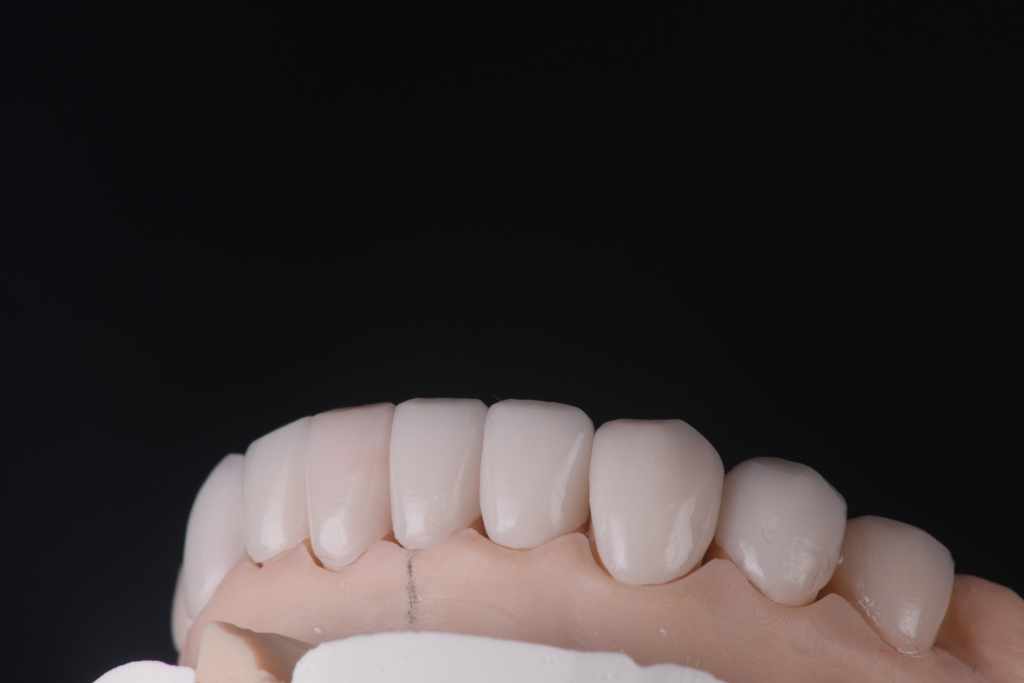
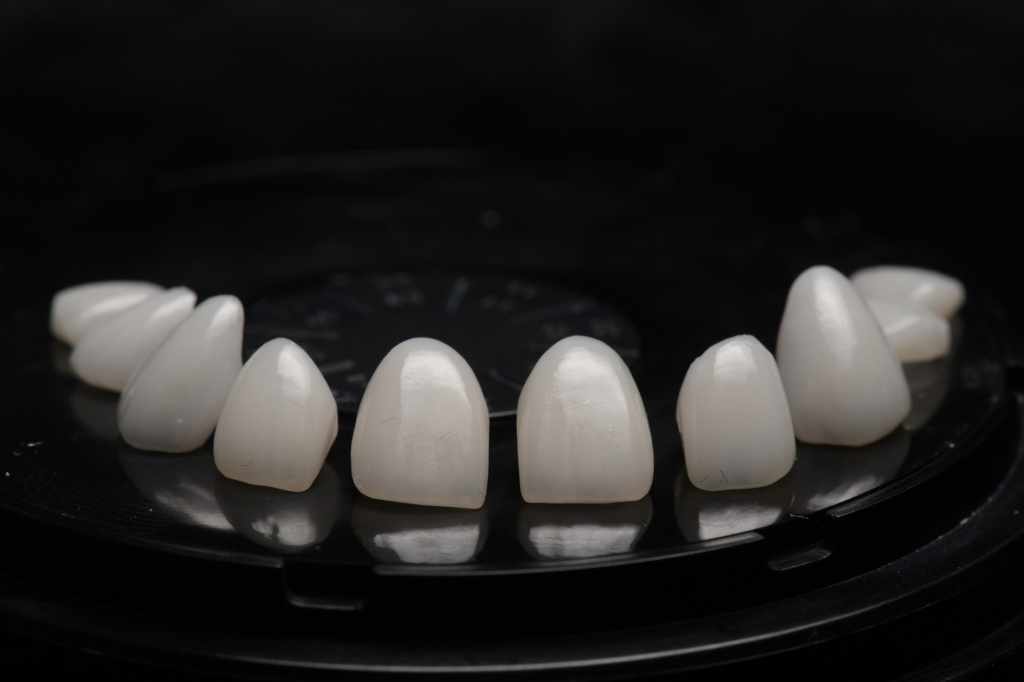
Fig 26-28: the model for minimally invasive anterior restorations
Fixing Veneers
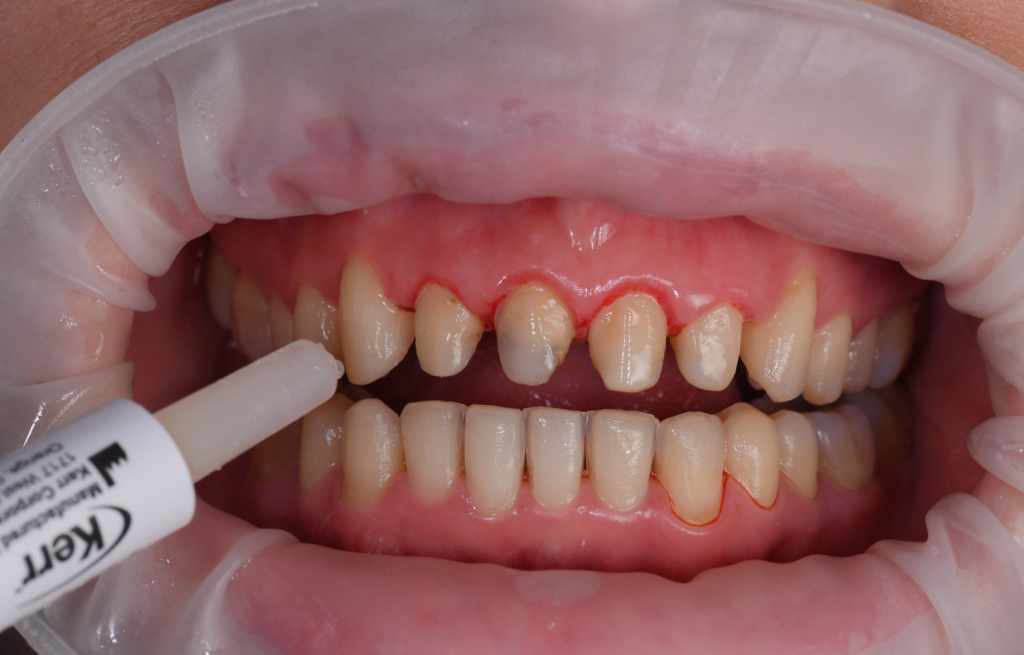
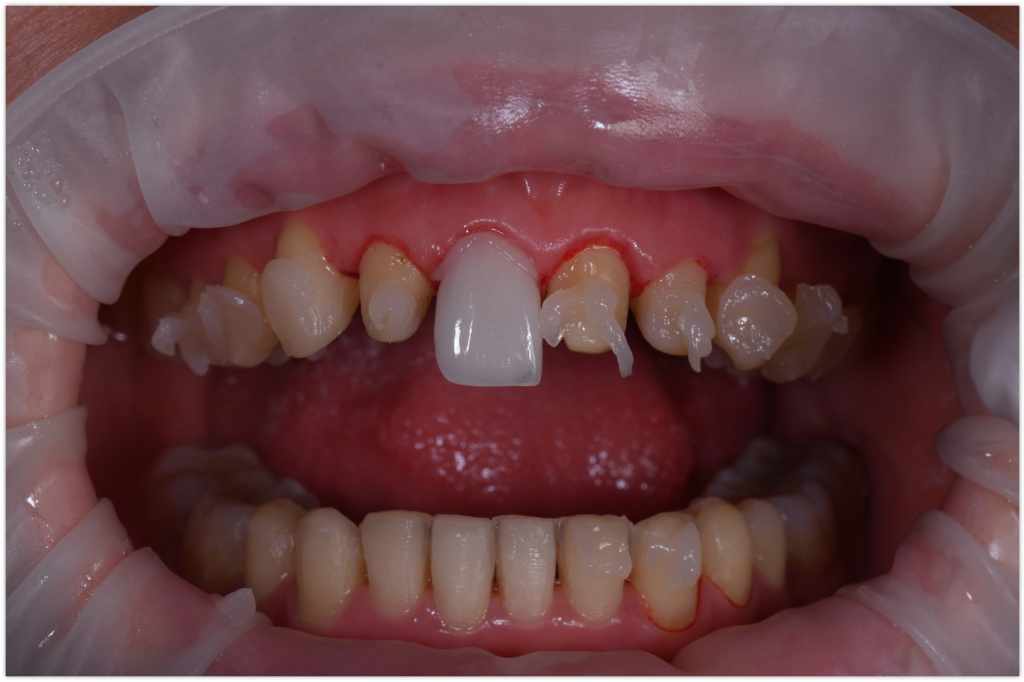
Fig 29,30: Veneer try-in stage
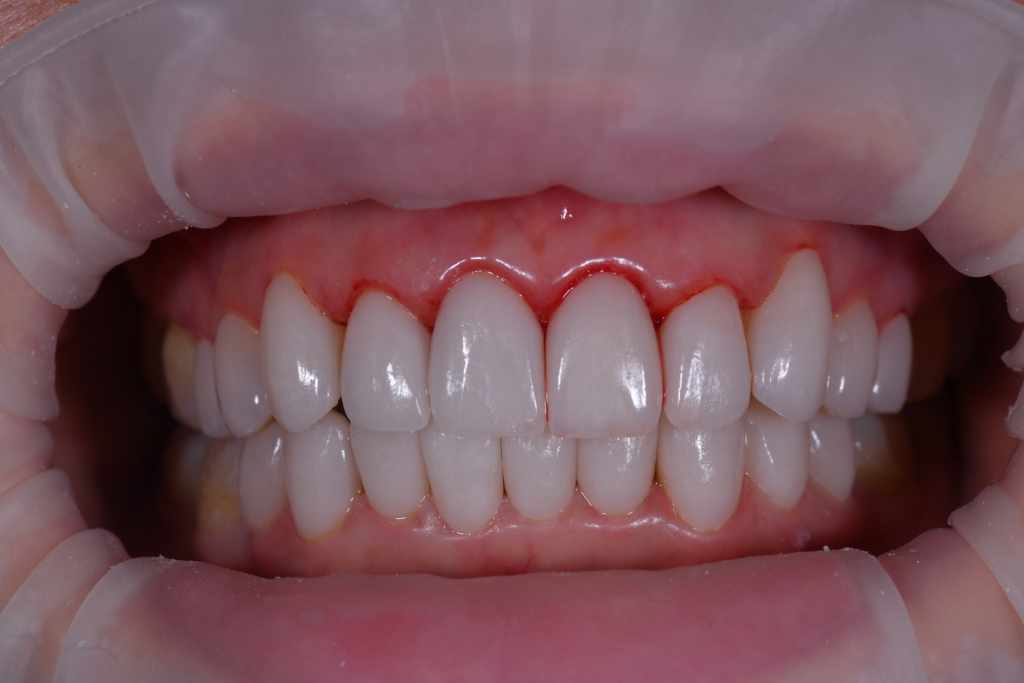
Fig 32: After the final cementation of the veneers. This is an immediate postoperative photo of the upper and lower arches.
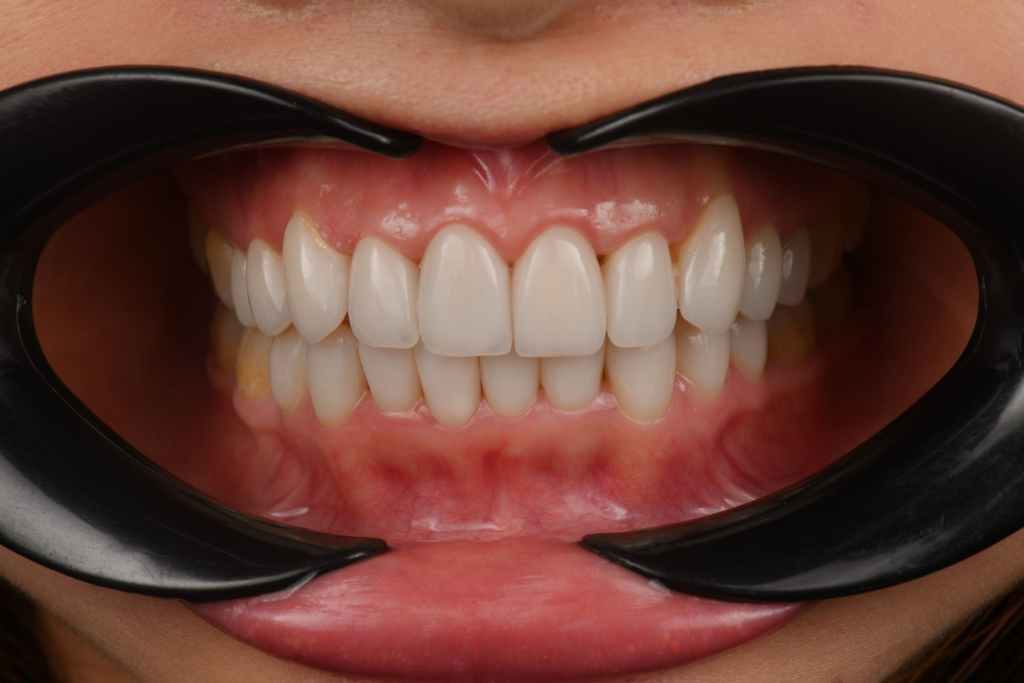
Fig 32: Follow-up after 2 weeks
The Effect of Minimally Invasive Anterior Restorations


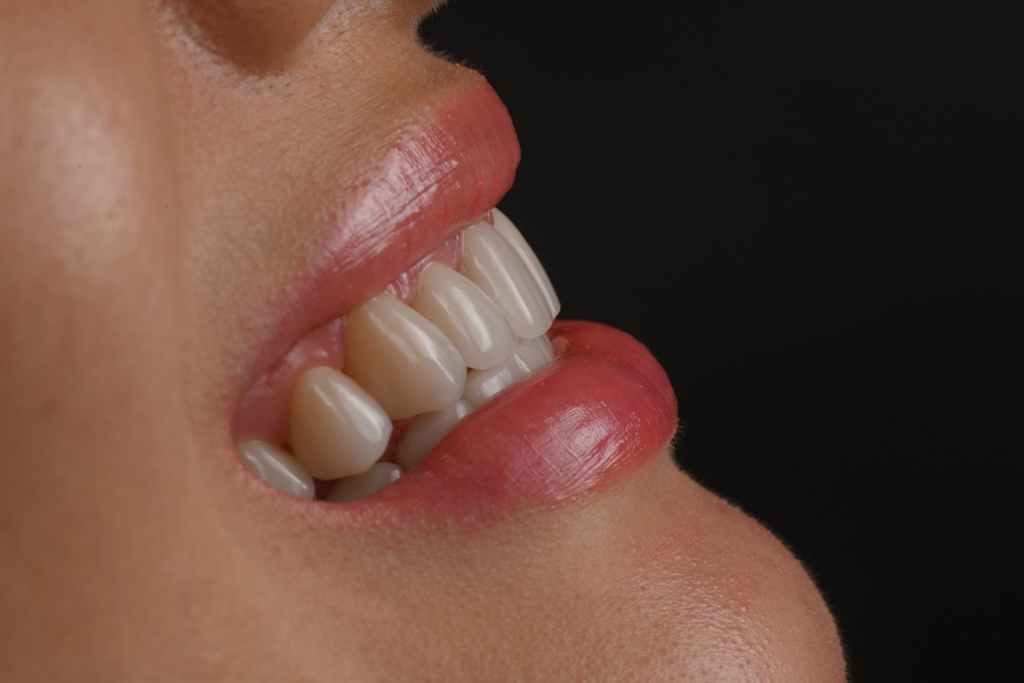

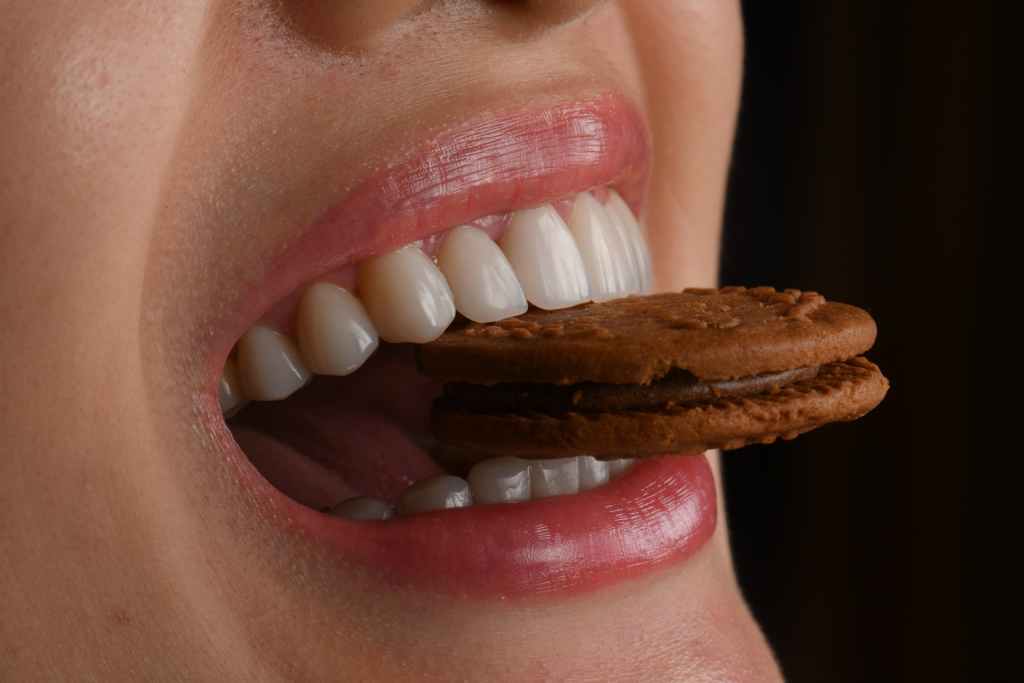
Fig 33-37: Two months later, after delivery, the patient got a nice looking tooth position and shade.
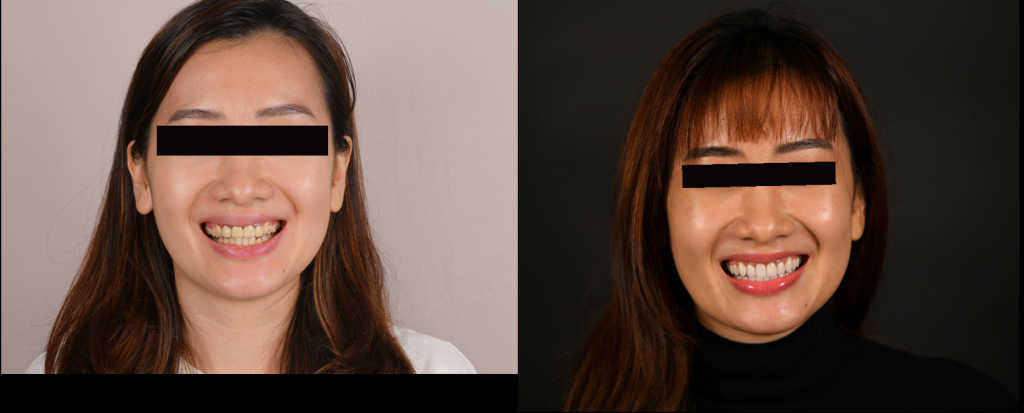
Fig 38: Front View, before and after treatment
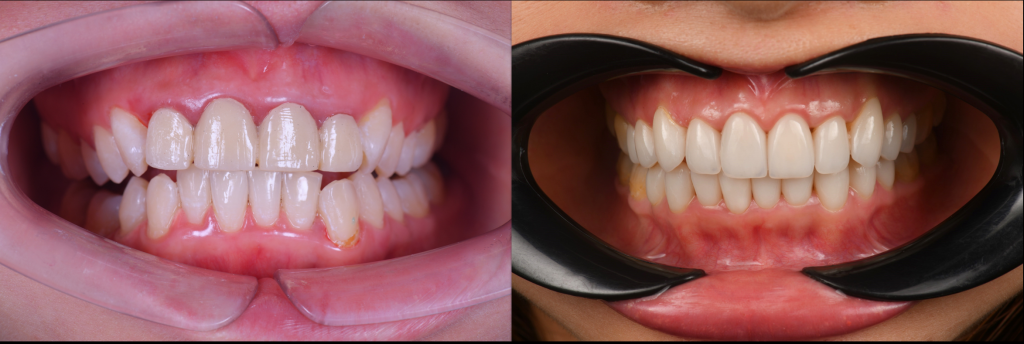
Fig 39: Intraoral anterior view, before and after treatment

Fig 40:Intraoral left side view, before and after treatment
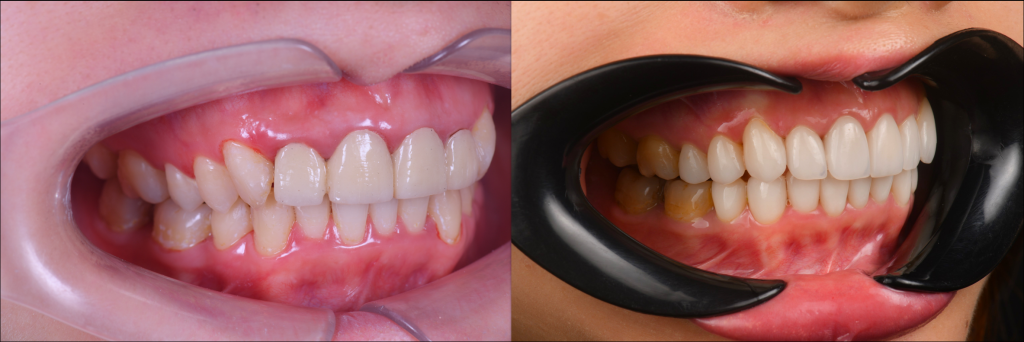
Fig 41:Intraoral right side view, before and after treatment
Case Summary
In this case, we use laminate veneers, which help to realize minimally invasive anterior restorations, while the laminate veneers are color-enhancing and stable for long-term use.
By using a digital intraoral scanner to capture the entire facial and dental structure, manual errors are reduced, and diagnosis is more accurate, especially in difficult cases. At the same time, costs are reduced, and impression materials are saved. Additionally, digital impression taking seems to be the preferred method by patients regarding time efficiency, convenience and comfort.
All these effects are due to the fast-growing digital technology, which enables better and cheaper dental treatment in the future.