 ENG
ENG


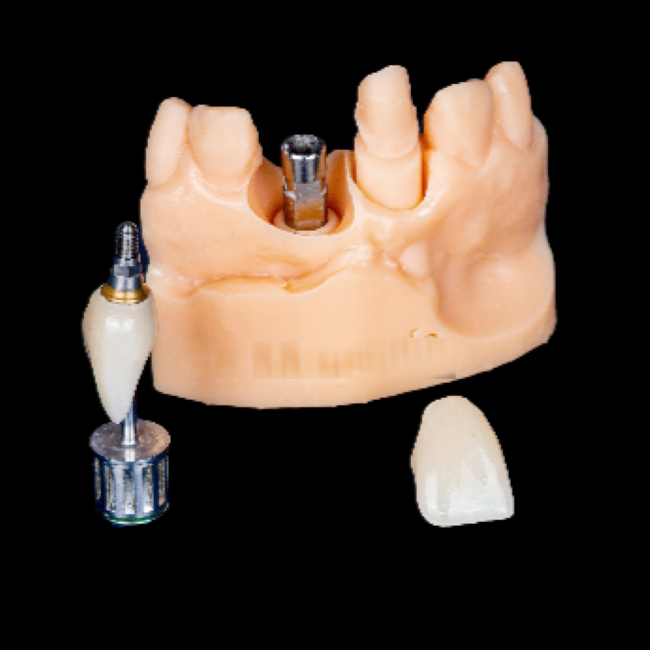
Table of Contents
The restoration of implants in the anterior aesthetic zone always poses a challenge to achieve a perfect outcome, as the metallic color of the implant body may hinder achieving an excellent “pink-white esthetic”. However, with the widespread adoption of digital technology, both treatment experience and outcomes have significantly improved.
Today’s case is presented by Dr. Abdelrahman Khalaf and Dr. Kirollos Hany, who possess exceptional expertise in the field of dentistry and are renowned for their extensive experience in implant treatment .

Fig 1: Dr. Abdelrahman Khalaf and Dr. Kirollos Hany are from the Faculty of Dentistry at Assiut University in Egypt
Case Profiles with Treatment Plan
Chief complaint: a young male patient had lost his anterior teeth #21 by accident and had #11 with caries. He desires restorative treatment for both teeth #21 and #22 to achieve optimal aesthetic outcomes. After a comprehensive discussion between the patient and the dentist, considering treatment effectiveness, duration, and cost, the final treatment plan includes implant restoration for tooth #21 and crown restoration for tooth #11.
Design & Print the Implant Surgical Guide
The intraoral data was efficiently captured by the Aoralscan 3, an intelligent intraoral scanner manufactured by SHINING 3D. Subsequently, the digital model was imported into exoplan for precise surgical guide design (Fig 2, Fig 3), which played an important role in accurately placing the implant body with the appropriate position, depth, and angle during the implant surgery. The digital surgical guide was printed by AccuFab-D1s using specific resin SG01(Fig 4).
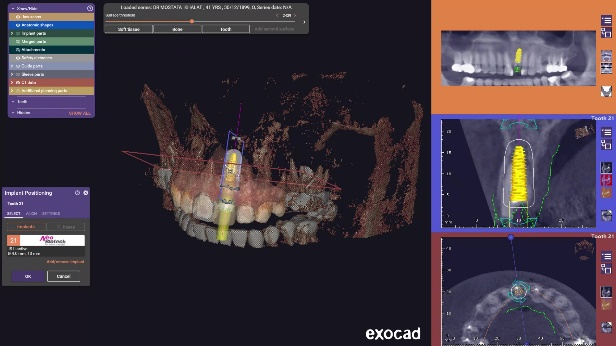
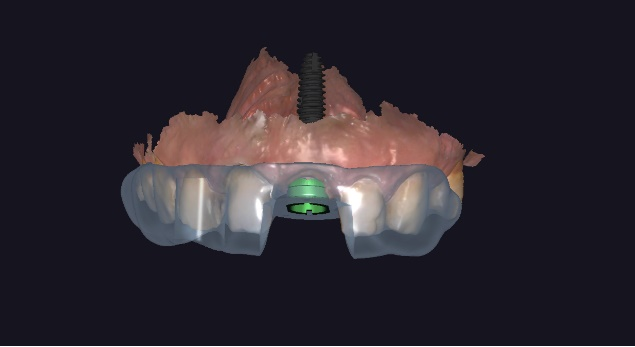
Fig 2, Fig 3: The design process of surgical guide.

Fig 4: The dentist uses AccuFab-D1s to print the surgical guide.
Intraoral Scan and Design Process
The dentist proceeded with an implant surgery for the patient, placing an implant body in the #21 position and allowing for osseointegration over a period of time. After three months, the patient returned for upper restoration. Intraoral scans were taken once again by Aoralscan 3 and this data was imported into exocad software to design of the final crowns.
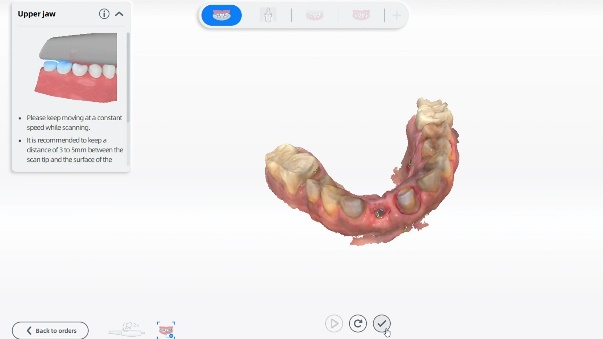
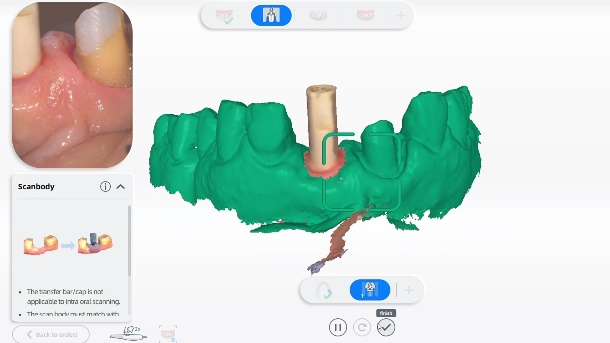
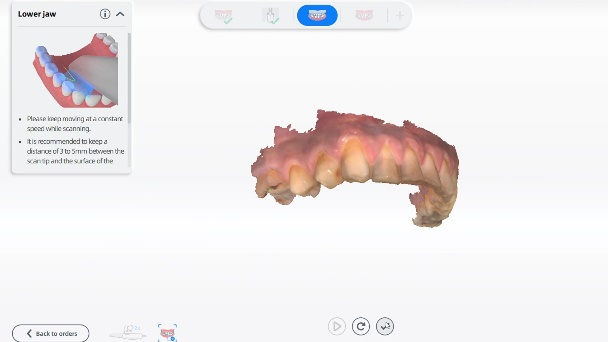
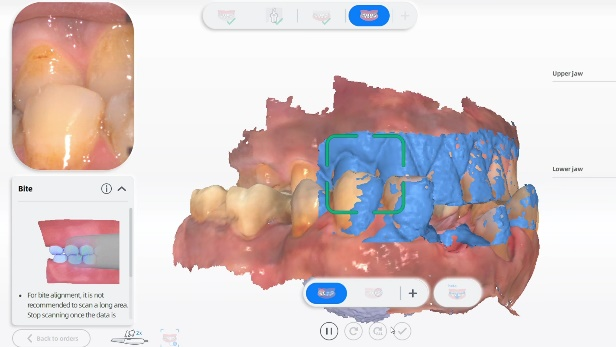
Fig 5-8: The intraoral scan process
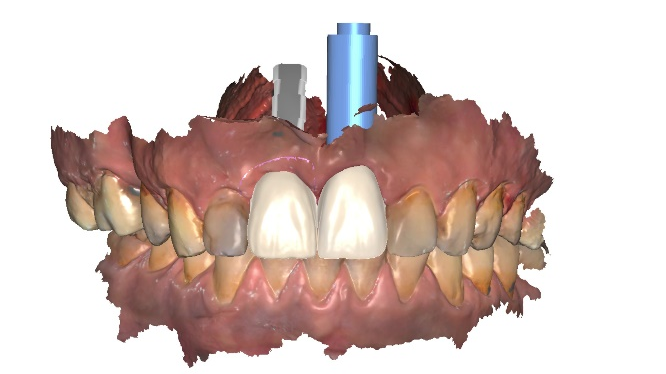
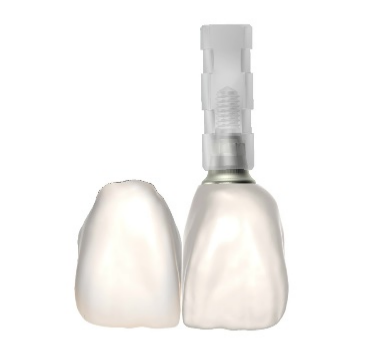
Fig 9,10: The design process in exocad
Final Restorations
The final restorations were fabricated using a zirconia milling machine. An inspection model was 3D printed for quality test.

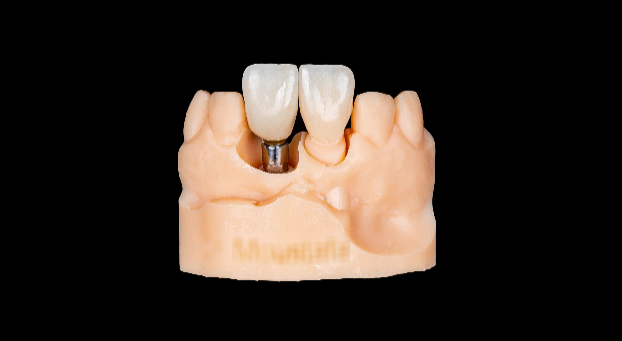
Fig 11,12: The zirconia crowns and the printed model.
Fixing Teeth in the Mouth
The dentist placed the crowns in the patient’s mouth, resulting in a visually pleasing and aesthetically beautiful smile. The patient expressed great satisfaction with the outcome of the treatment.
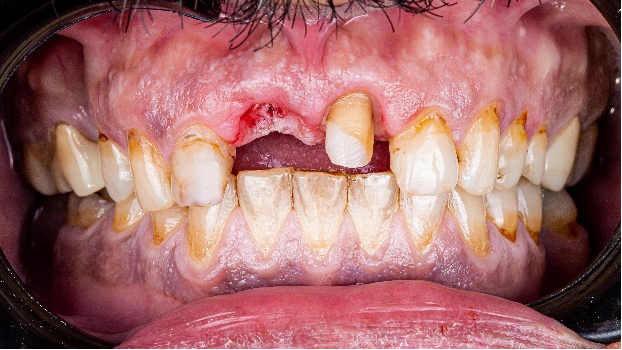
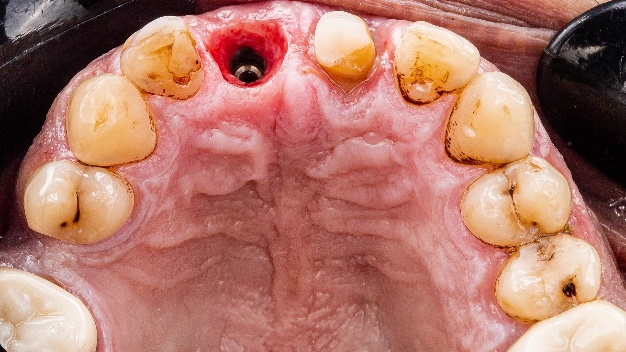
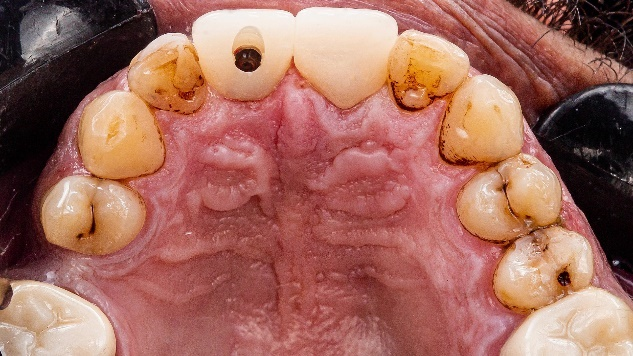


Fig 13-17:The fixing process.
Comments from Dentists
The pink-white esthetic in the anterior region holds significant importance for patients who prioritize their smile and overall appearance. Thanks to advancements in intraoral scanning technology and 3D printing, surgical guides and crowns have become more precise, thereby ensuring a better treatment outcome.