ENG
ENG


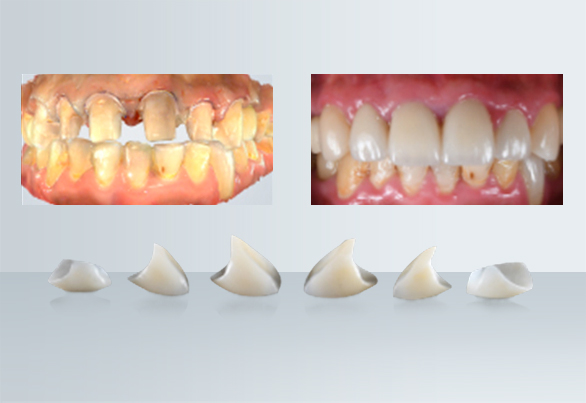
Table of Contents
Dentist Wang Nan walks us through his digital smile design workflow with 3D scanning and 3D printing.
Dentist

Wang Nan
Core member of digital aesthetics studio at Hangzhou Dental Hospital (west branch)
Products required
Case Overview
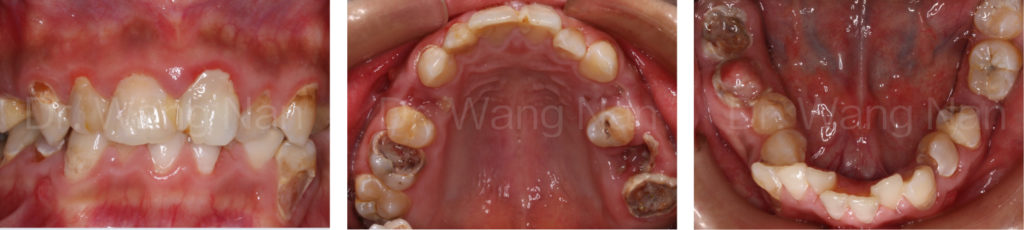
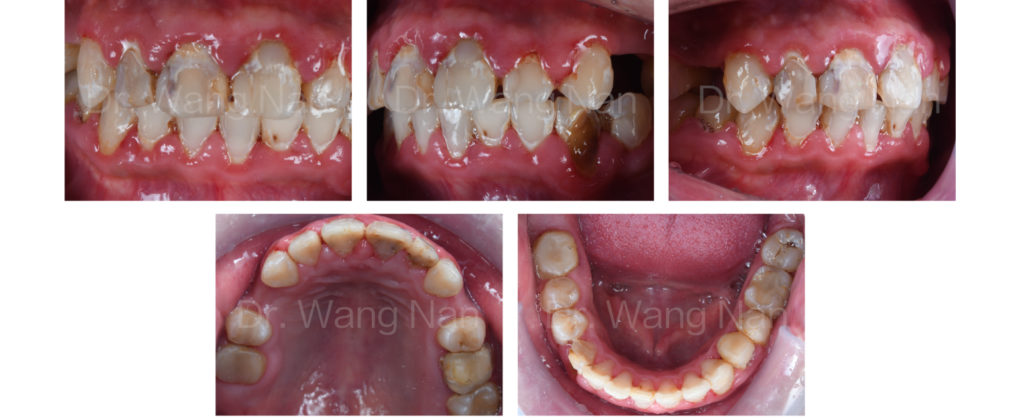
The patient’s first visit in January, 2016:
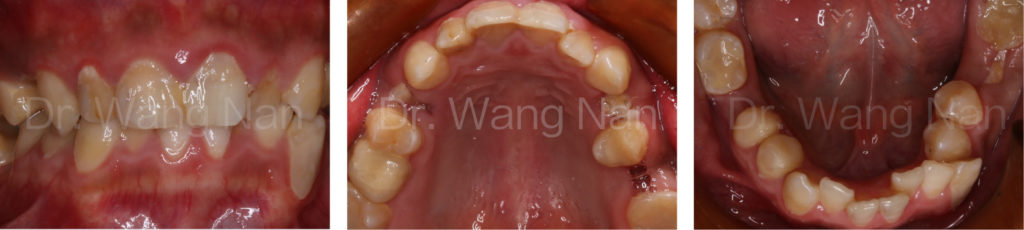
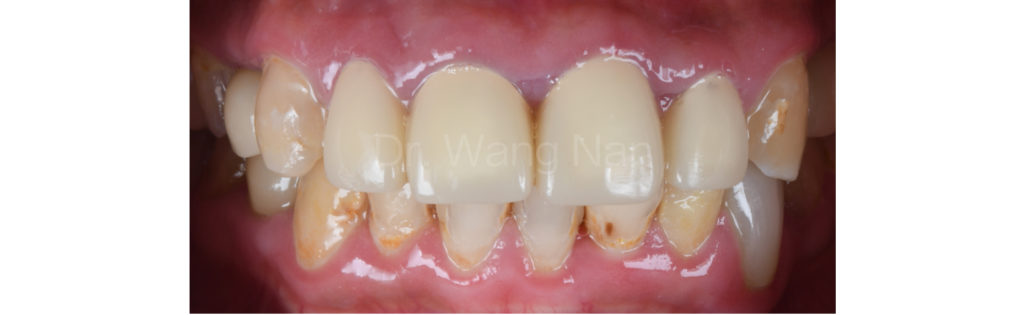
May, 2016, after a periodontal and basic dental treatment:
The patient in May, 2019, after orthodontic treatment:
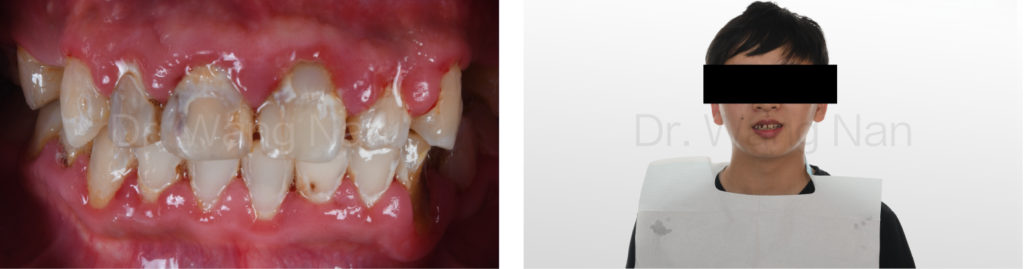
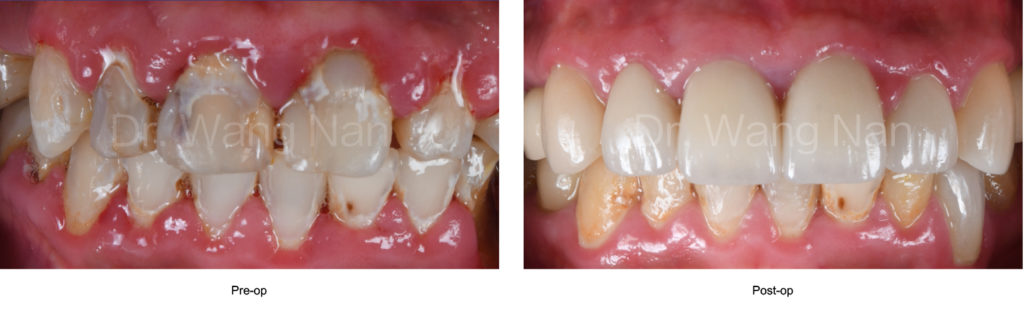
Chief complaint: bad-looking anterior teeth, together with maxillary posterior tooth loss and tooth body defect.
Preoperative Examination
Red and swollen gums, tooth calculus, soft tartar in level 3
Periodontal bleeding and no obvious “attachment loss”
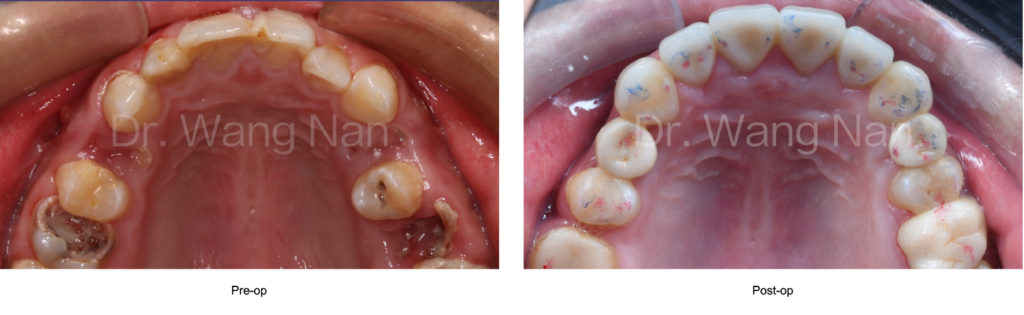
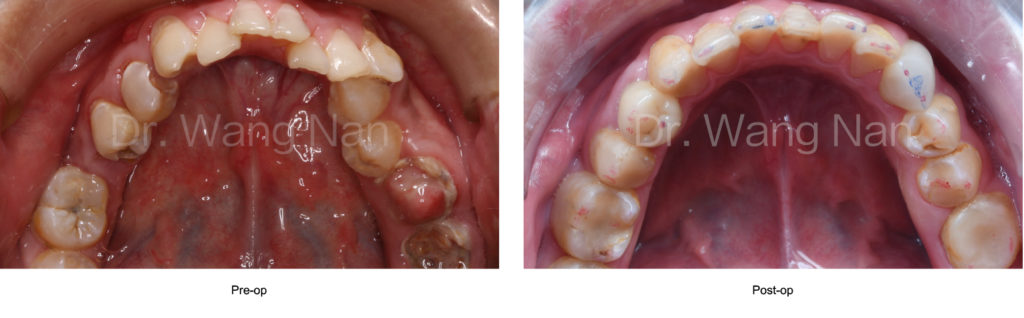
#14, #24 teeth missing
#33 – #43 decay in lip and approximal side; #34, #45, #47 severe decay
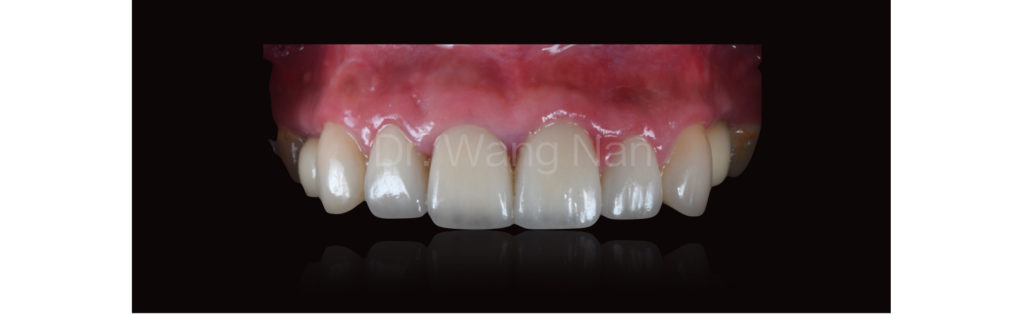
#13 – #23 partial tooth loss and aesthetic defect
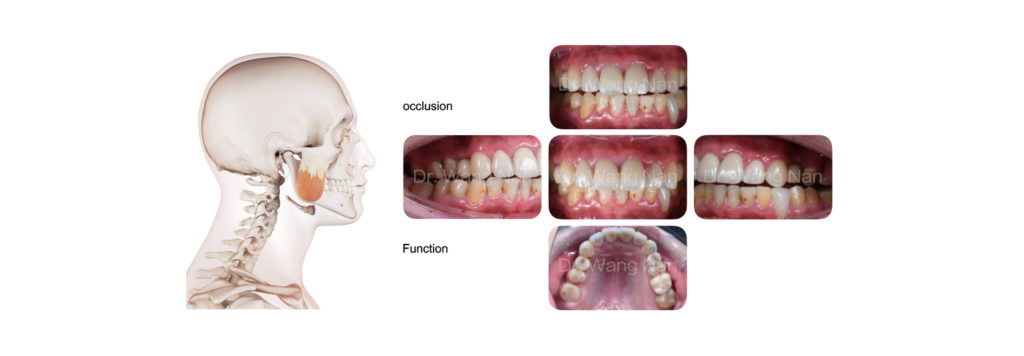
- Face is symmetrical on the left and right sides
- No obvious disorder in the lower third of the patient’s face
- No obvious discomfort or tenderness in joints

- Connection between the two pupils are horizontal
- Midline is slightly off-center
- The upper and lower incisal plane is slightly off-center

- E-line : The upper lip lies behind the E-line
- Nasolabial Angle: 90°-95° for male, 100°-105° for female

Treatment Plan
Stage I
- Perform complete oral cleaning then prep and restore #12- #22 with resin temporary crowns
- Full arch periodontal treatment
- #14, #24 implant-based restoration
- #33, #34, #45 RCT and #16, #34 anatomic crown restoration
Oral rehabilitation within 3 months after the first stage of treatment
Stage II
Aesthetic restoration of upper anterior teeth
Major problems
- Periodontal treatment
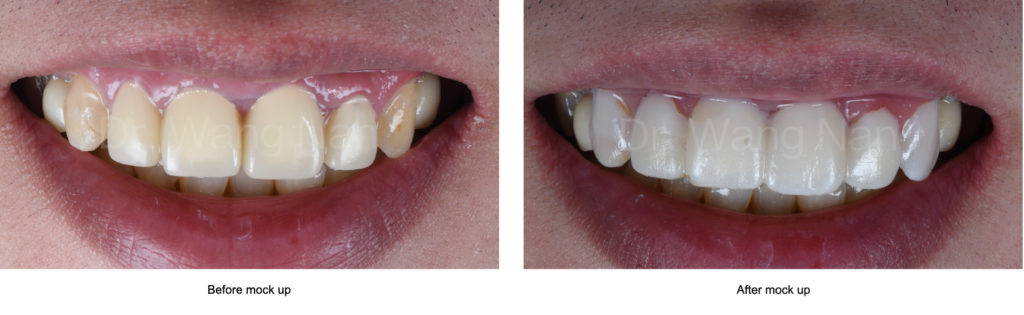
- Aesthetic defect of anterior teeth
- Coordination between the restoration and the patient’s face
Solution
Face-oriented aesthetic restoration
Digital Smile Design Workflow
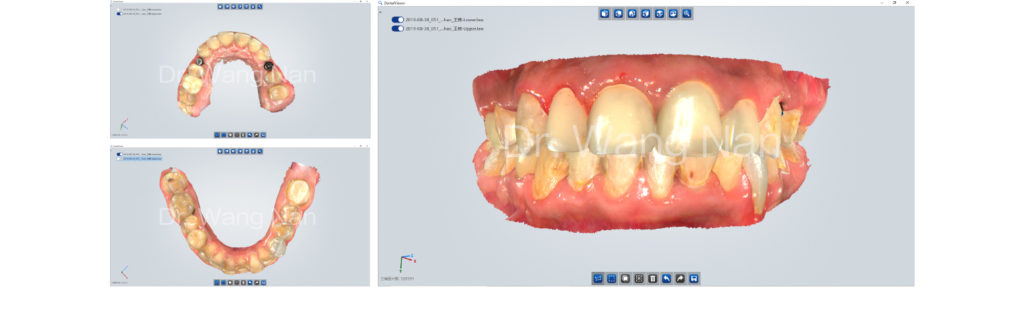
1. Data acquisition
Acquire data with SHINING 3D’s Aoralscan intraoral scanner
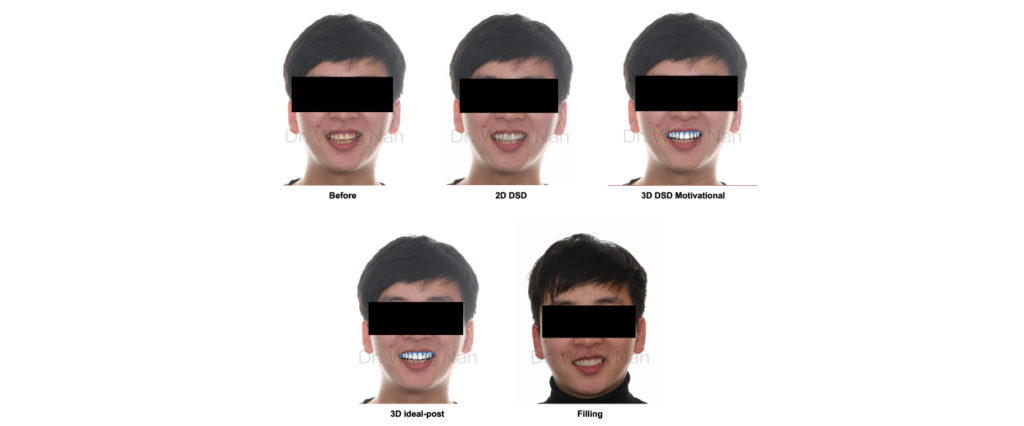
2. DSD design
2.1. 2D DSD

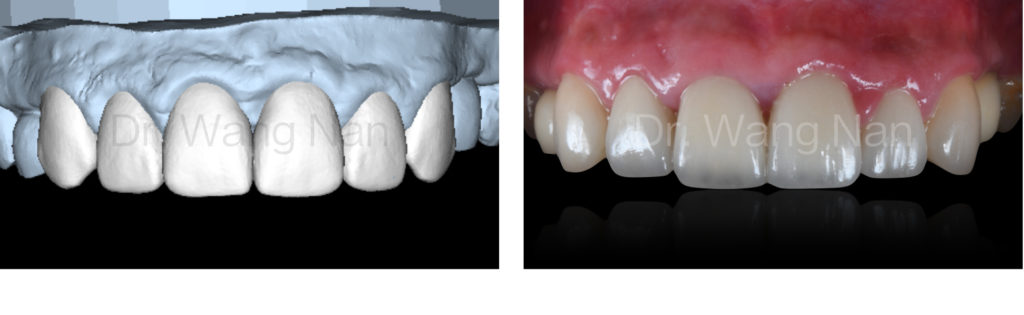
2.2. DSD design – 3D DSD

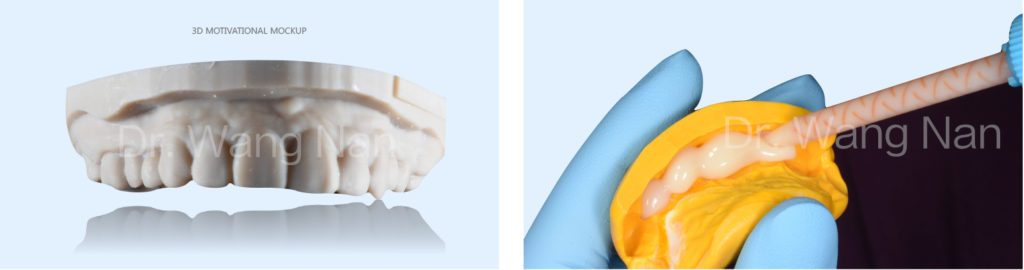
3. Diagnostic model making
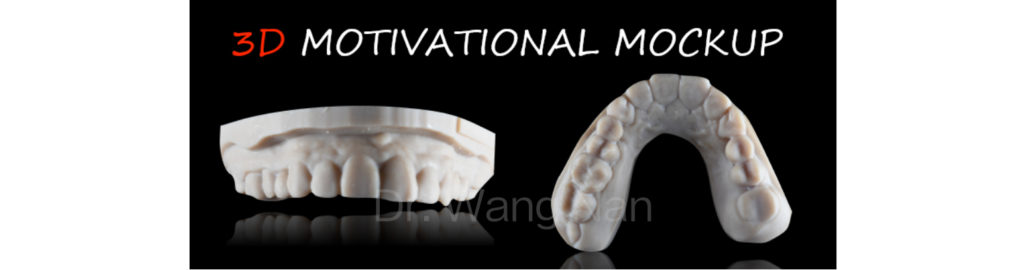
4. Mock up
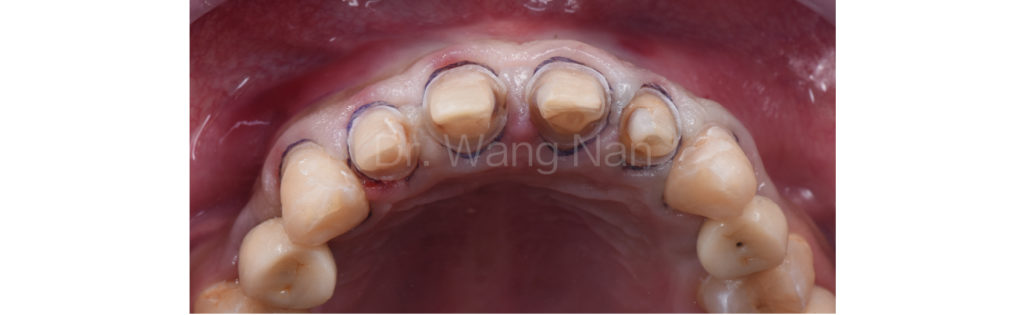
5. Tooth preparation
Once the mock up is confirmed, prepare patient’s teeth.
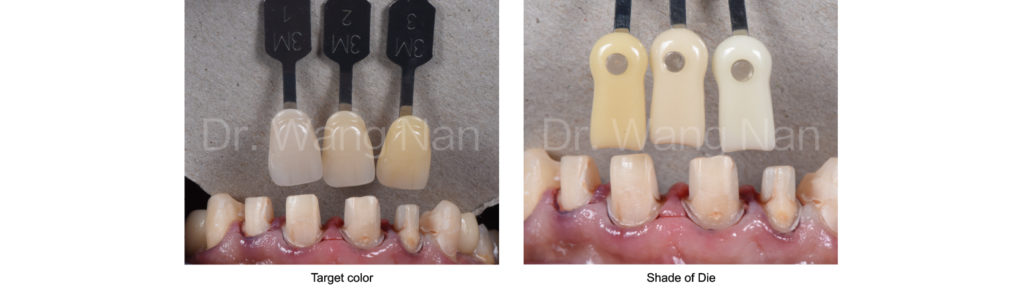
6. Shade
Determine the tooth shade after tooth preparation
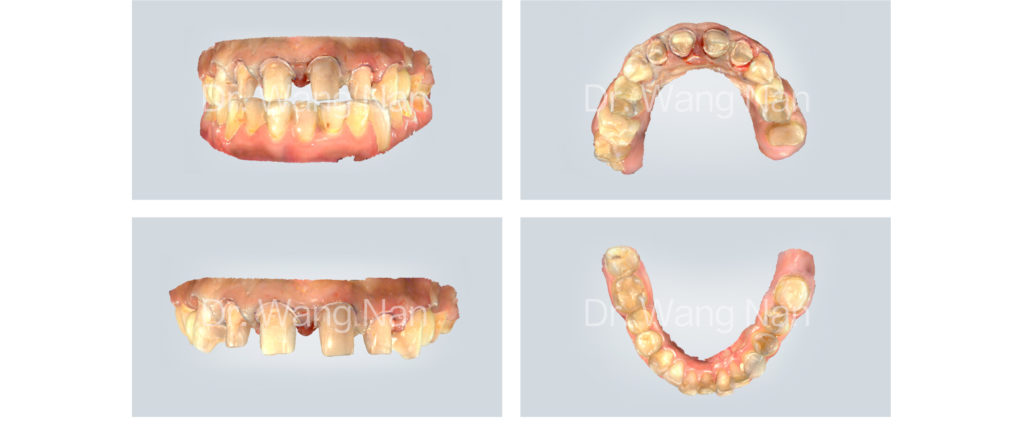
7. Data acquisition
Acquire the intraoral data after tooth preparation with SHINING 3D’s Aoralscan intraoral scanner.
8. Finish restoration

9. Try-in
Analysis of try-in
Special thanks to Hangzhou Dental Hospital