 ENG
ENG


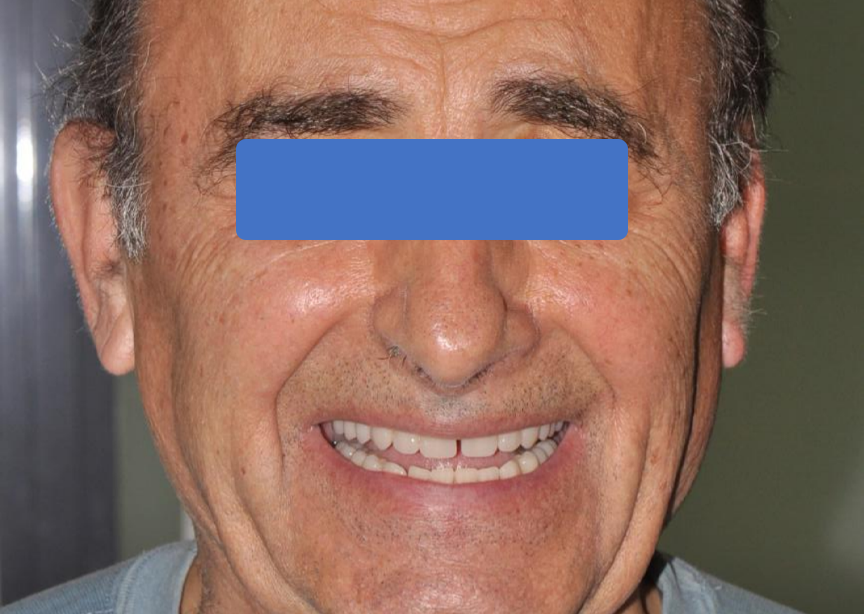
Table of Contents
This case study from Dr. Federico Guerci and Odonto5 Lab explores how to create a 3D printed full denture with SHINING 3D Aoralscan and dedicated software.
1. Smile design project with Ruthinium Digital Preview software

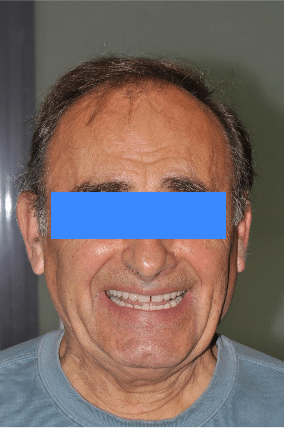
There was a full upper denture and a lower removable denture in the patient’s mouth. However, the patient was feeling uncomfortable and thus willing to re-do the upper full denture.
First, we took a 2D picture with the old dentures inserted. Then, we imported the picture into Ruthinium Digital Preview, a digital smile design (DSD) software. After some designing, we obtained a preview (see right picture). The picture on the right was the effect after design (a small gap between 11&21 was required).
We could then share this resulting design preview with the patient in real time. The design can be exported to Maestro software for reference during the design process once the patient is satisfied with the result.
2. Upper and lower intraoral scanning with the Aoralscan
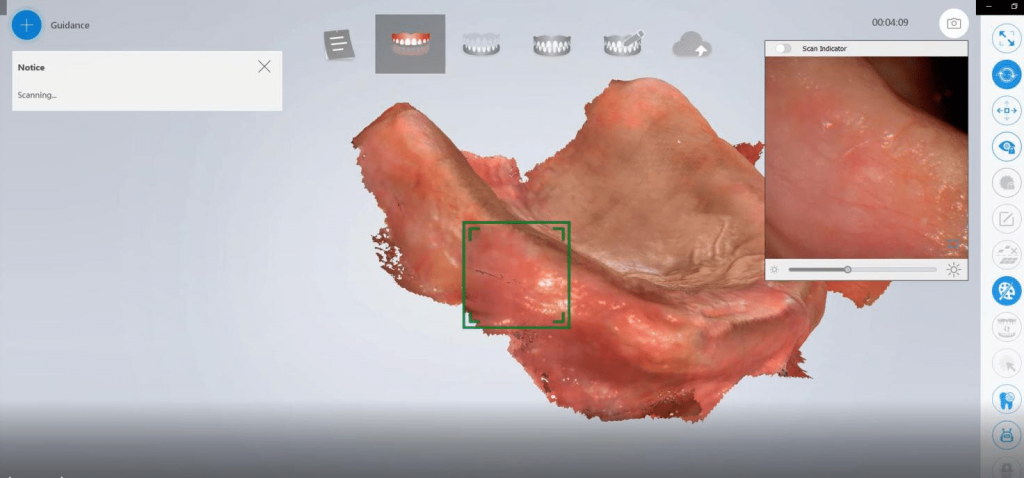

After the 2D picture and design process, we captured the patient’s upper and lower jaw data with the SHINING 3D Aoralscan. The resulting 3D data is useful for the subsequent denture design.
The 3D scanning process is comfortable for the patient as it is quick, efficient, and eliminates the need for physical impressions that sometimes cause nausea.
3. 3D Prosthetic project edited using Maestro 3D and Ruthinium software


We imported our smile design from Ruthinium Digital Preview software into Maestro software as a reference for tooth arrangement.
- 3D project of “Denture Guide” prosthetic tool by Maestro

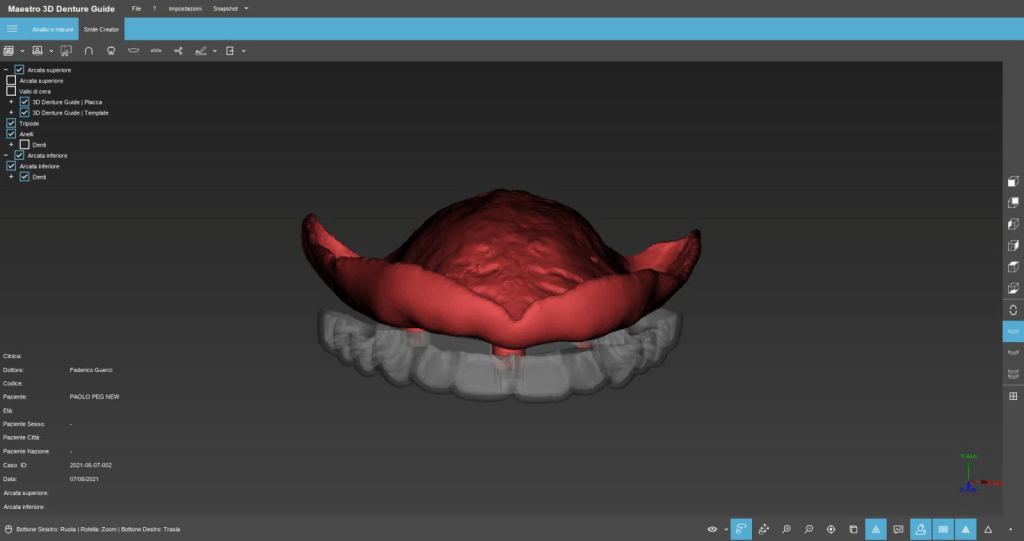
After denture design was completed , denture guide would be generated ( guide could be divided into 2 parts , one part was a base , another part was used for tooth positioning). It could be used to determine whether the vertical height and fitting of the denture were suitable .
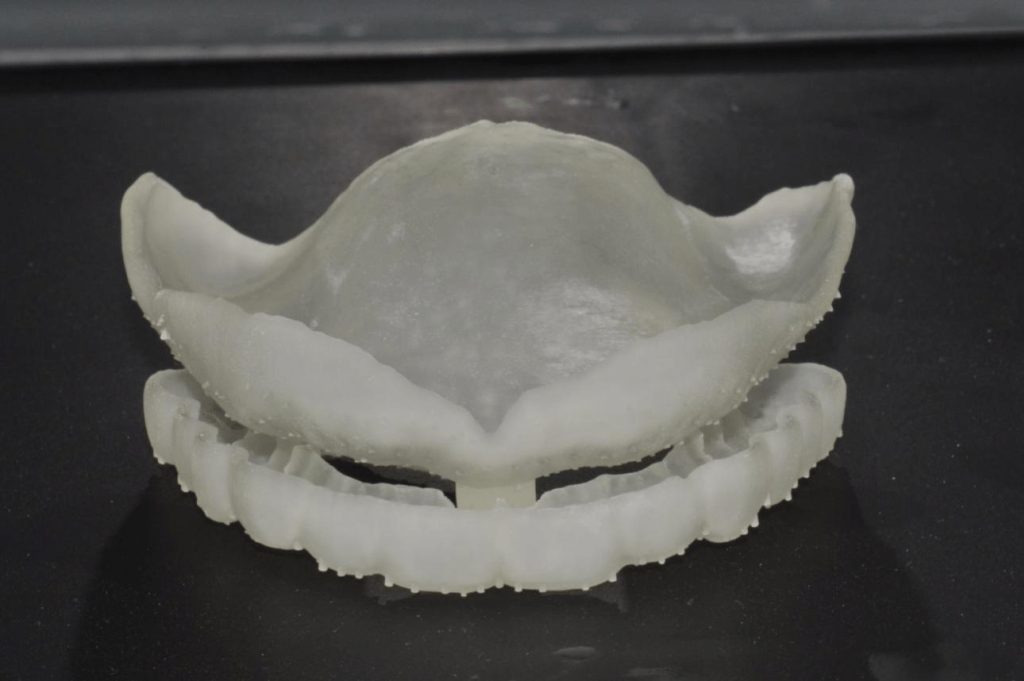
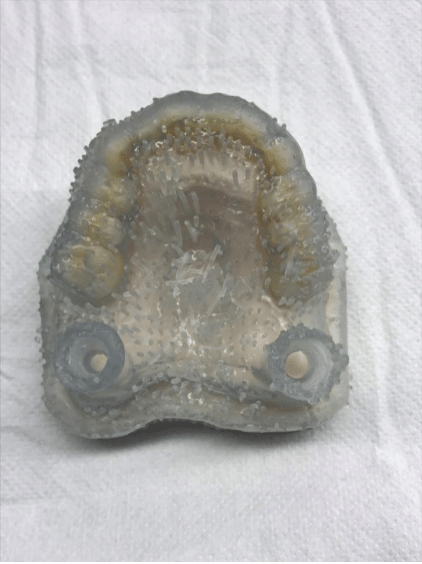
- Printed Denture Guide with Shining 3D AccuFab D1

- Denture guide prosthetic tool finally assembled
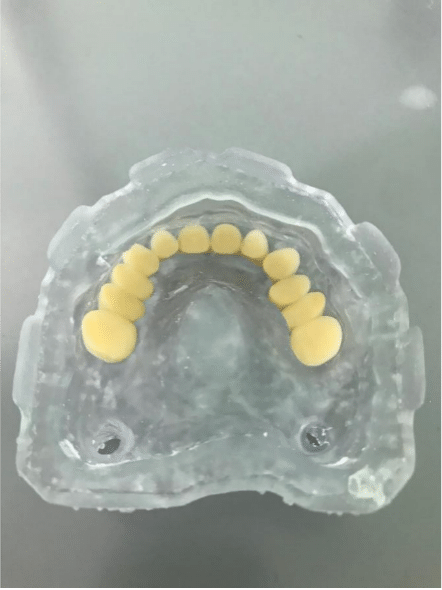
7. Positioned teeth into Denture Guide

After try-in, the artificial tooth arrangement could be completed through the guide , Since the height and arrangement had been designed , there was no need to consider about the vertical height and position of teeth.
8. Checked in articulator
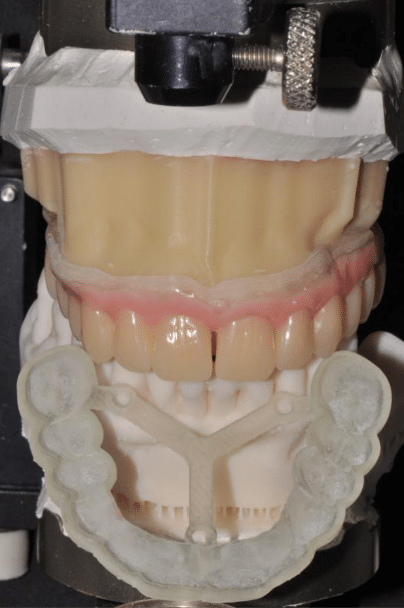
Before proceeding to the next steps, it was important to check the bite in the articulator.
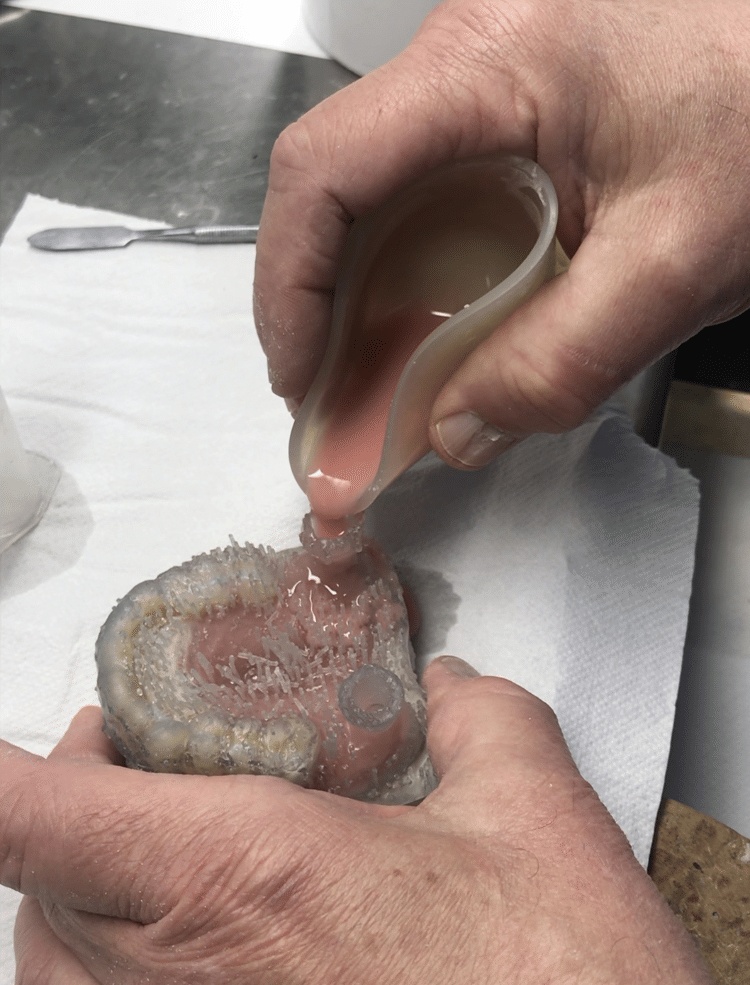
9. Print muffle with Accufab D1 and Ortho IBT resin by Keystone Dental
We printed the muffle on the Accufab D1 with Ortho IBT resin from Keystone Dental. After everything was confirmed, we positioned the teeth in the 3D printed muffle. We could then inject the resin for the base.
10. Finished the 3D printed full denture
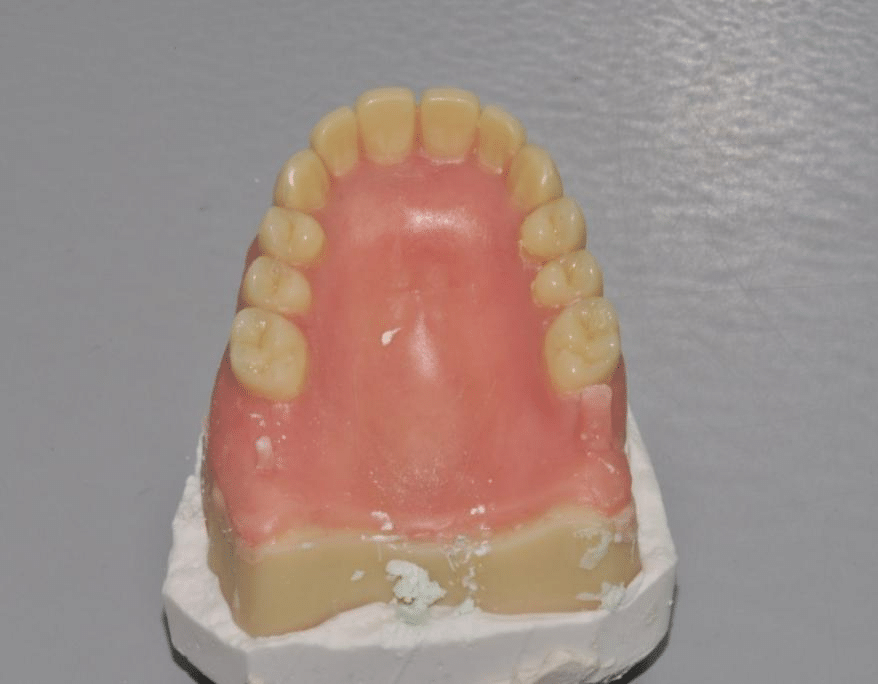
We injected acrylic resin into the muffle, and after a while, it was possible to remove the denture from the muffle.
11. Final 3D printed full denture result in patient’s mouth
Thank you to Dr. Federico Guerci and Odonto5 Lab, authors of this case study.