 ENG
ENG


The articulator is an indispensable tool for technicians to determine the occlusal and deal with complex cases. Being able to scan an articulator and transfer it to the CAD design software accurately is very important. In this article, we are going to introduce the process of scanning an articulator with the AutoScan-DS-EX Pro (H) from SHINING 3D.
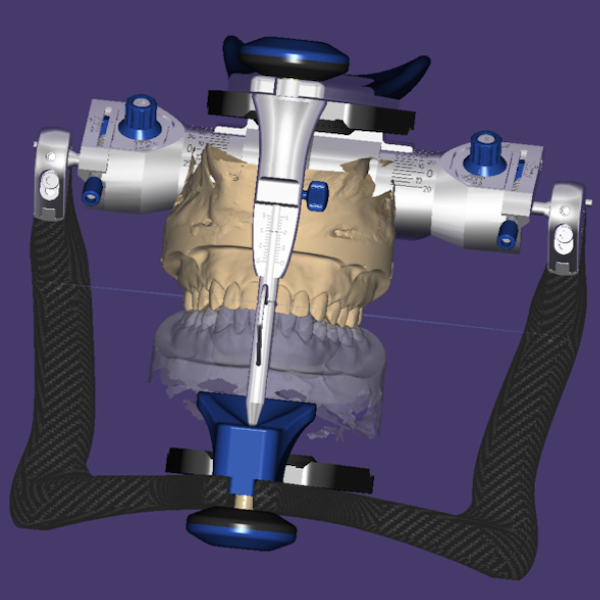
Our AutoScan-DS-EX Pro (H) can scan the most common articulator brands, supporting articulator transfer plates for Artex, Kavo, SAM, and Bio-art. We will take the Artex articulator as an example to show the scanning process (Fig 1).
Fig 1: Take the Artex articulator as an example
First, when we create an order, we need to choose our occlusion type. Here we will select Artex articulator (Fig 2). In the scanning interface, we use the workflow setting panel to adjust the scanning steps. Please be aware that if the articulator needs to be identified and transferred in exocad, we need to click “Transfer” here. Then the final STL file will automatically match the virtual articulator in exocad (Fig 3).
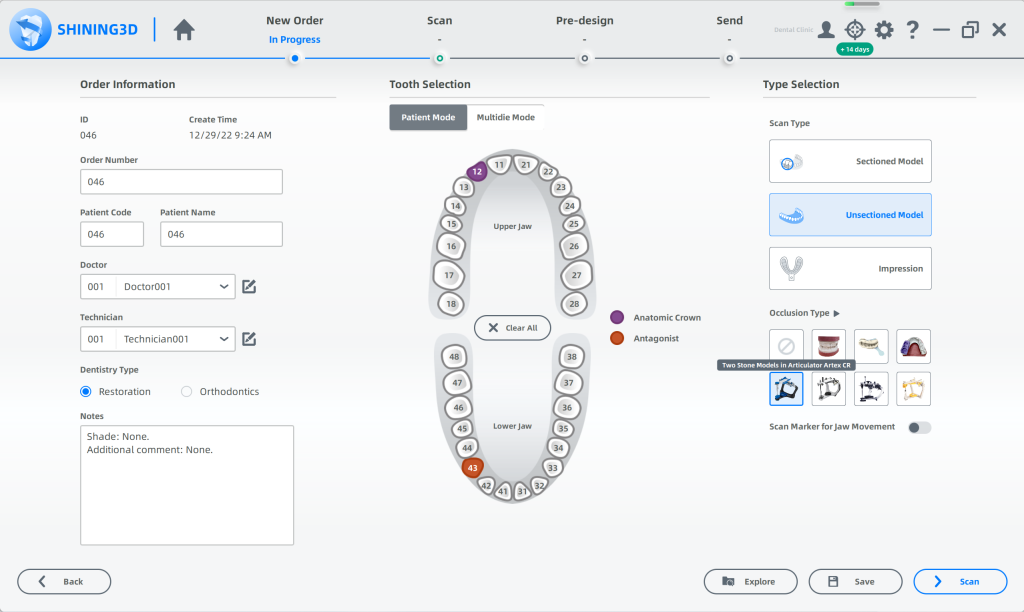
Fig 2: Choose occlusion type

Fig 3: The workflow setting panel
This is the scanning interface. We can find that the icon for the bite scan turns to the articulator icon. On the right side of the interface, you can choose the articulator scanning mode: Dynamic Scan, or Static Scan(Fig 4).
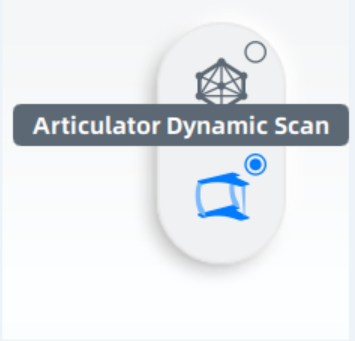
Fig 4: Choose the articulator scanning mode
First is the static bite scan. We place the articulator on the height adapter, and adjust the Z-axis height according to the position of the bite in the articulator so that the occlusal plane is located in the middle of the camera. As the process prompt shows, we will scan the right side of the bite first and place the articulator as close to the turntable of the scanner as possible and click “Scan” (Fig 5). After it is complete, flip the articulator over, place it on the articulator height adaptor, and then scan the left-side bite to acquire all occlusal data (Fig 6).
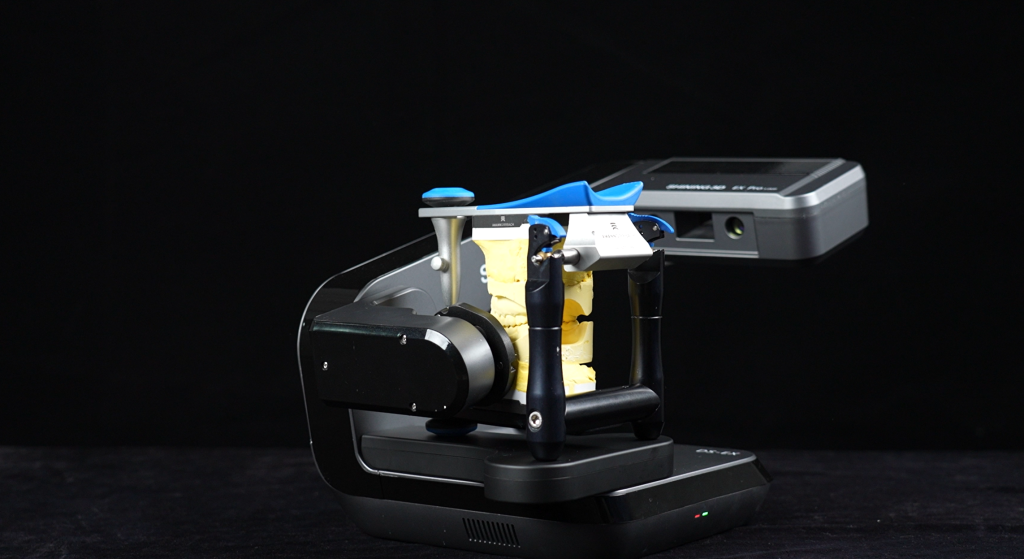
Fig 5: The static bite scan (right-side bite)
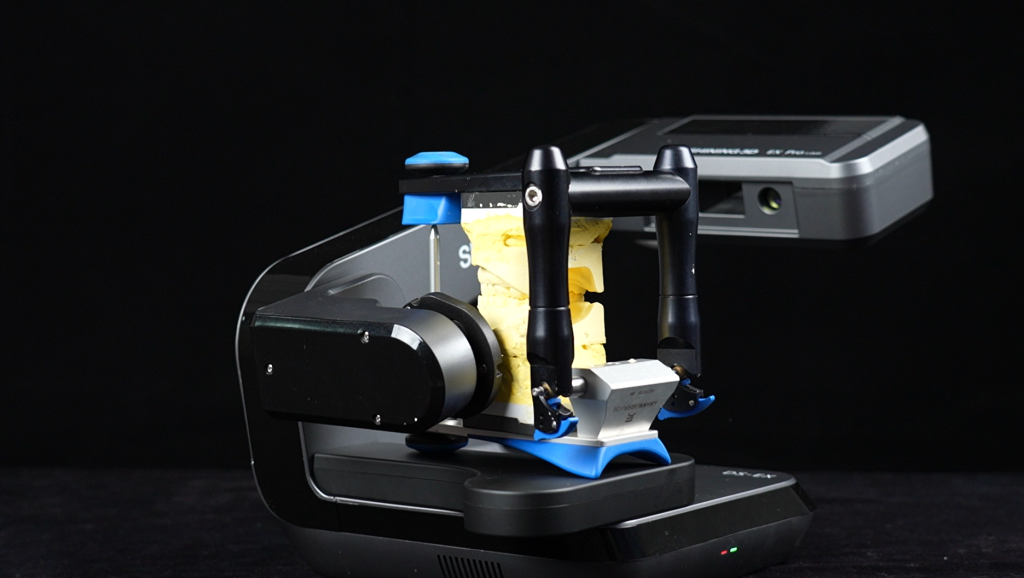
Fig 6: The static bite scan (left-side bite)
Another method to scan the bite is the Dynamic Scan (Fig 7). We will place the articulator on the Articulator plate, then click the scan button, and the turntable will automatically rotate, collecting all the occlusion information on the left side, in the middle, and on the right side. One important tip here: make sure the articulator is taken off from the turntable before changing the static bite scan to the dynamic bite scan or vice versa, or the articulator will drop off when the turntable rotates(Fig 8)
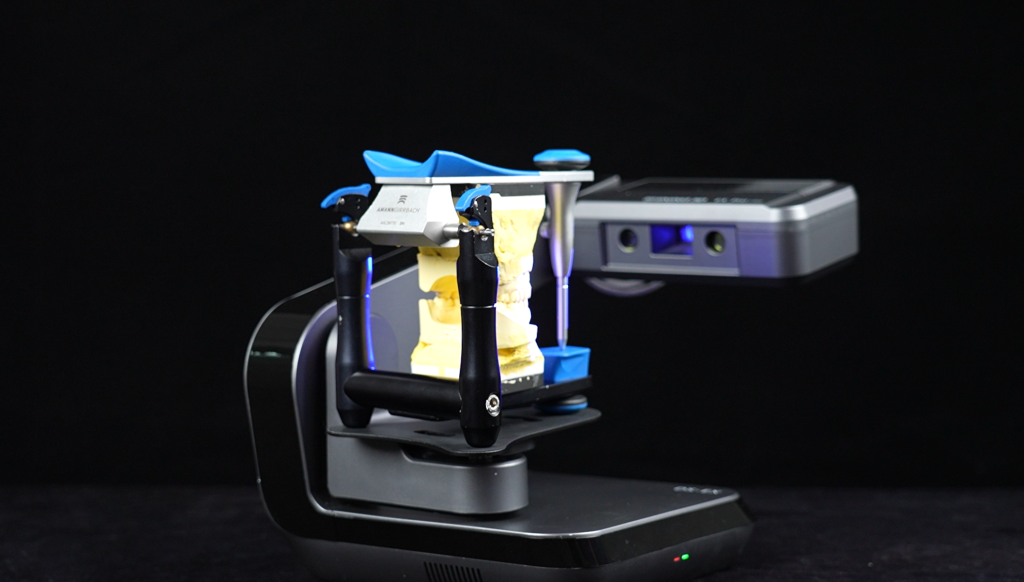
Fig 7: The dynamic bite scan
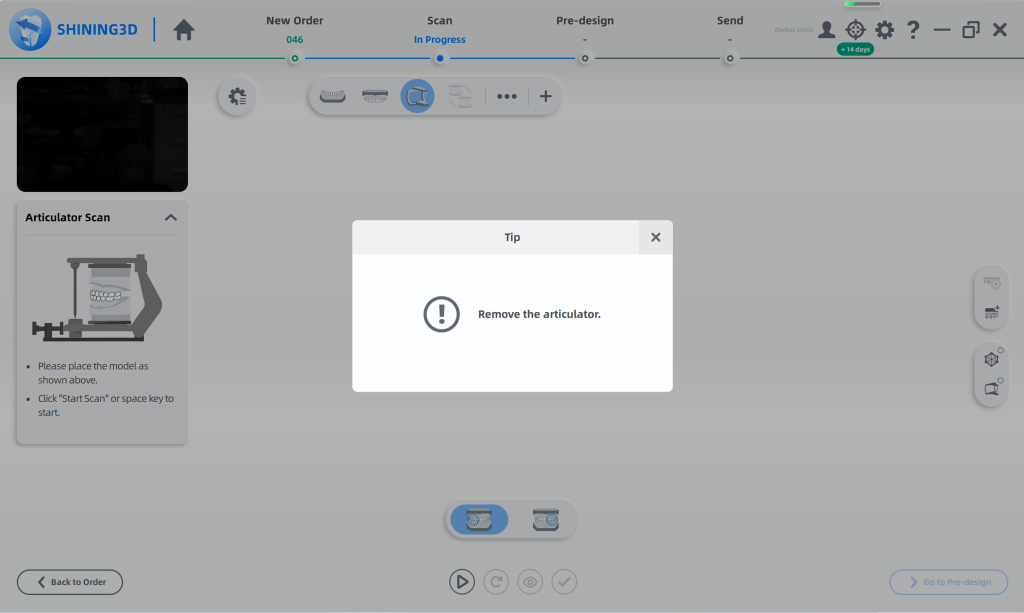
Fig 8: Remove the articulator
After that, we take the plaster models from the articulator, put them directly on the turntable without the height adaptor, and scan the upper jaw and lower jaw in turn (Fig 9,10). For the articulator to be recognized and transferred to exocad, we need to get the data of the articulator transfer plate of the lower jaw, which is significant. Following the instructions in the diagram, we flip the model and then scan the bottom of transfer plate (Fig 11).
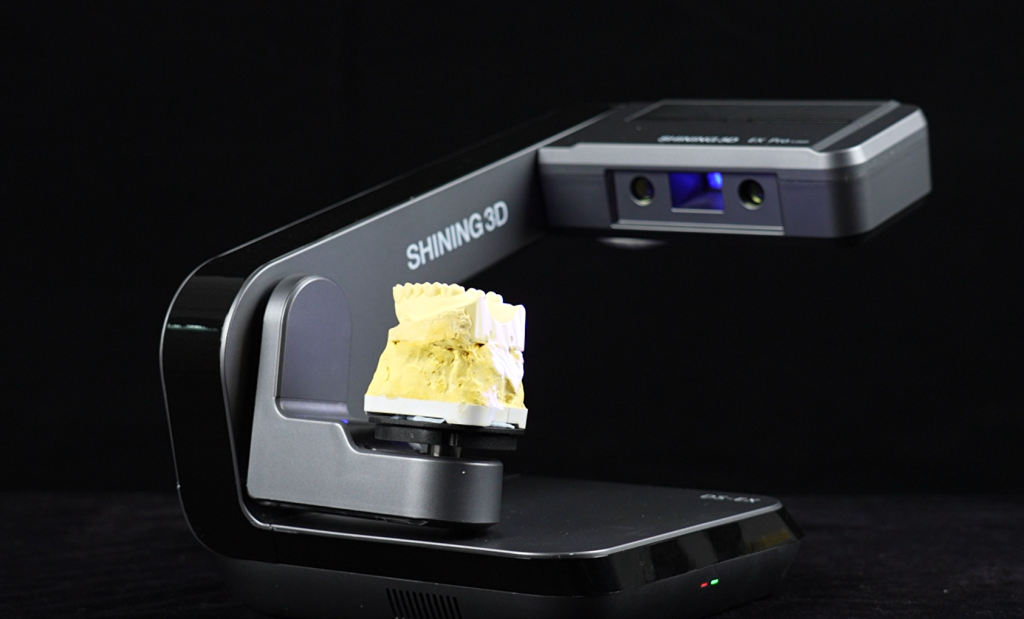
Fig 9: Scan the upper jaw in turn
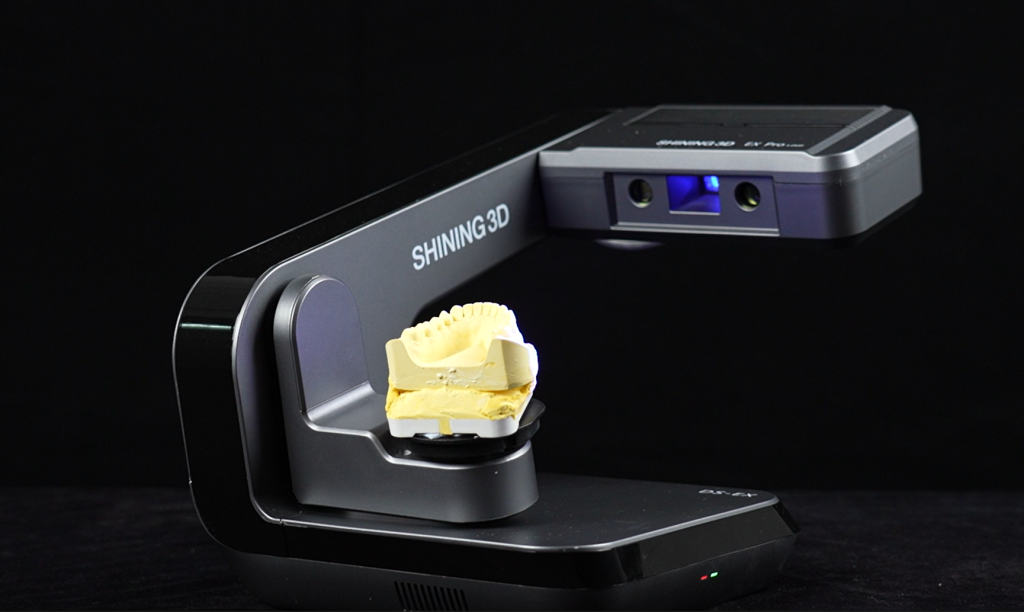
Fig 10: Scan the lower jaw in turn
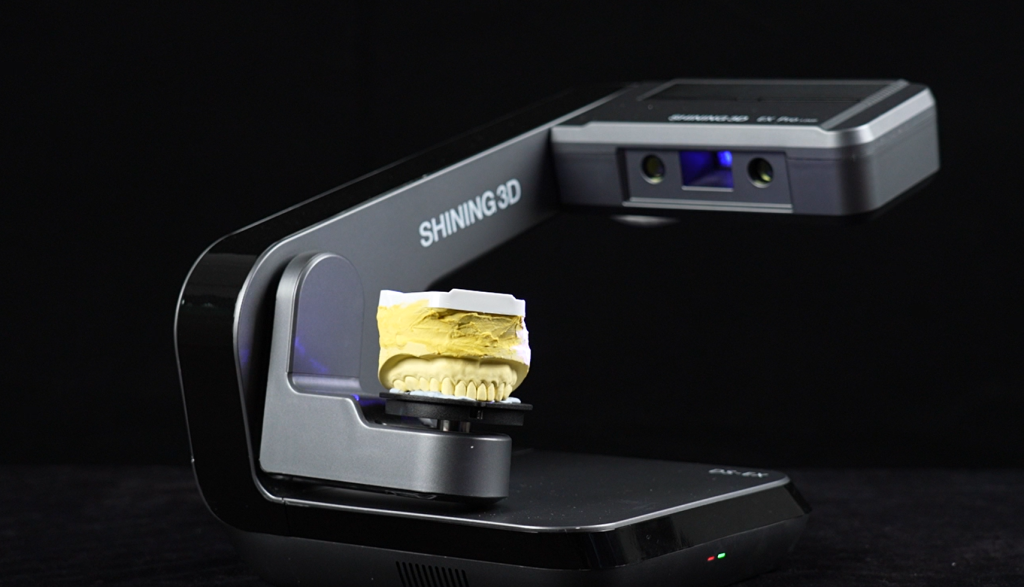
Fig 11: Scan the bottom of the articulator transfer plate
Once this scanning is completed, the software will automatically do the transfer plate alignment and the lower jaw bottom alignment (Fig 12,13).
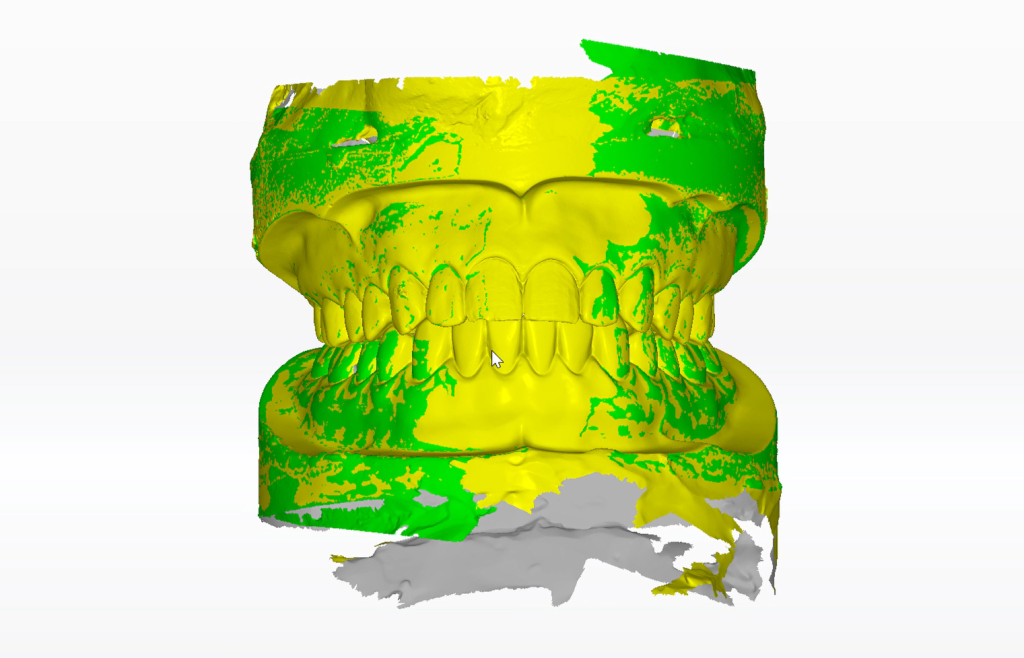
Fig 12: The transfer plate alignment
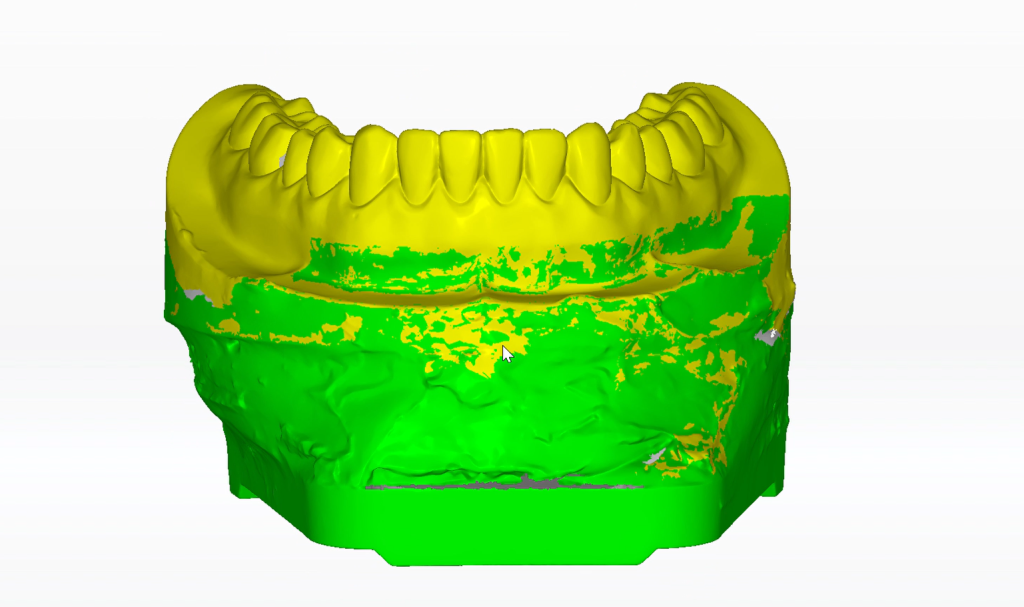
Fig 13: The lower jaw bottom alignment
The scan data can be directly imported into exocad, and the virtual articulator data can be used for subsequent design (Fig 14).
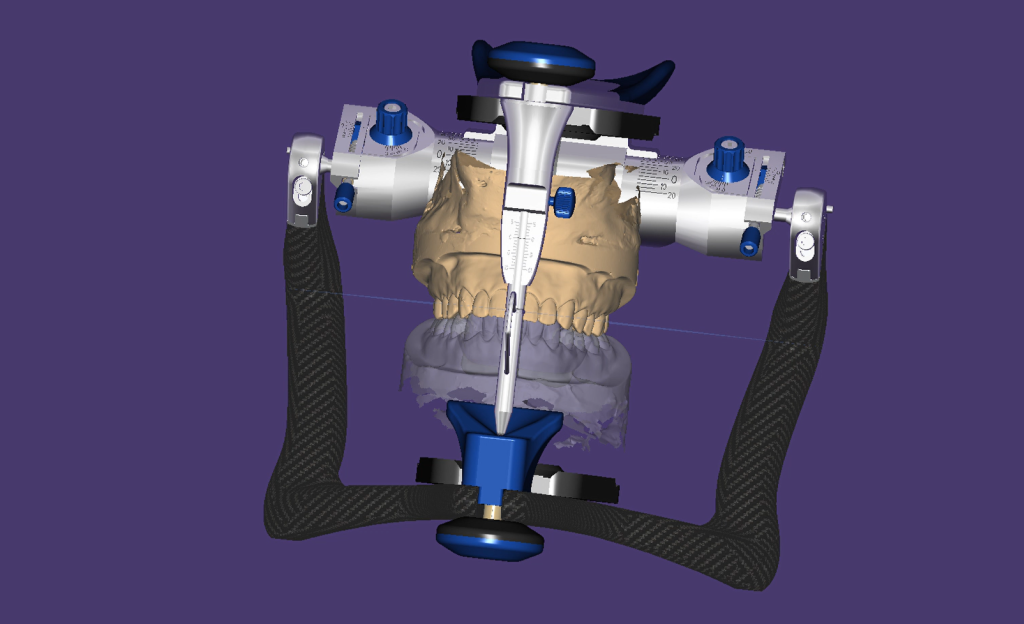
Fig 14: The scan data is imported to exocad
There is no step difference whether you are using AutoScan-DS-EX Pro(H) or AutoScan-DS-EX Pro. If you are using AutoScan-DS-MIX, when scanning the bite in a static mode or dynamic mode, the placement and installation of the articulator are slightly different. In the dynamic scan mode, the articulator is fixed with a special articulator fixture (Fig 15,16). In the static scan mode, the articulator is put directly on the scanner base (Fig 17). Other procedures are all the same as what we describe above.
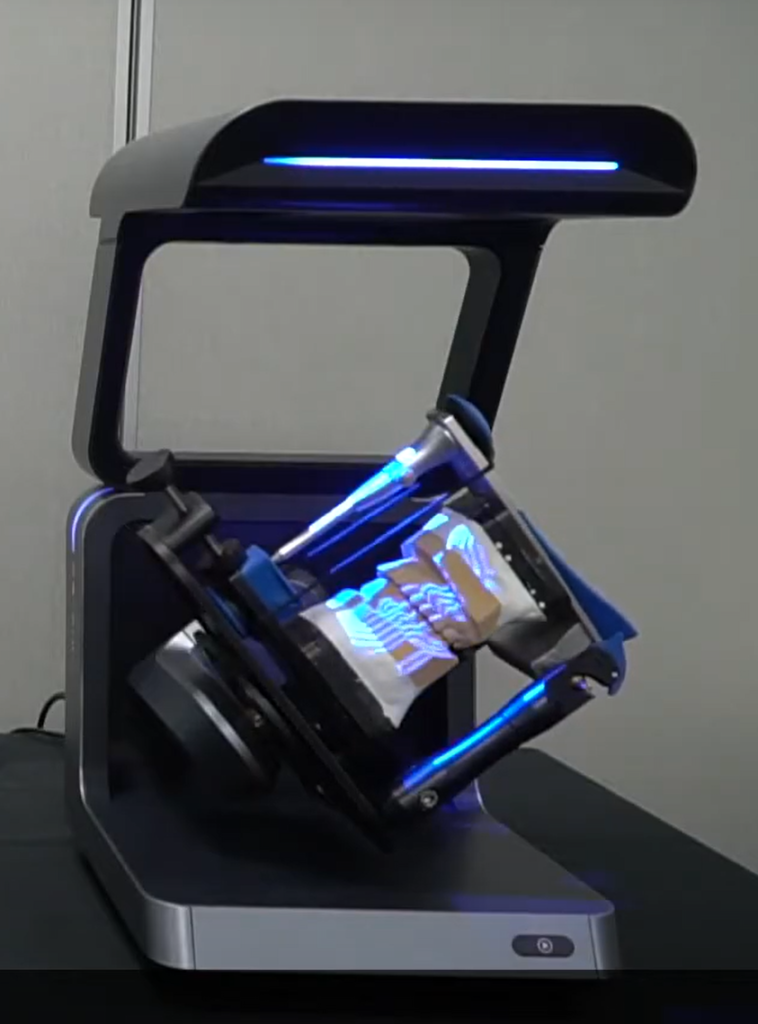
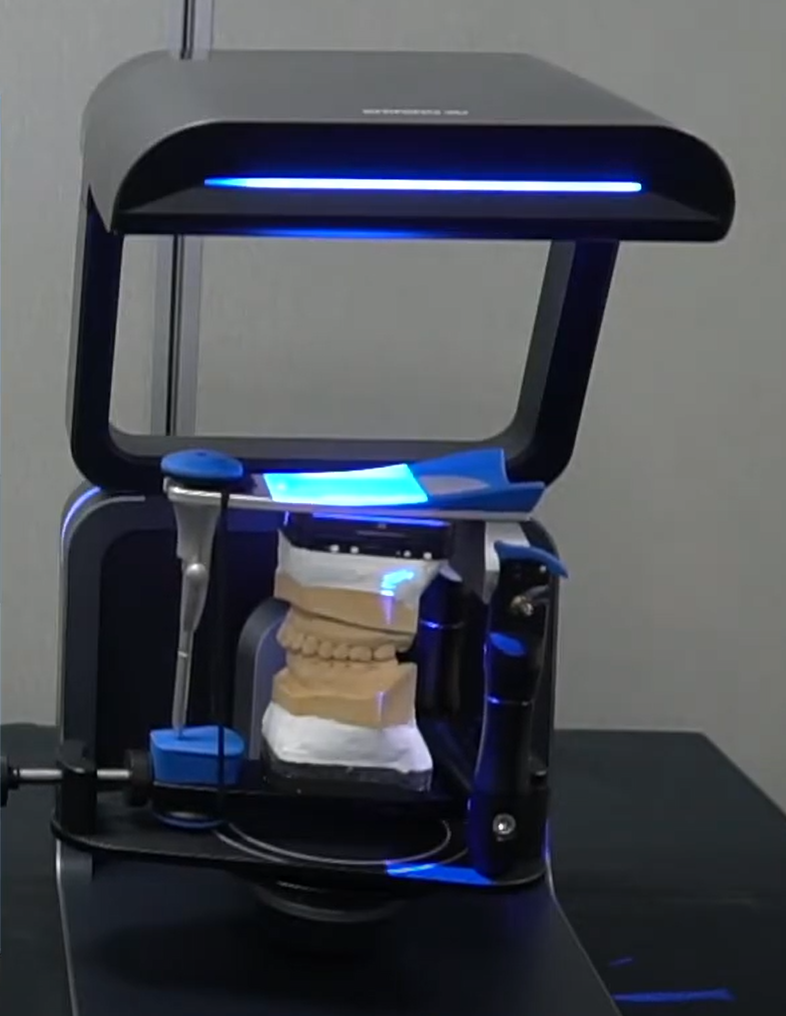
Fig 15,16: The articulator is fixed with a special articulator fixture, when using the AutoScan-DS-MIX in the dynamic scan mode
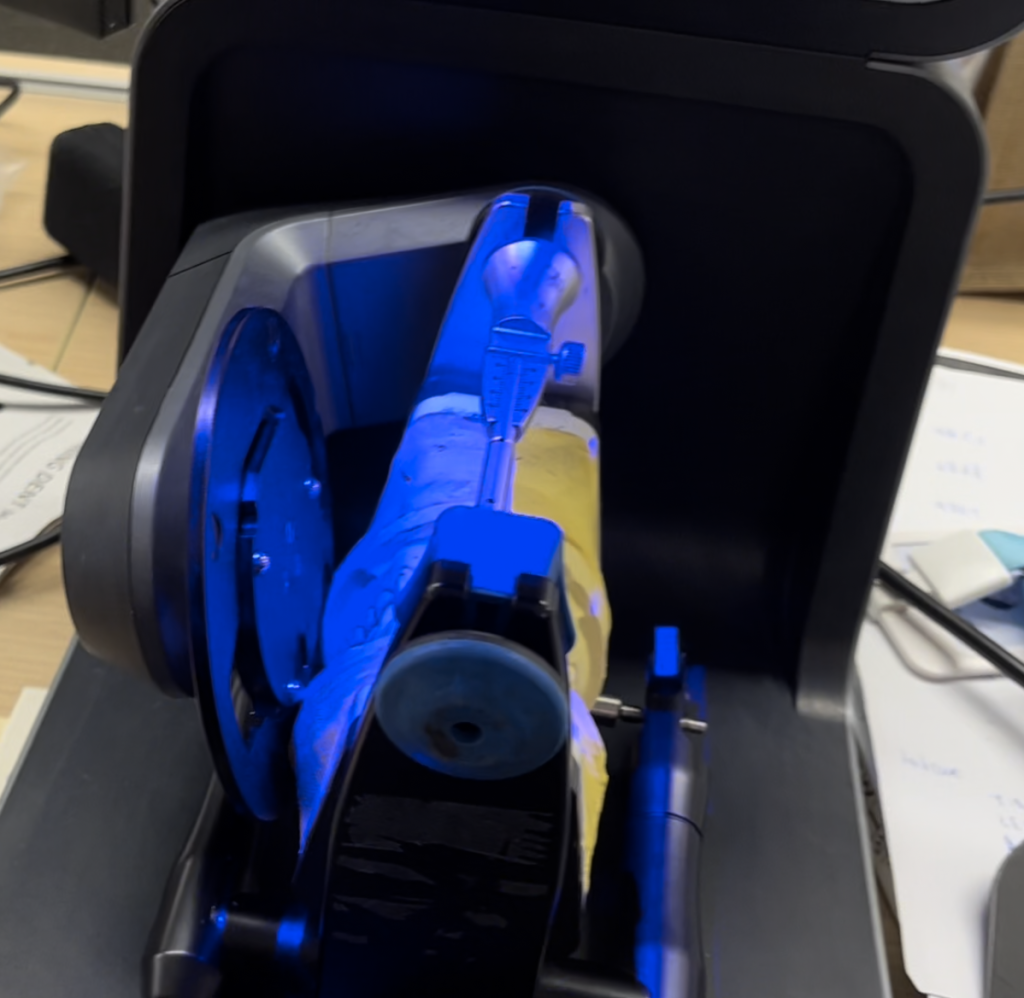
Fig 17: The articulator is put directly on the scanner base, when using the AutoScan-DS-MIX in the static scan mode