 ENG
ENG


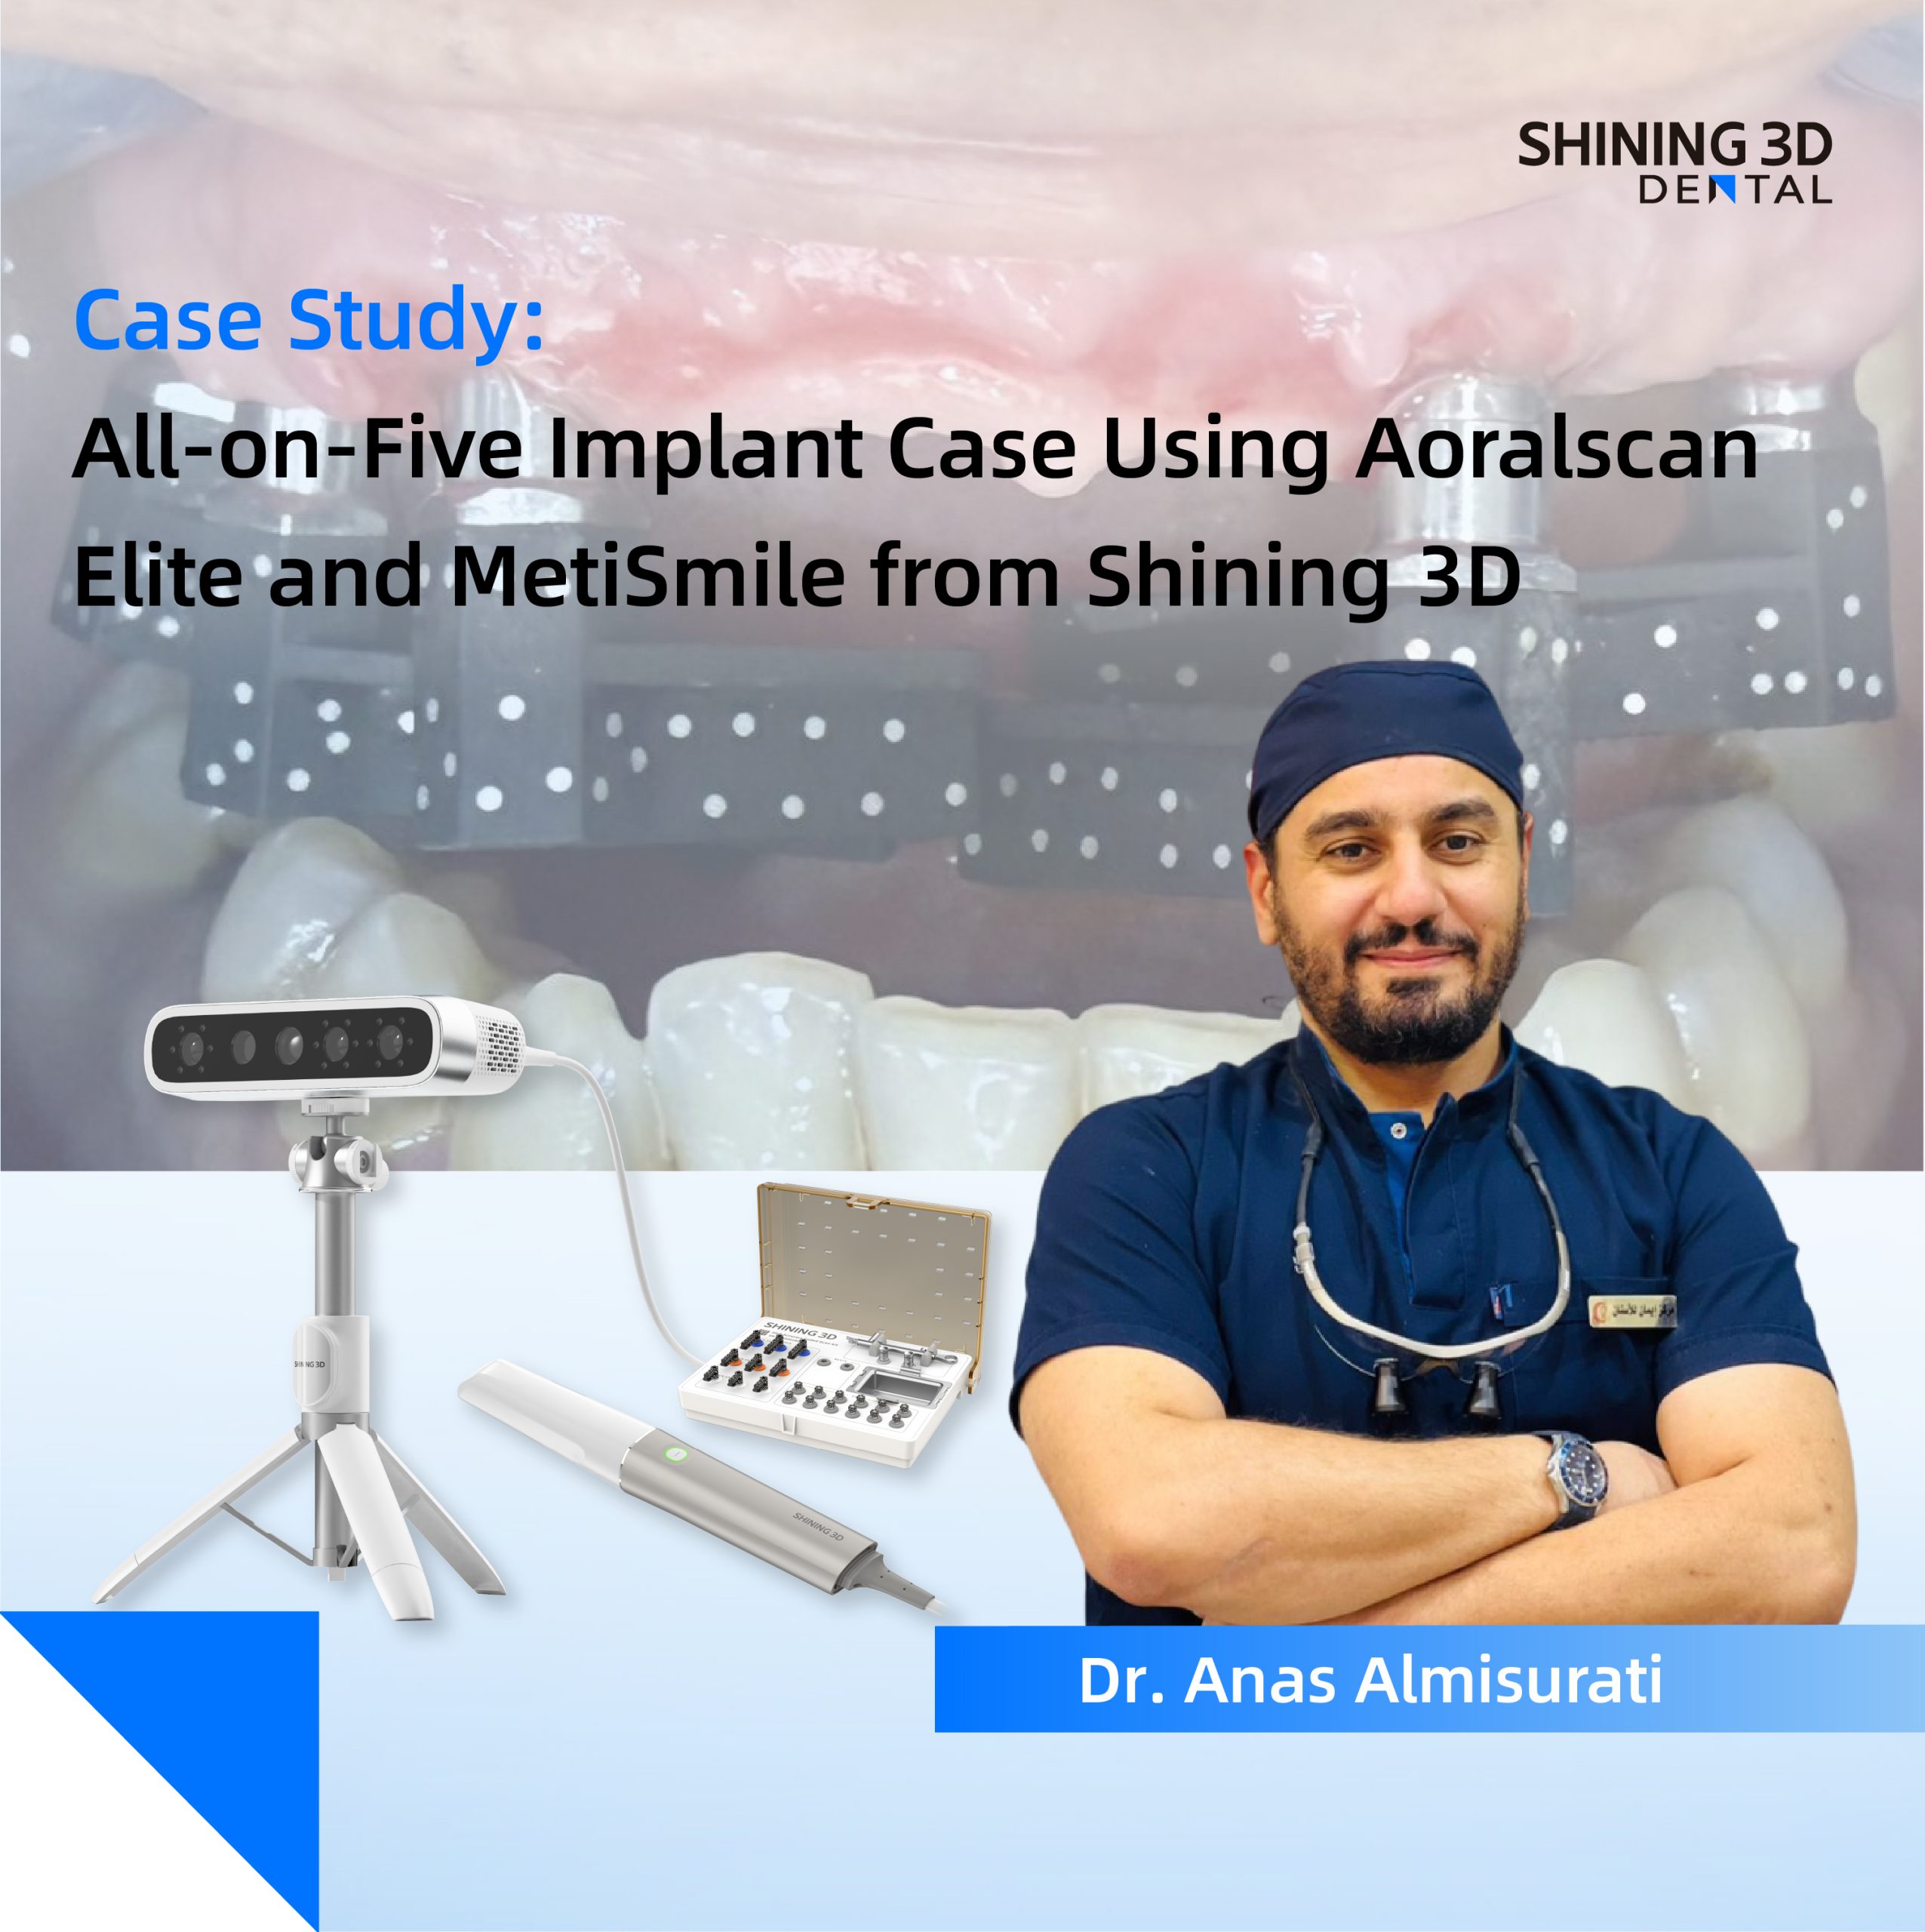
Table of Contents
Full-arch implant scanning has long been a challenge in dentistry. Traditional physical impressions and verification jigs are complex, time-consuming, uncomfortable for patients, and—most importantly—insufficiently accurate to consistently achieve a passive fit of the prosthesis.
The introduction of the Aoralscan Elite has transformed the full-arch implant scanning workflow. With its advanced intraoral photogrammetry (IPG) technology, it establishes a new standard for precision in implant prosthodontics, enabling more predictable and accurate treatment outcomes.
Today’s case, contributed by Dr. Anas Almisurati from Libya, demonstrates the use of the Aoralscan Elite photogrammetry intraoral scanner in combination with the MetiSmile face scanner to deliver accurate, efficient, and comfortable treatment for patients.

Fig 1: Dr. Anas Almisurati
Before Treatment
Data collection and treatment plan
The female patient had been suffering from tooth loss for several years, particularly in the maxillary arch, where almost no functional teeth remained. This condition resulted in compromised masticatory efficiency and impaired speech articulation, the panoramic radiograph was taken before the treatment.
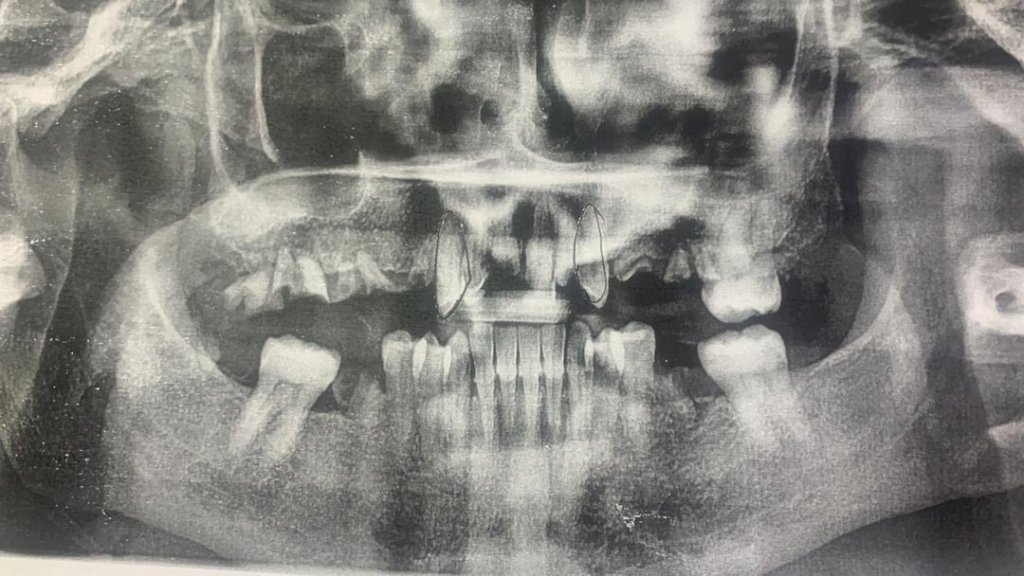
Fig. 2: The panoramic radiograph before treatment
Considering the overall treatment duration, the urgency of the maxillary rehabilitation, and the patient’s financial limitations, priority was given to the upper jaw treatment, with the mandibular treatment planned for a later stage.
During Treatment
During the implant surgery, the dentist placed five implants in the maxillary arch and captured the precise implant positions using the Aoralscan Elite. Facial data were simultaneously recorded using the MetiSmile system. With this information, the dental technicians were able to design the prosthesis with enhanced accuracy.
Intraoral scan by Aoralscan Elite
The Aoralscan Elite is the world’s first intraoral photogrammetry system, capable of accurately capturing complete oral information without the need for additional devices. All data alignment and transfer are fully performed within our intraoral system.
Step 1: The IPG workflow of the Aoralscan Elite is designed to work with multi-unit abutment (MUA). Following implant surgery, the dentist places the MUAs on the implants and scans the edentulous arch with the MUAs in place. The combination of the advanced algorithm and the large IPG scanning tip ensures a smooth and efficient scanning process.
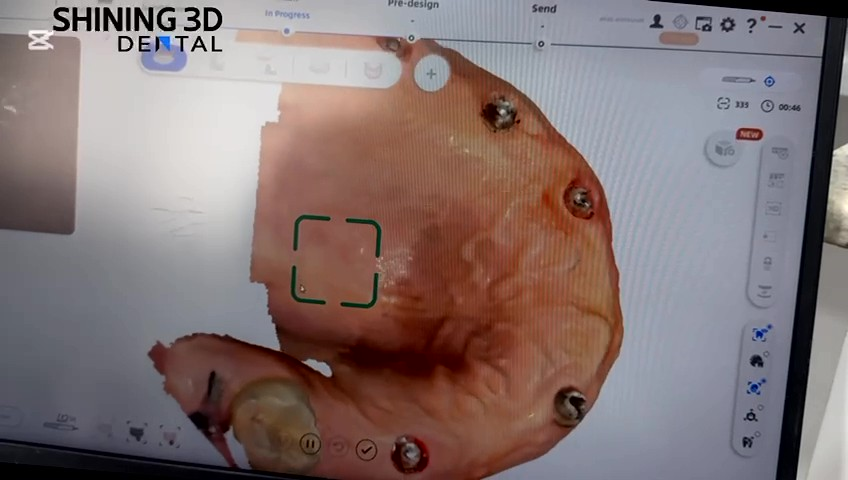
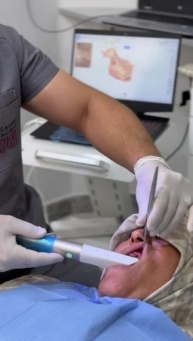
Fig. 3, Fig. 4: Edentulous scan
Step 2: The coded scanbodies are installed, ensuring that the end of each scanbody flag is properly centered to facilitate smooth scanning. The position of each coded scanbody is then captured to accurately record the implant locations. This scanning process typically takes only a few seconds.
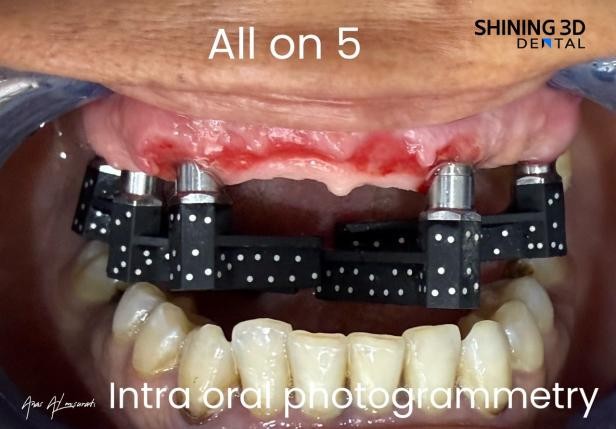
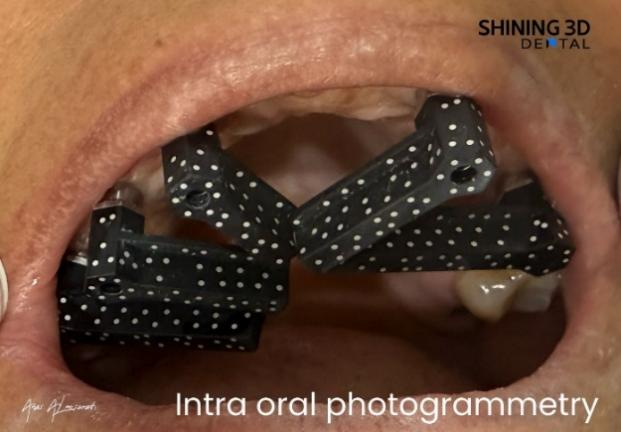
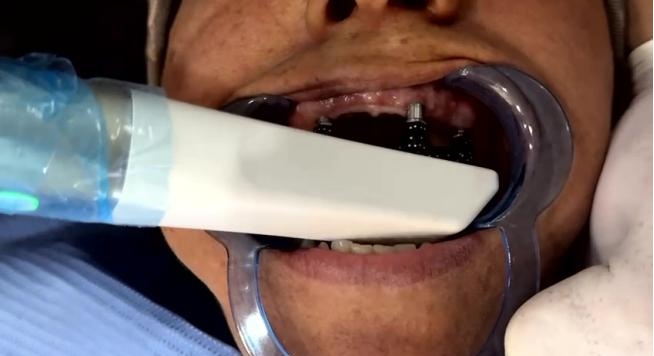
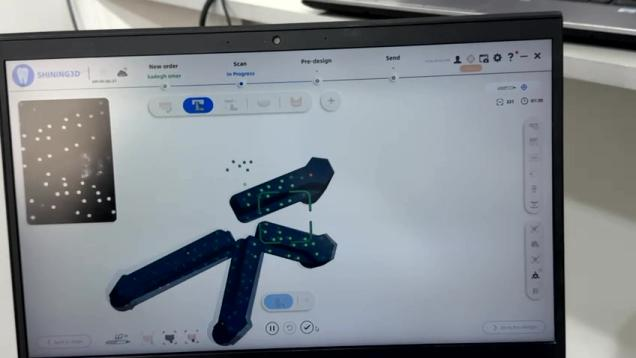
Fig. 5–8: Coded scanbody scan
Step 3: After capturing the coded scanbodies, the dentist scans to align the scanbodies with the edentulous arch. In cases with significant bleeding or notable changes in the gingiva, the cap scanbodies can also be used within the workflow to enhance alignment accuracy.
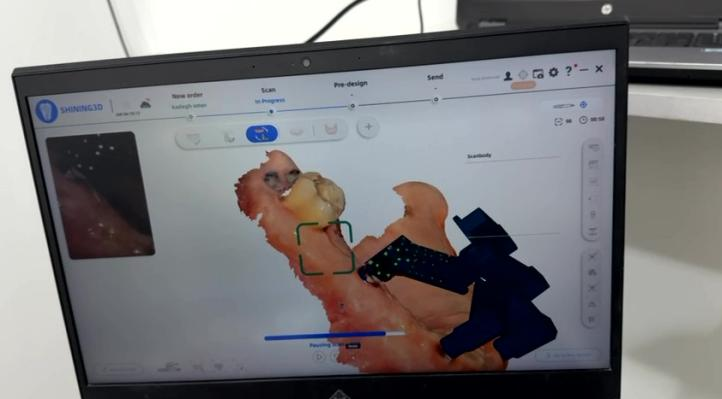
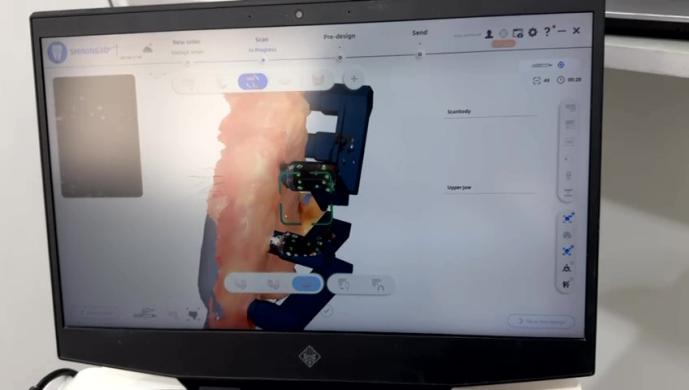
Fig. 9–10: Scan to align the coded scanbody and the edentulous arch.
Step 4: After capturing the coded scanbodies, they are transferred to the corresponding branded scanbodies. This step is essential for subsequent prosthesis design in software such as exocad. If the dentist prefers, this step can be skipped, as the dental technicians receiving the intraoral scan file can perform the transfer on the Shining 3D’s cloud platform.
Currently, the Elite intraoral photogrammetry workflow is compatible with approximately 70 different implant brands, enhancing its global applicability. The range of supported implant systems continues to expand.
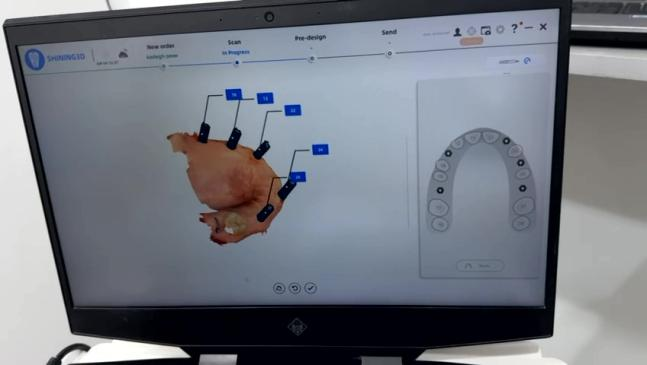
Fig. 11: the brand transfer and teeth mark
Step 5: After scanning the working (maxillary) arch, the dentist scans the lower jaw.
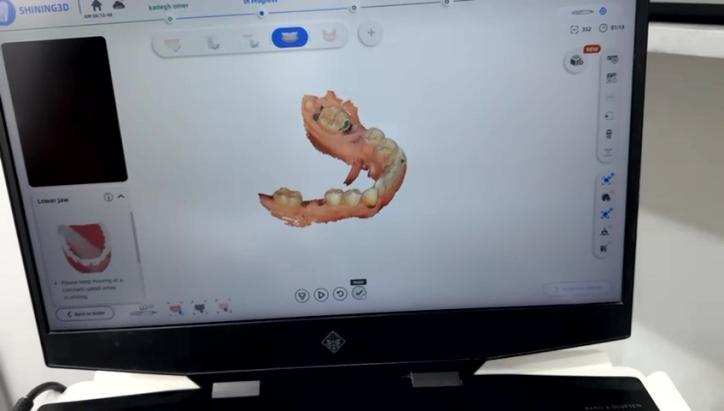
Fig. 12: Scan the lower jaw.
Step 6: Finally, the dentist records the bite. In this case, with a single remaining tooth in the edentulous upper jaw and a dentate lower jaw, the natural teeth are used to capture the occlusion. For cases where both arches require simultaneous rehabilitation, the jaw motion function in MetiSmile-MR can be used to determine the most optimal jaw relationship.
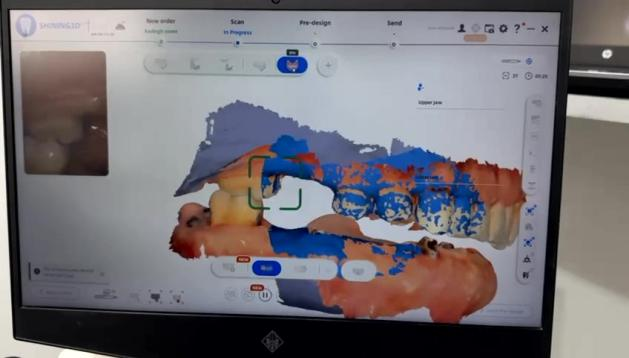
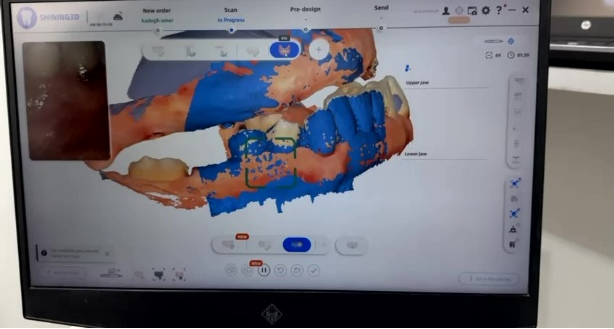
Fig. 13–14: Scan the bite
Face scan using MetiSmile
With the digitalization of dentistry, digital tools are becoming increasingly prevalent. Not only are intraoral scanners widely used, but facial scanners have also become a common tool in dental practice. In Shining 3D’s facial scanning software, the entire scanning process is completed in just a few seconds. Overlaying the facial data with the intraoral scan facilitates both patient communication and prosthetic design, resulting in a more efficient and precise workflow.

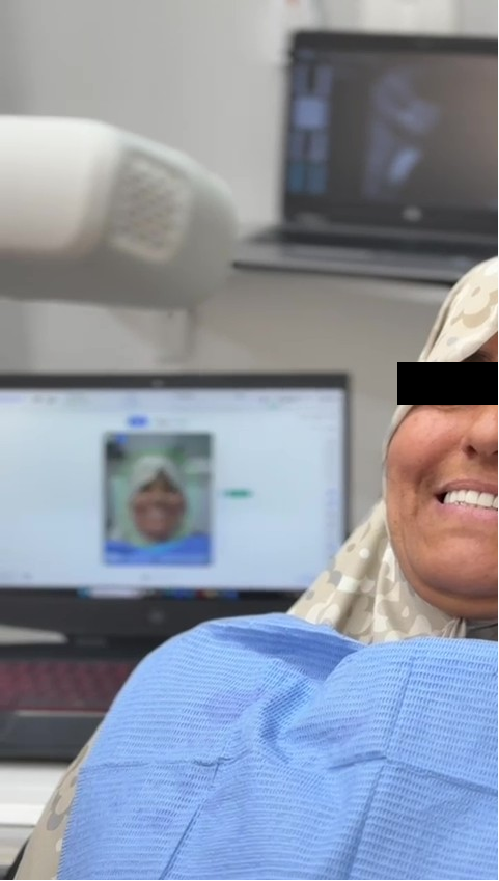
Fig. 15–16: Face scan process
Prosthesis design
After all necessary information had been captured, the dental technicians designed the prosthesis. The facial scan data allows technicians—who often do not meet the patient in person—to better understand the patient’s natural smile, facial expressions, and preferences when developing the treatment plan.
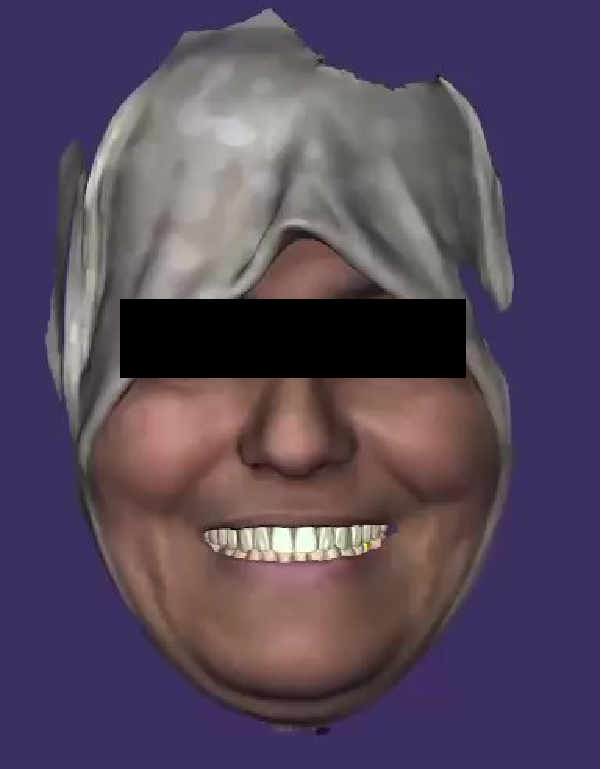
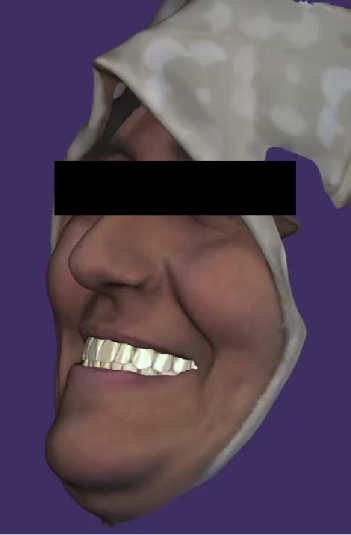
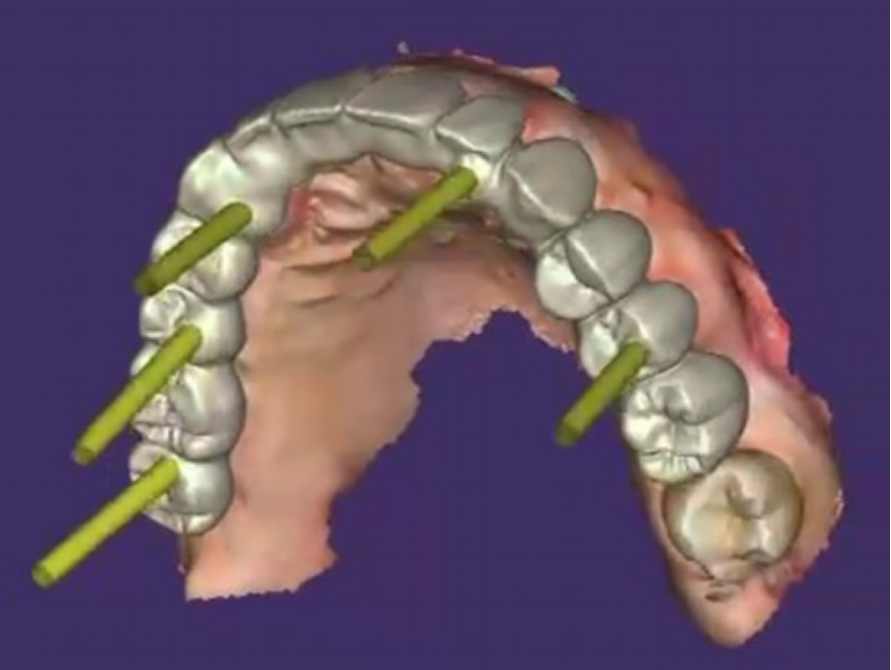
Fig. 17–19: The design process in exocad
Try-in
In full-arch implant rehabilitation, multiple provisional restorations are often necessary. They help maintain function and esthetics during the healing period, preventing the patient from being edentulous in daily life. Provisional restorations also guide the gradual shaping of the soft tissue, ensuring a natural and symmetrical gingival architecture. Additionally, they allow occlusion to be evaluated and adjusted prior to the delivery of the final restoration, reducing the risk of complications. These restorations provide an opportunity to assess patient comfort, speech, and adaptation to the prosthesis. Stepwise modifications also protect the implants by preventing premature loading.
In this case, several provisional restorations were fabricated before the delivery of the final prosthesis.
First try-in
The first try-in was delivered immediately after the implant surgery to prevent the patient from being edentulous.
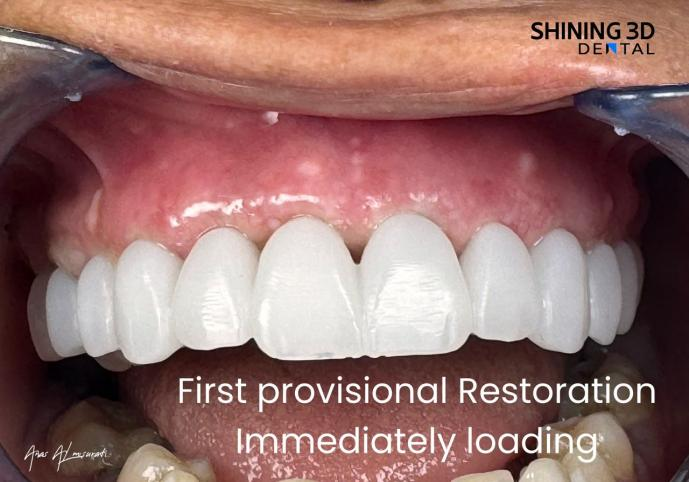
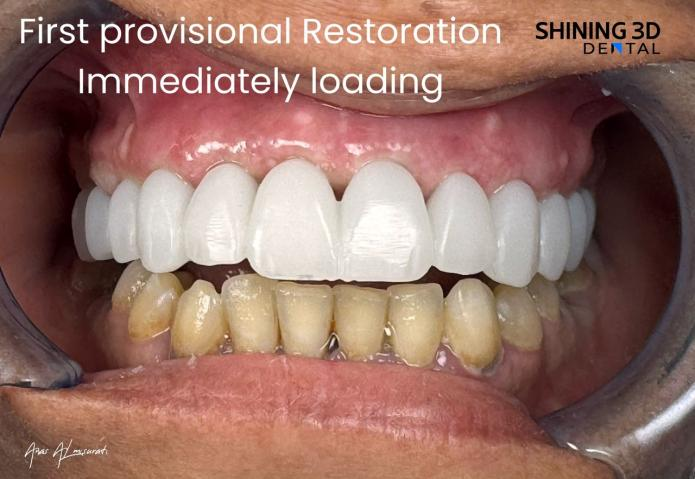

Fig. 20–22: The first try-in
Second try-in
Several months later, the patient returned for a second try-in, allowing the dentist to better adapt the prosthesis to the patient’s oral condition.
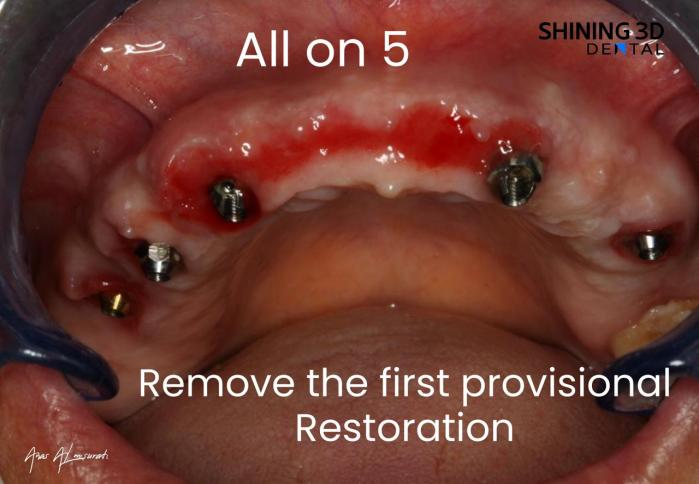
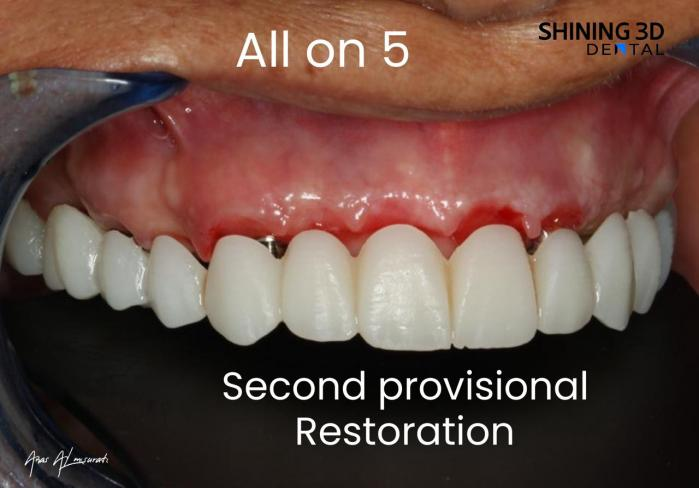
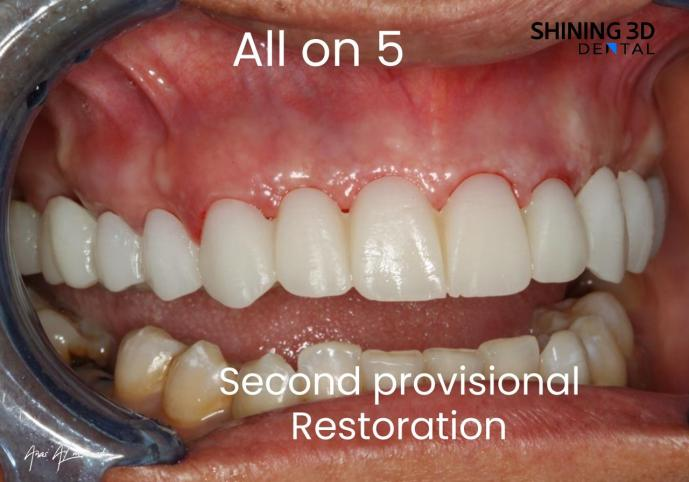
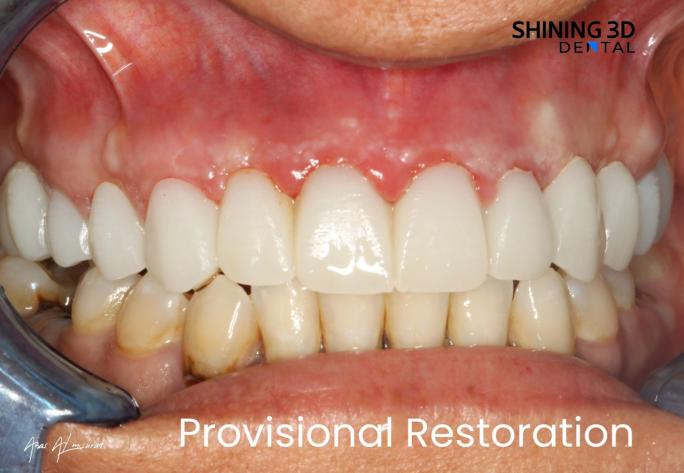
Fig. 23–26: The second try-in
Final prosthesis
After the patient had adapted to the provisional restorations, with healthy gingival recovery and successful osseointegration, the final prosthesis was fabricated using a milling machine. The try-in was first performed extraorally on a physical model to confirm passive fit, evaluate occlusion, and assess tooth morphology.
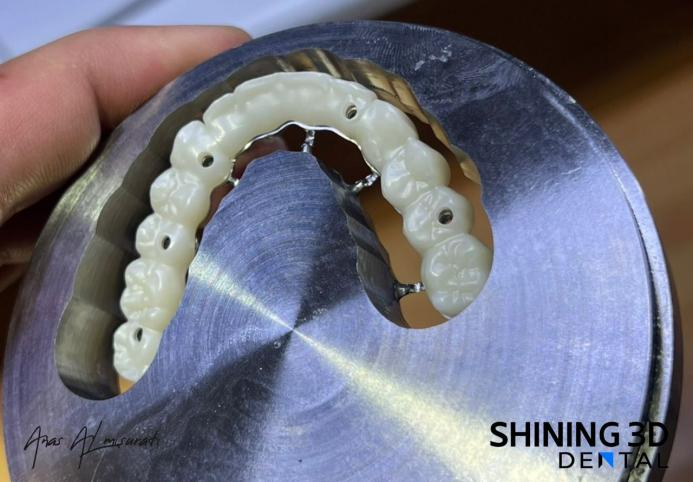
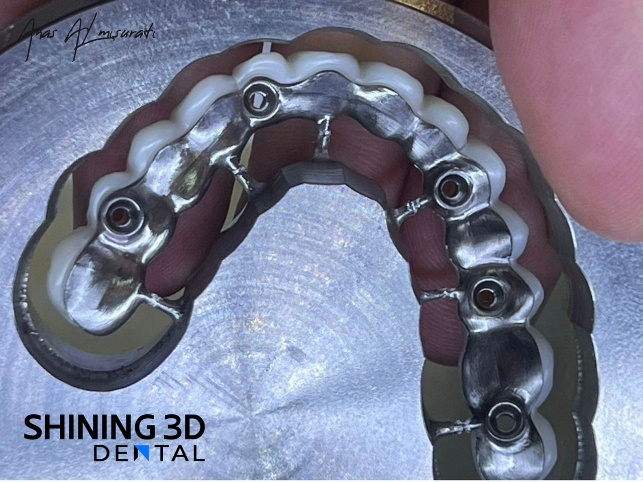
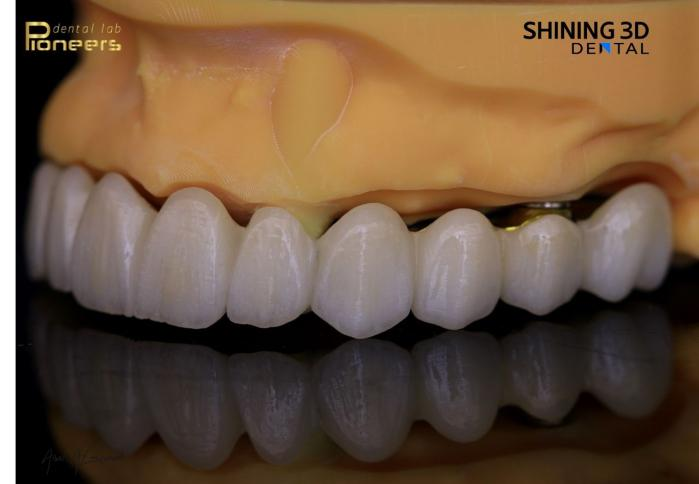
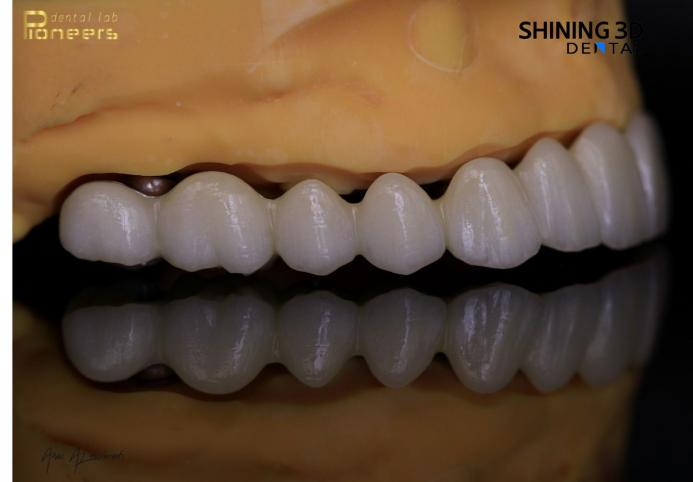
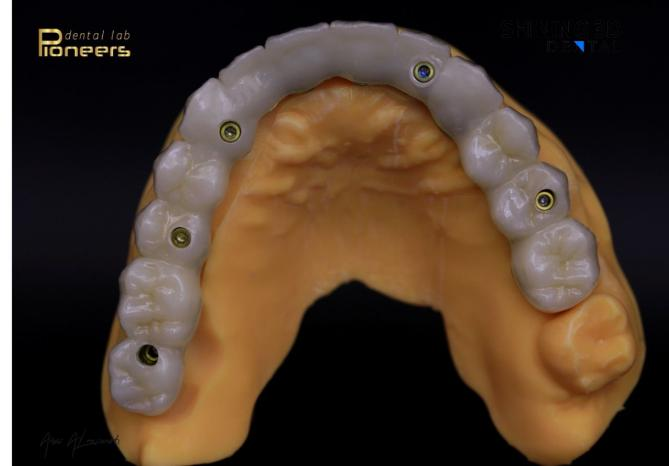
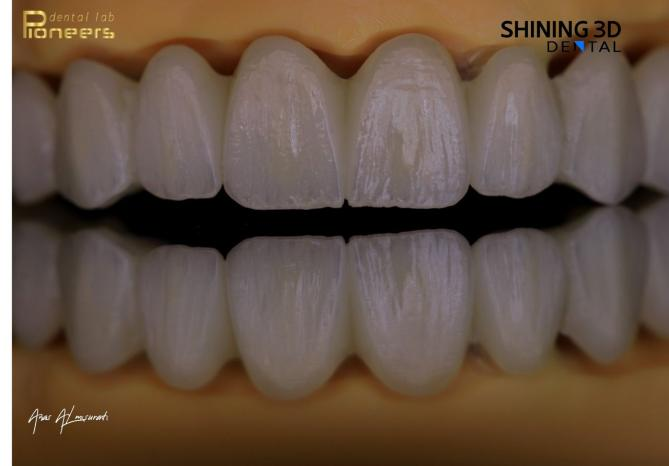
Fig. 27–32: Final prosthesis
After Treatment
The final prosthesis was delivered to the patient six months after surgery. The fitting process was smooth, and the patient expressed high satisfaction with the outcome. At the six-month follow-up, clinical examination confirmed the stability of both the prosthesis and the implants.
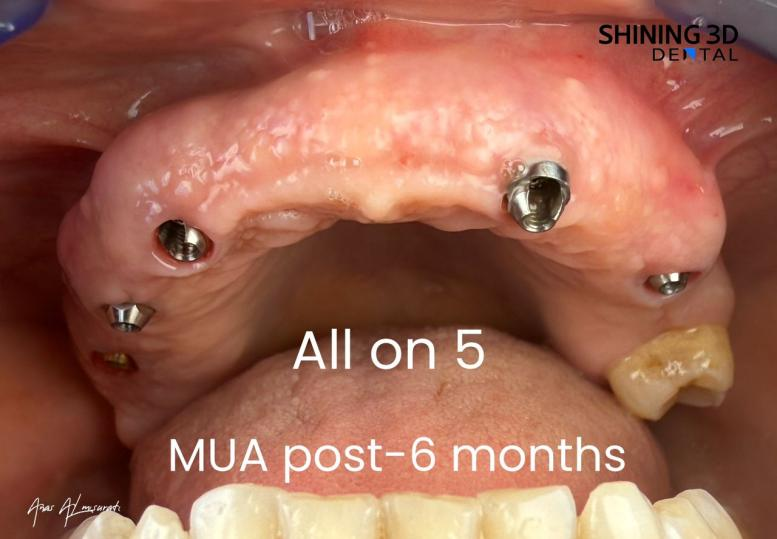
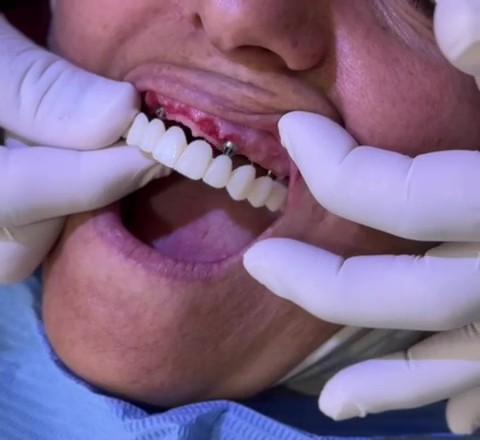
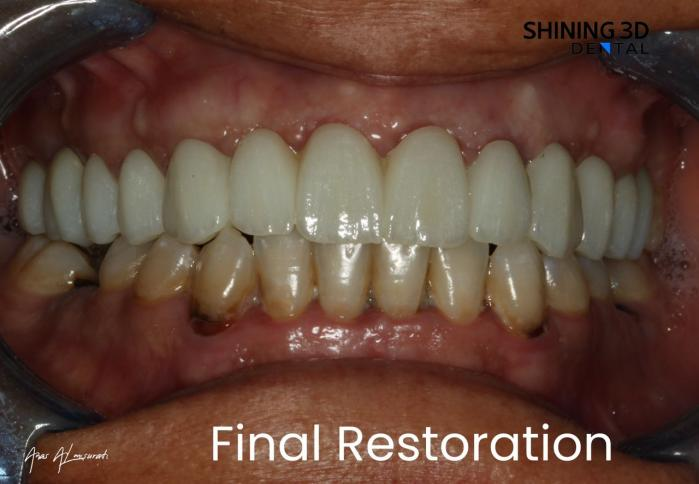
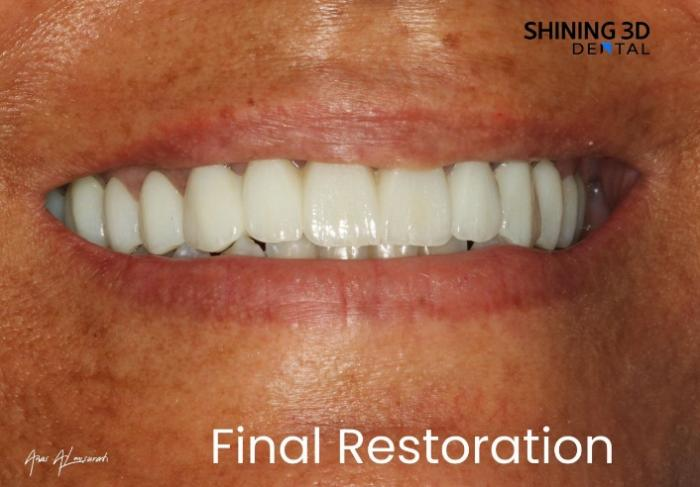
Fig. 33–38: Delivery the final restoration.

Fig. 39: 6 months follow up
Comments from Dr. Anas Almisurati
In the past, for full-arch All-on-X implant cases, we often encountered frustrating processes, and the results were sometimes unsatisfactory. The Aoralscan Elite has completely changed the way we work, making my daily workflow easier, more efficient, and more accurate. Rework on prostheses has been significantly reduced, and my patients are much more satisfied with both the treatment process and the outcomes. I will definitely use Aoralscan Elite in more and more cases. It has truly impressed me.