.jpg "SHINING 3D DENTAL Logo")

Shenzhen Palmary Medical walk us through the process of creating a maxillary bar supported denture with 3D scanning and milling.
Case Information
- Implant position: #12, #13, #15, #22, #23, #25
- Implant system: Dentium
- Type of implant restoration: Bar
- Material: Titanium
- Superstructure: #16-#26 set up acrylic teeth
- Shade: #16-26 3M2
- Case source: Shenzhen Palmary Medical Technology Co. LTD
Workflow for Maxillary Bar Supported Denture
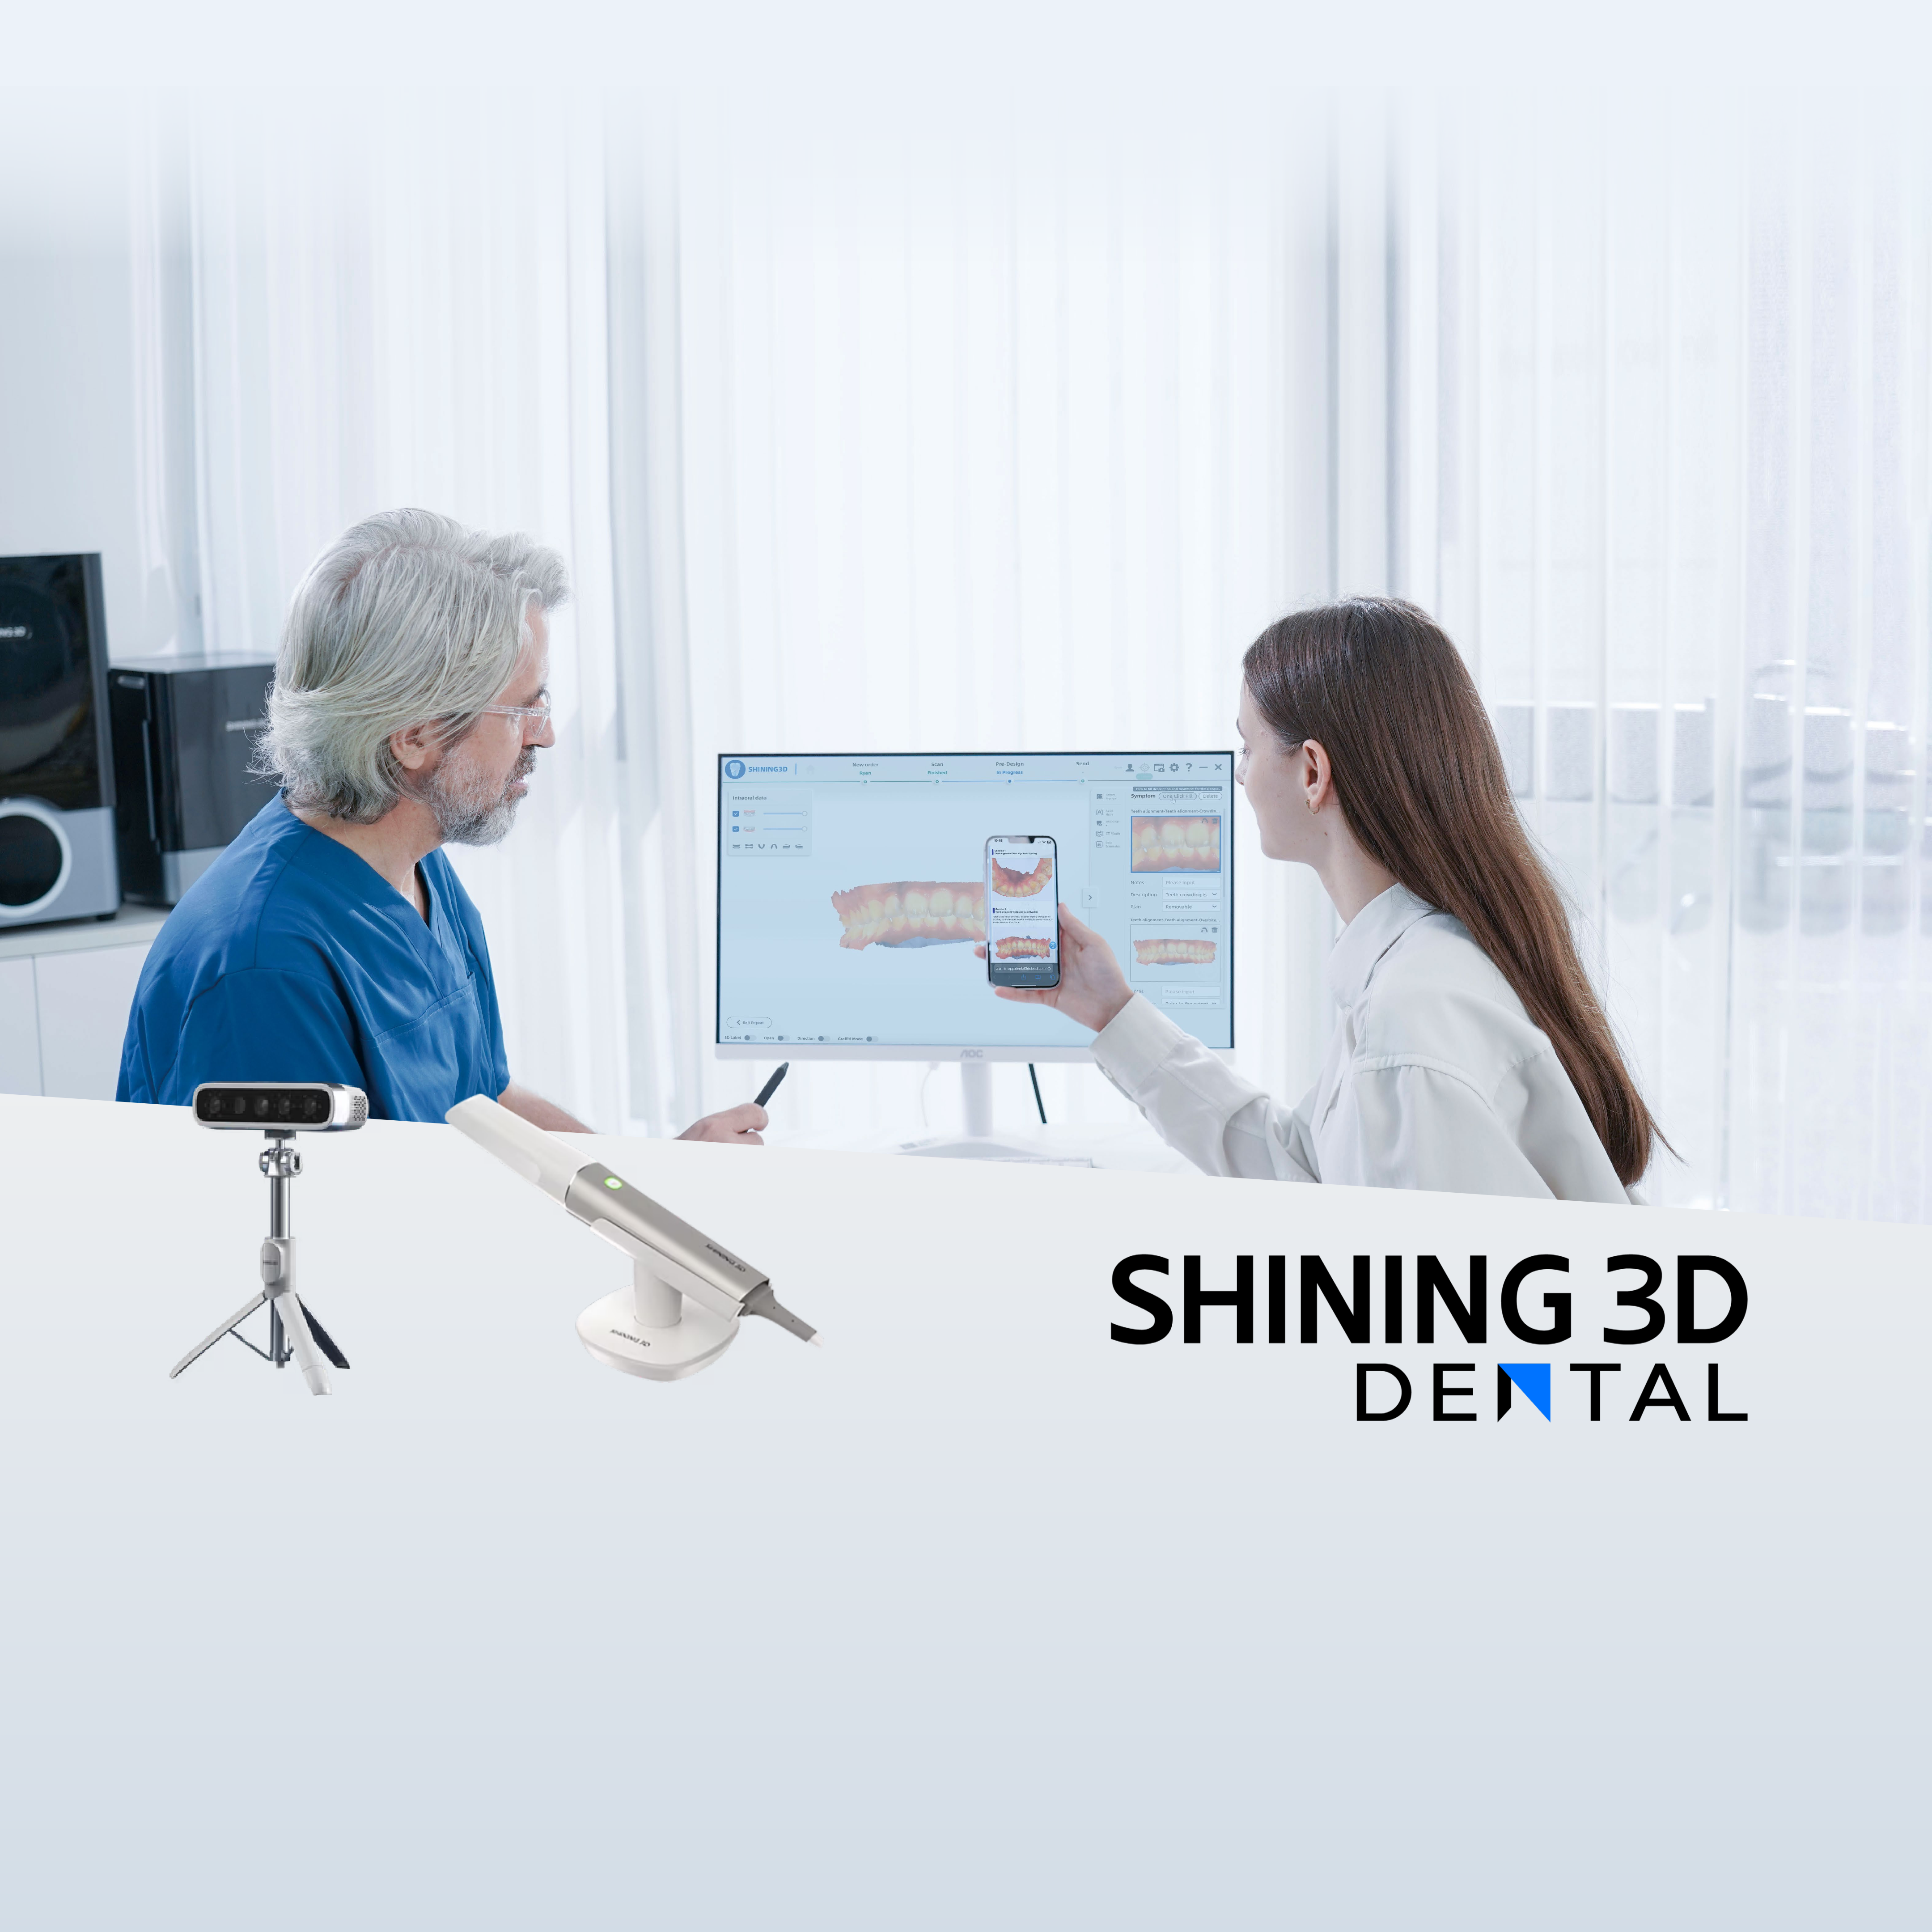
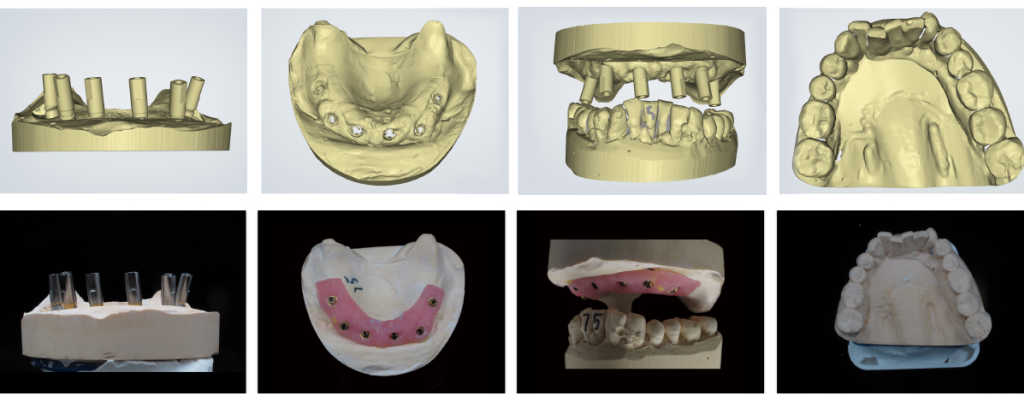
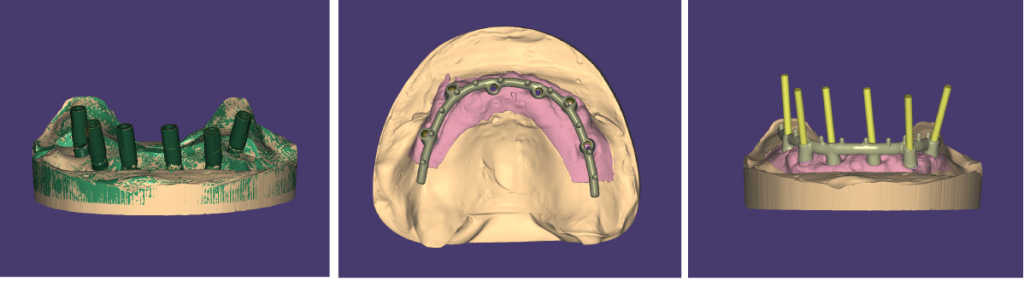
1. Scan with AutoScan-DS-MIX to Get 3D Data of Models
Create an order for bar design
With AutoScan-DS-MIX, we can get scan result with high details and accuracy.
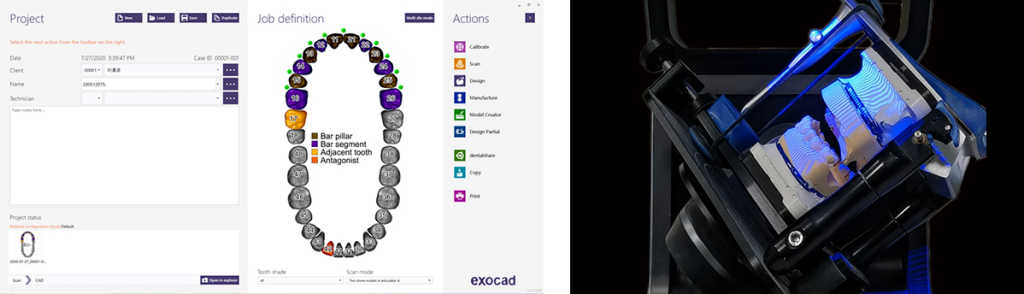
2. Design the Bridge with exocad
Match scan data with database in exocad.

It shows matching errors of six scan bodies are less than 0.02, which indicates great accuracy of the scan result.
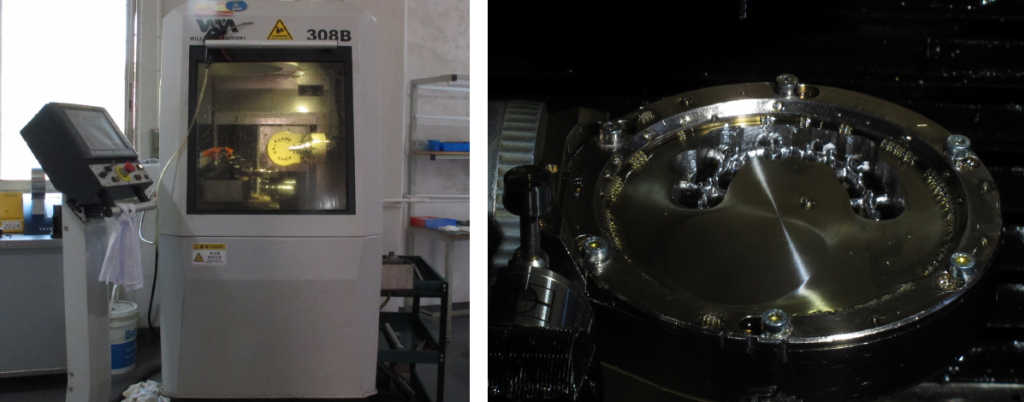
3. Mill
In this case the metal bar was milled with Willemin 308B.
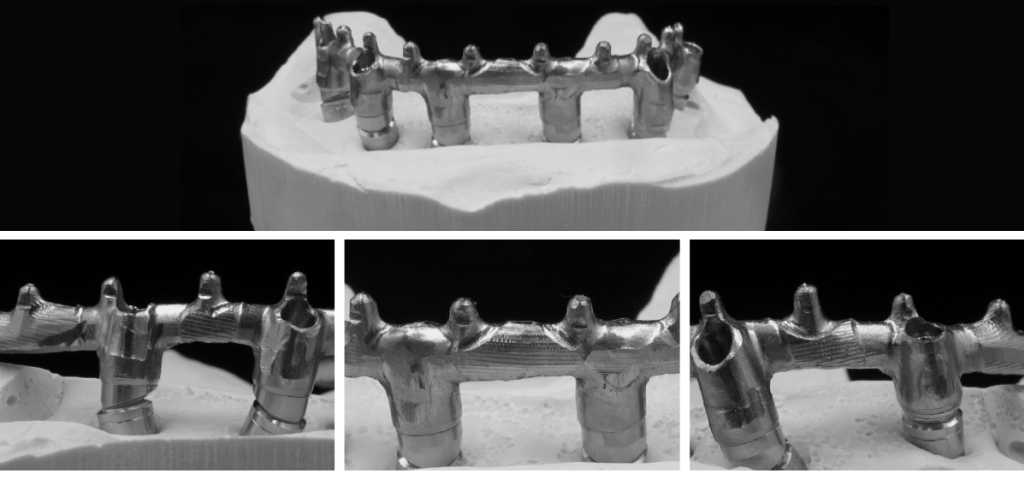
4. Try-in
Thanks to excellent work from 3D scan, CAD design to CAM mill, the metal bridge fits the model perfectly.
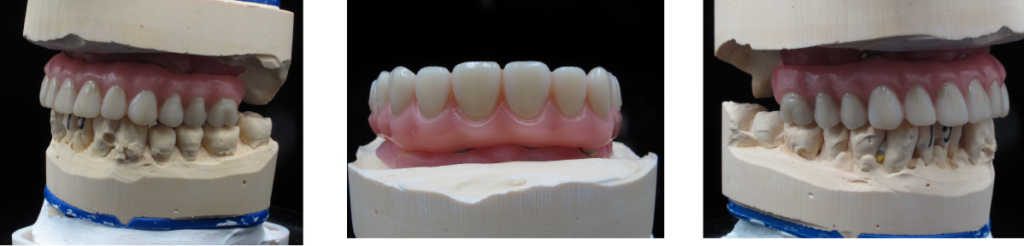
5. Post-process
Grind metal – set up teeth – make the base – trim denture
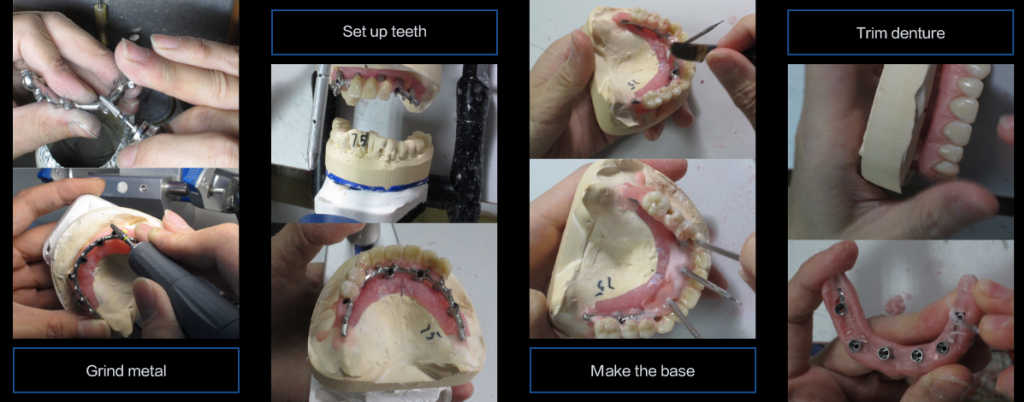
6. Finish denture
Share this on social media: