.jpg "SHINING 3D DENTAL Logo")

This article illustrates the different digital dentistry steps in creating aesthetic porcelain veneers. The team used SHINING 3D’s intraoral scanning and resin 3D printing solutions.
1. Photographic Data Collection

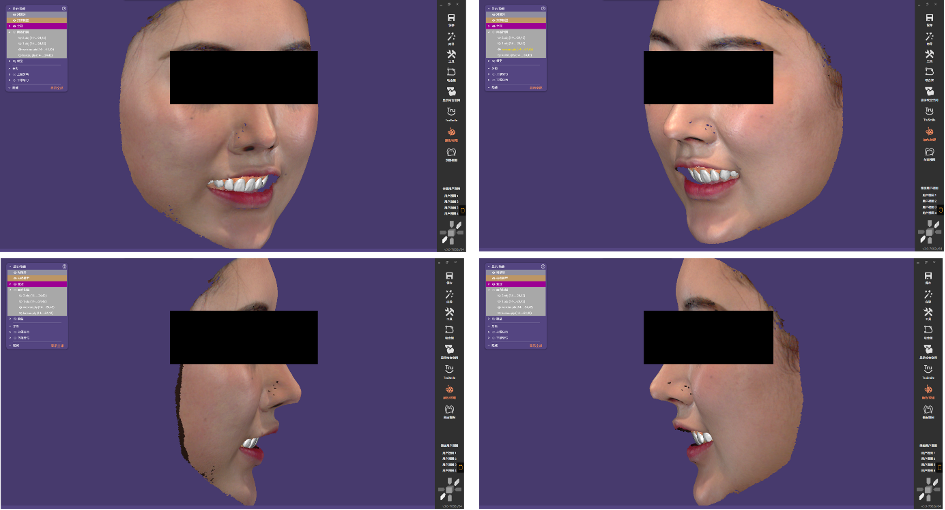
Front facing image acquisition
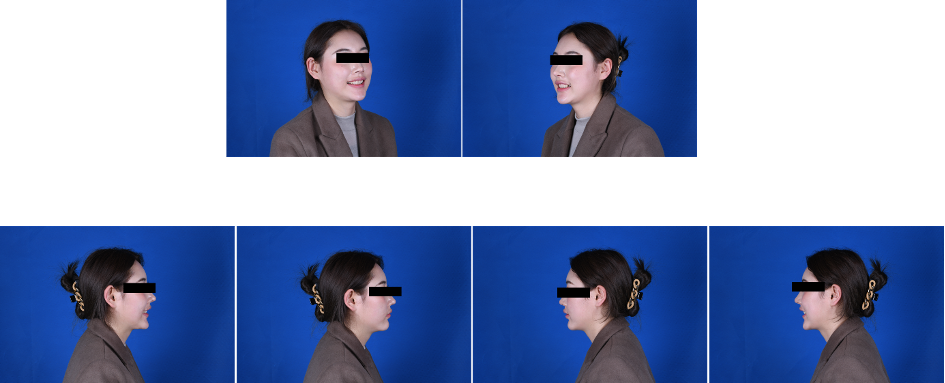
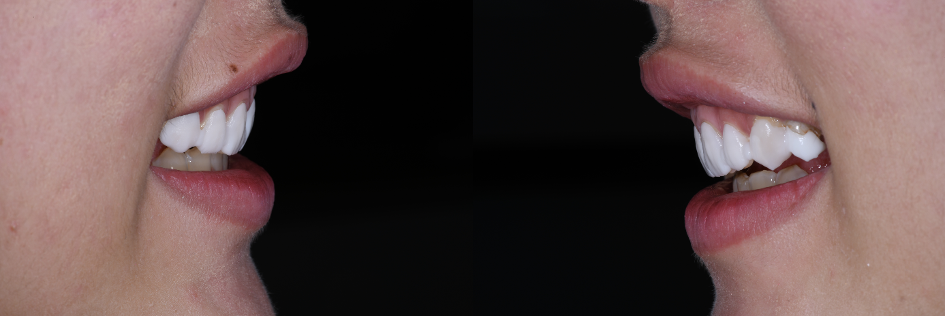
Side profile image acquisition

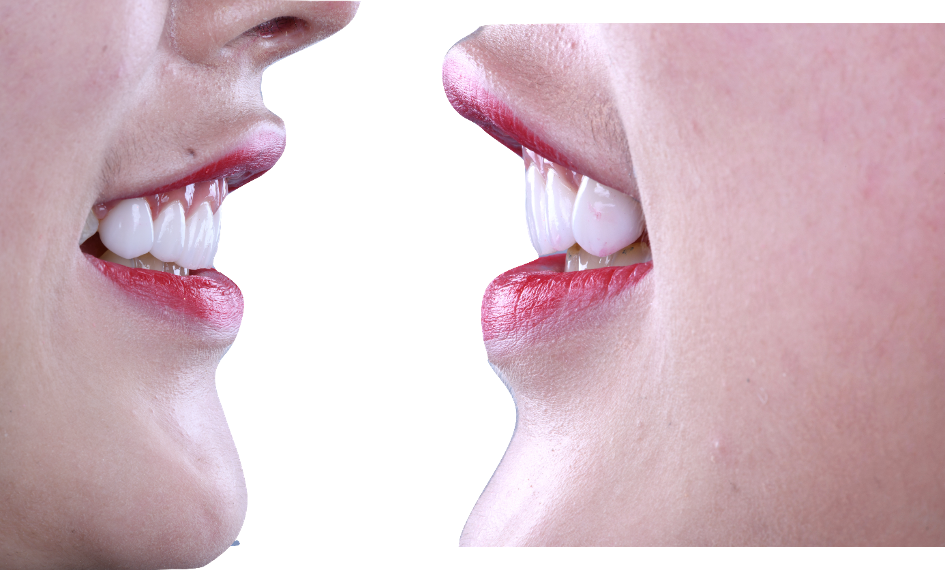
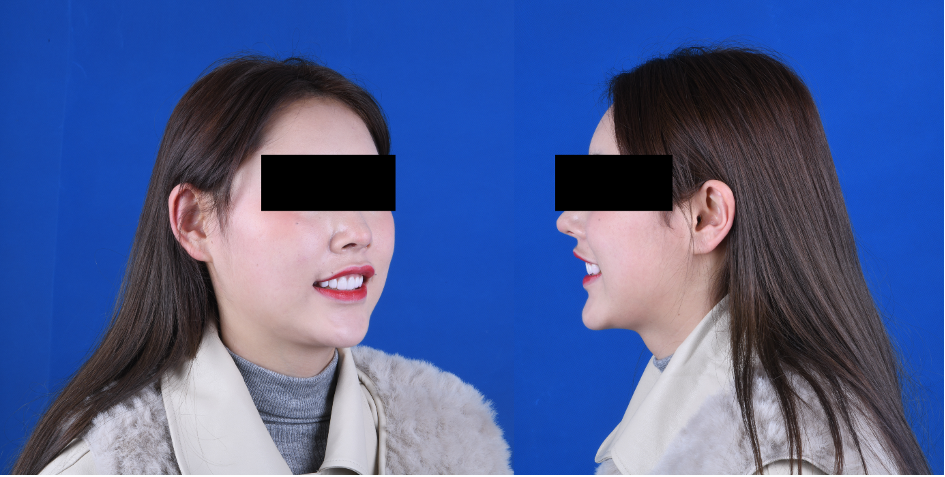
Lip line and smile line image acquisition.
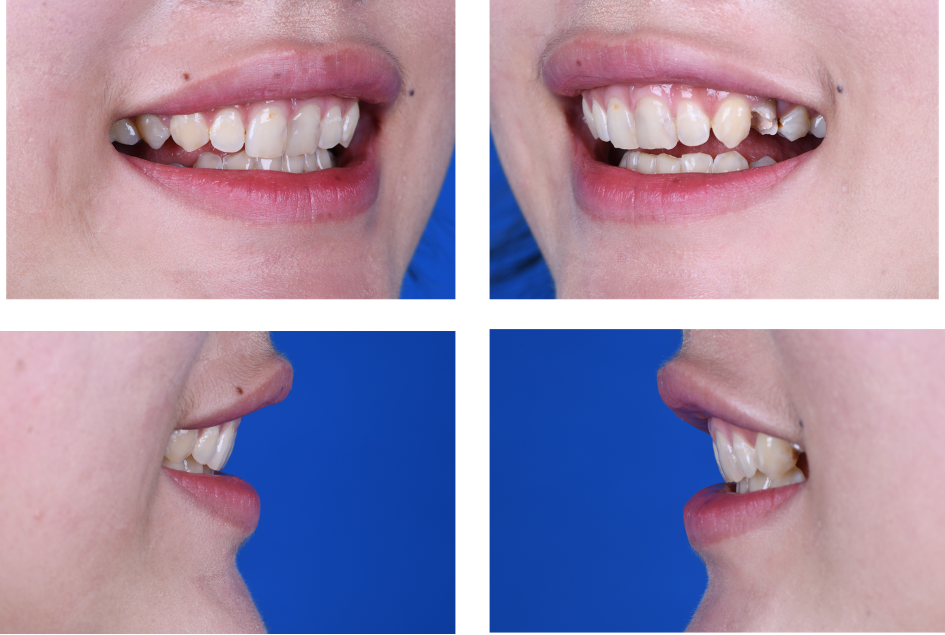
Profile image acquisition for the lip line and smile line.
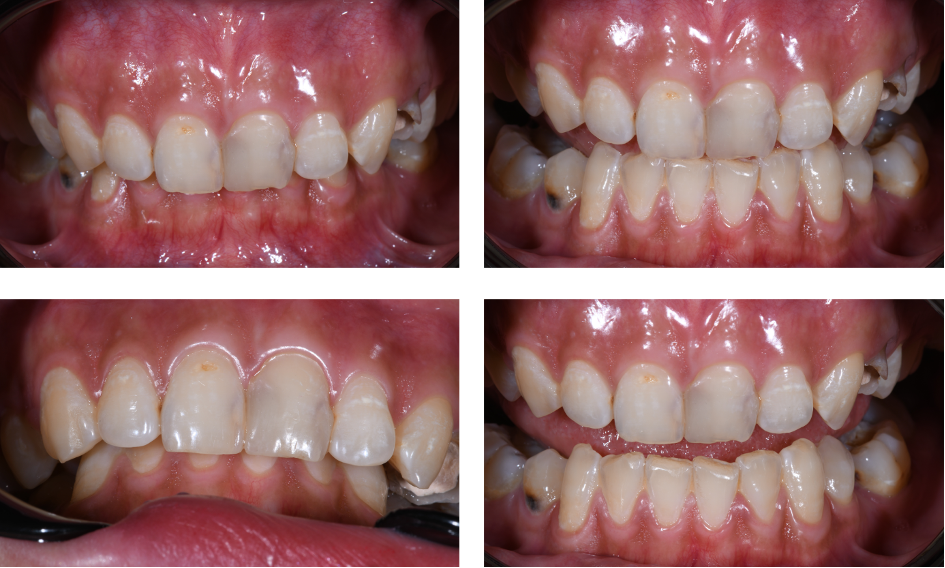
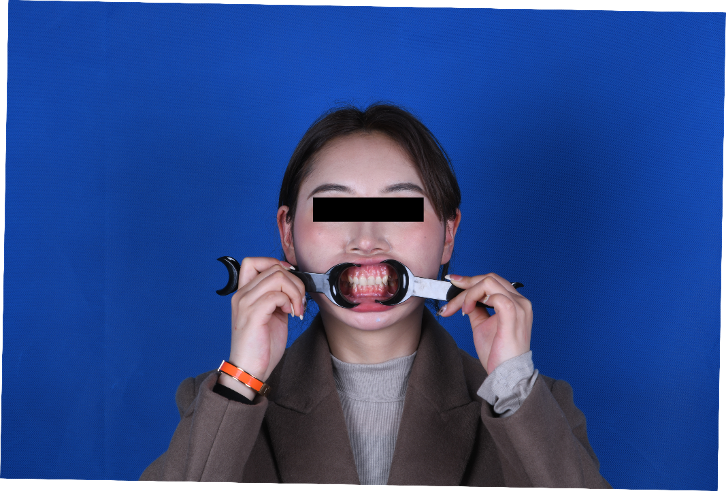
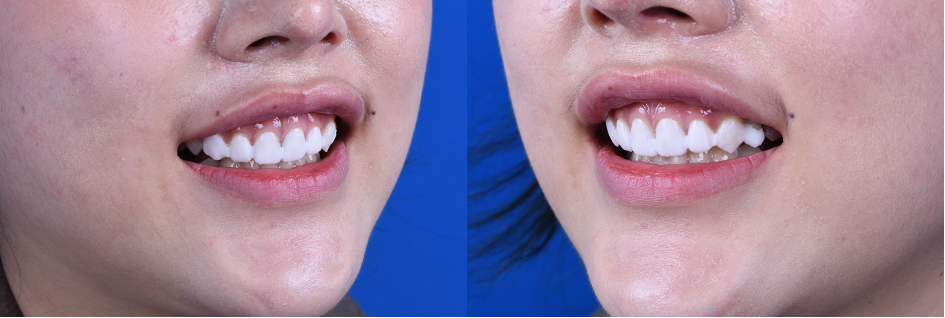
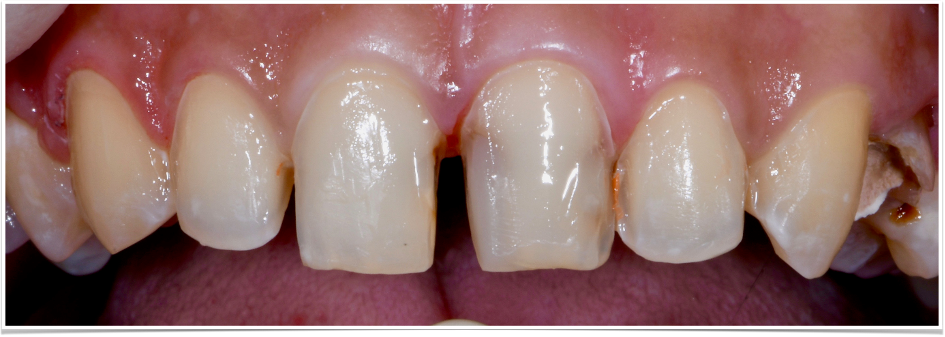
Intraoral retracted frontal image
Retracted lateral image.
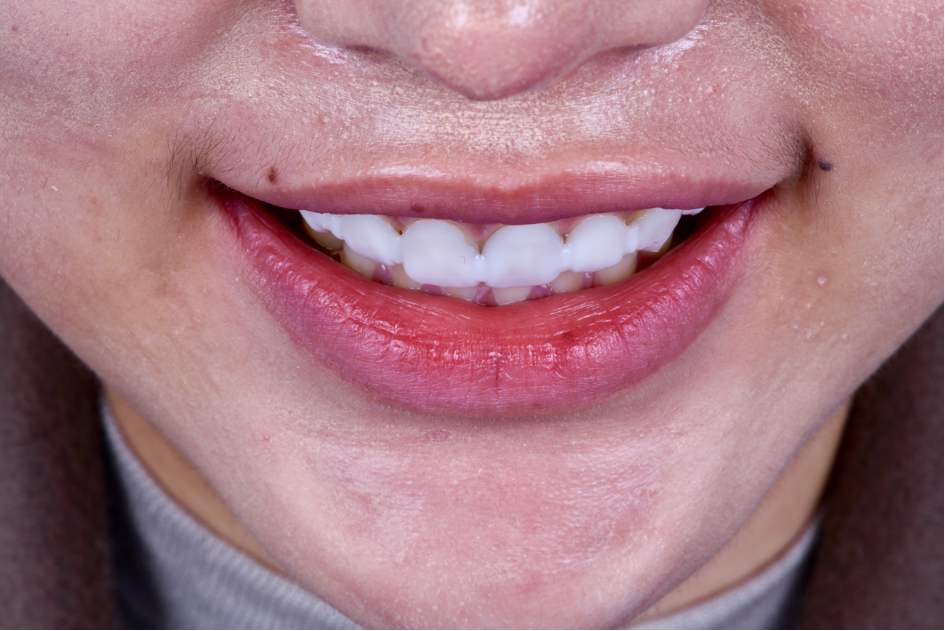
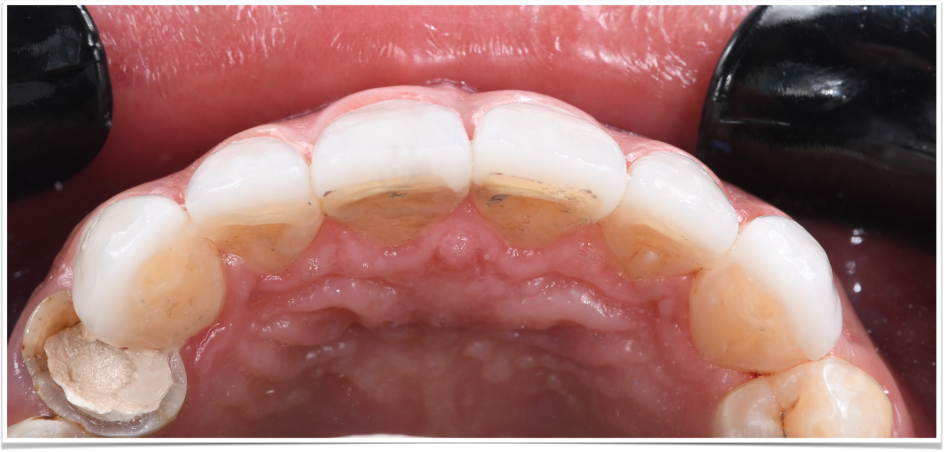
Intraoral black background photography
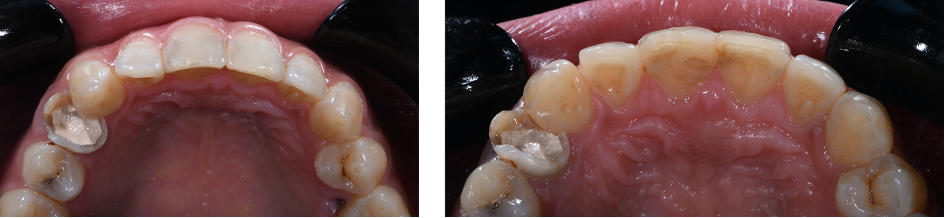
Occlusal mirror view
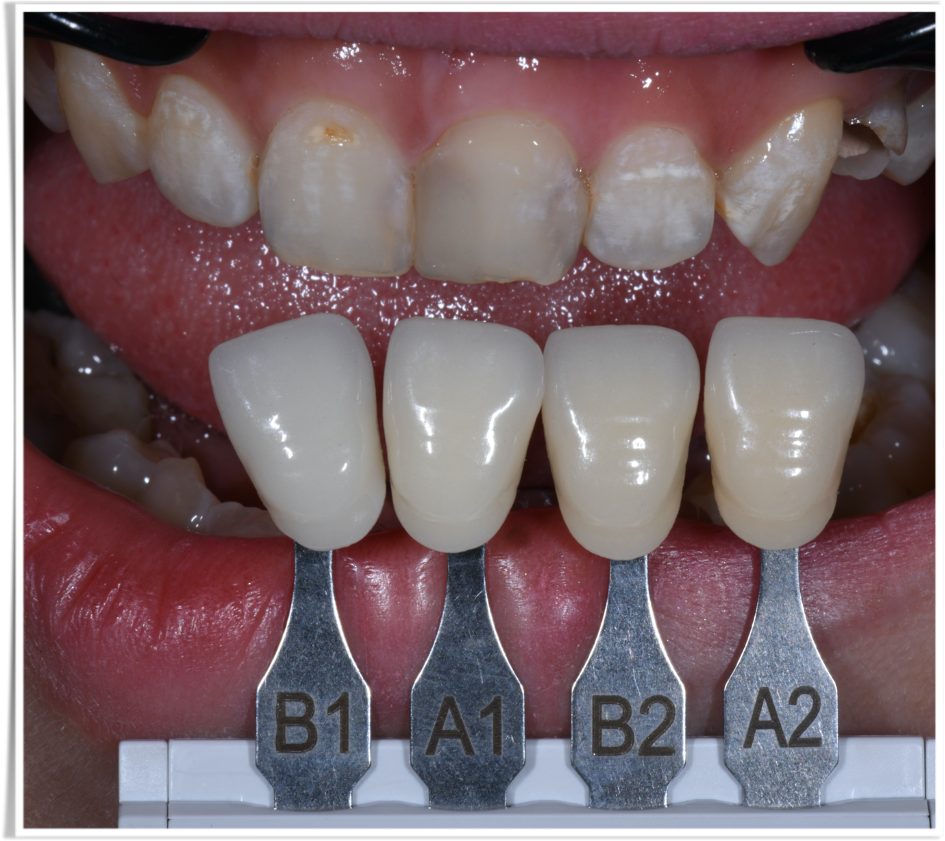
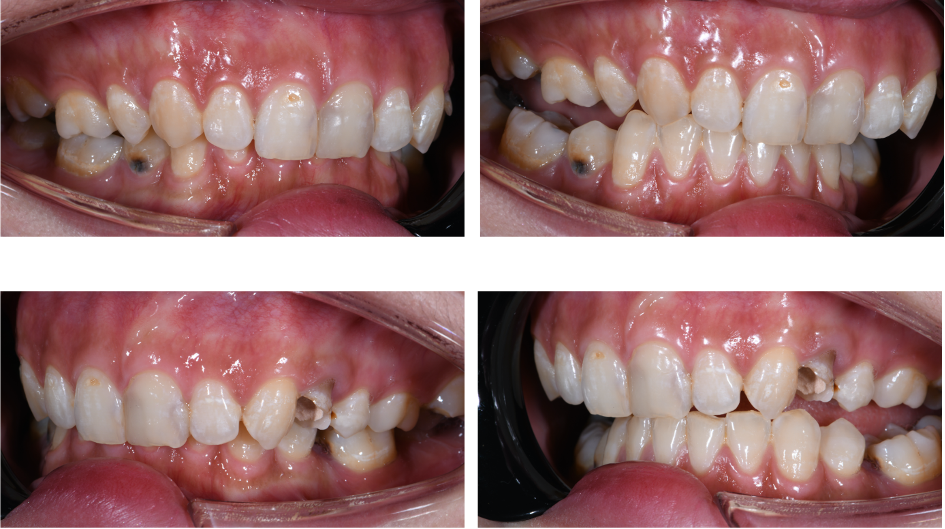
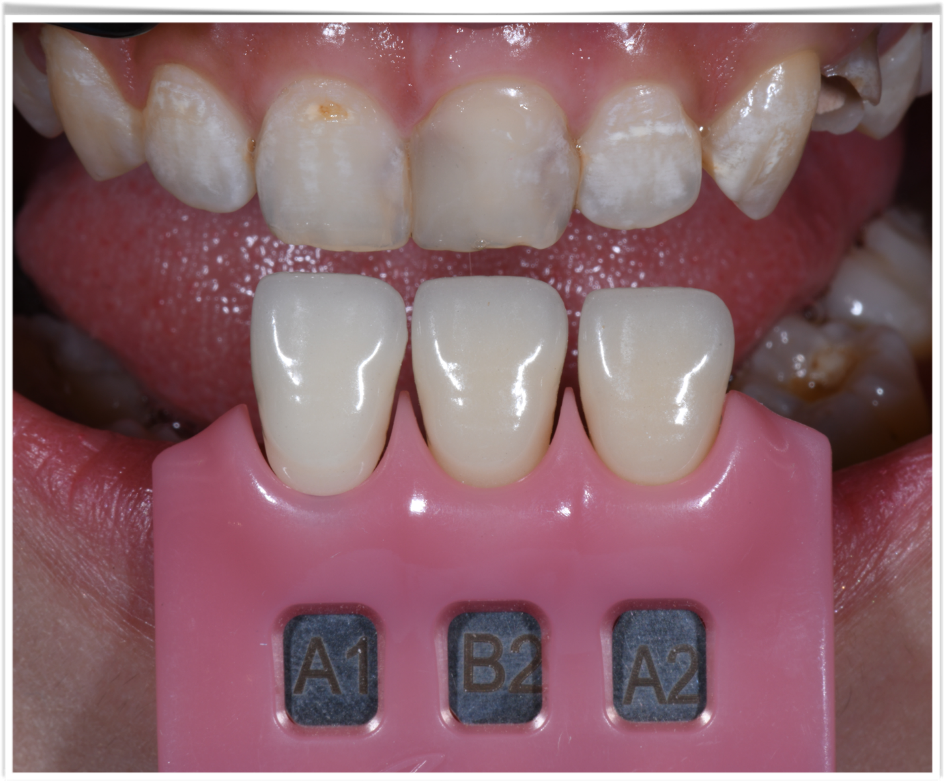
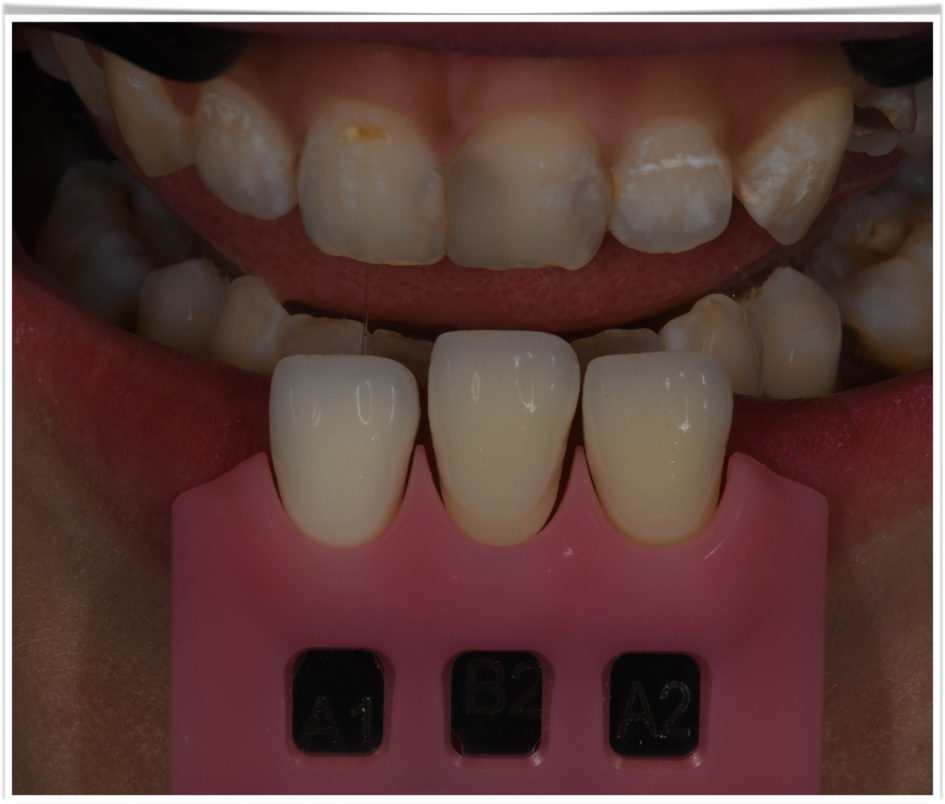
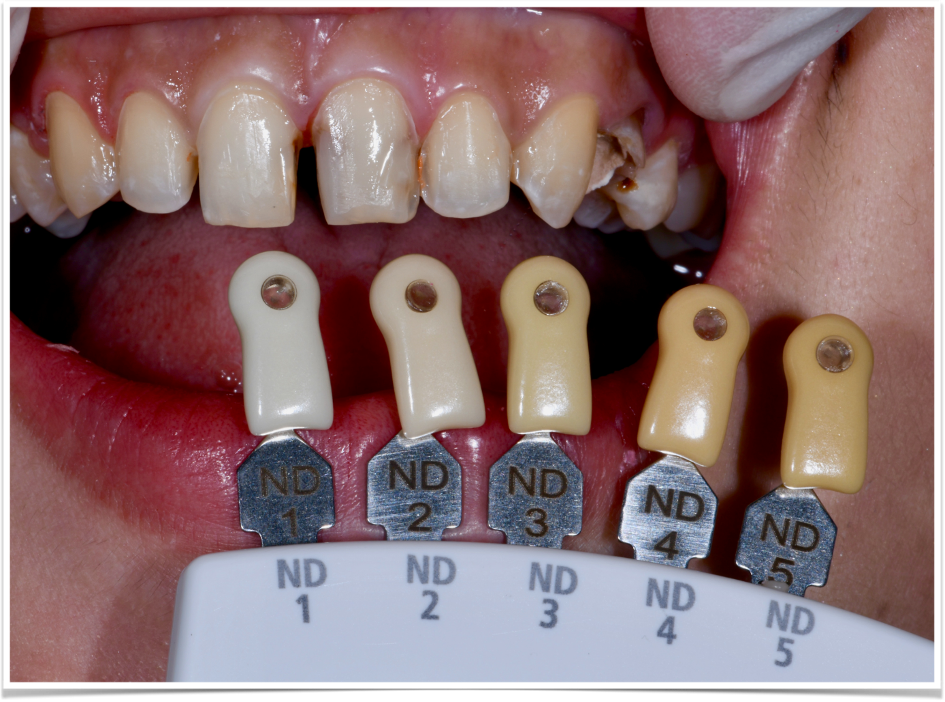
Natural tooth shade comparison
Shade guide with gingiva indicator
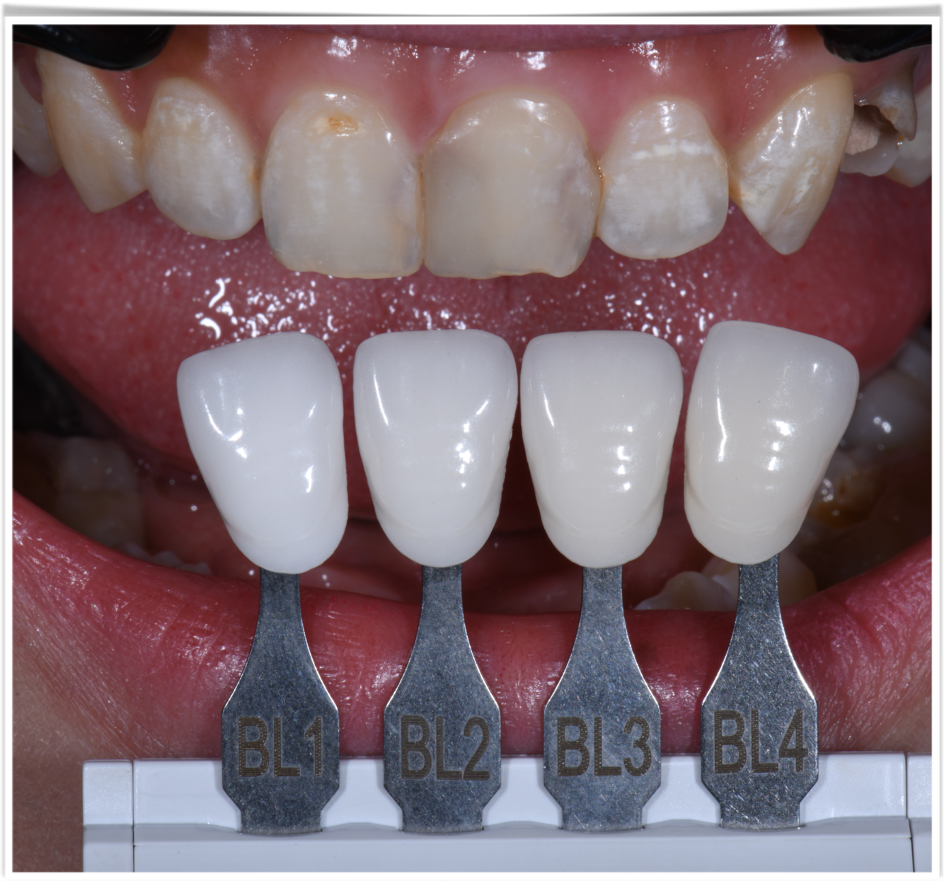
Comparison with desired shade
Shade selection under polarizer
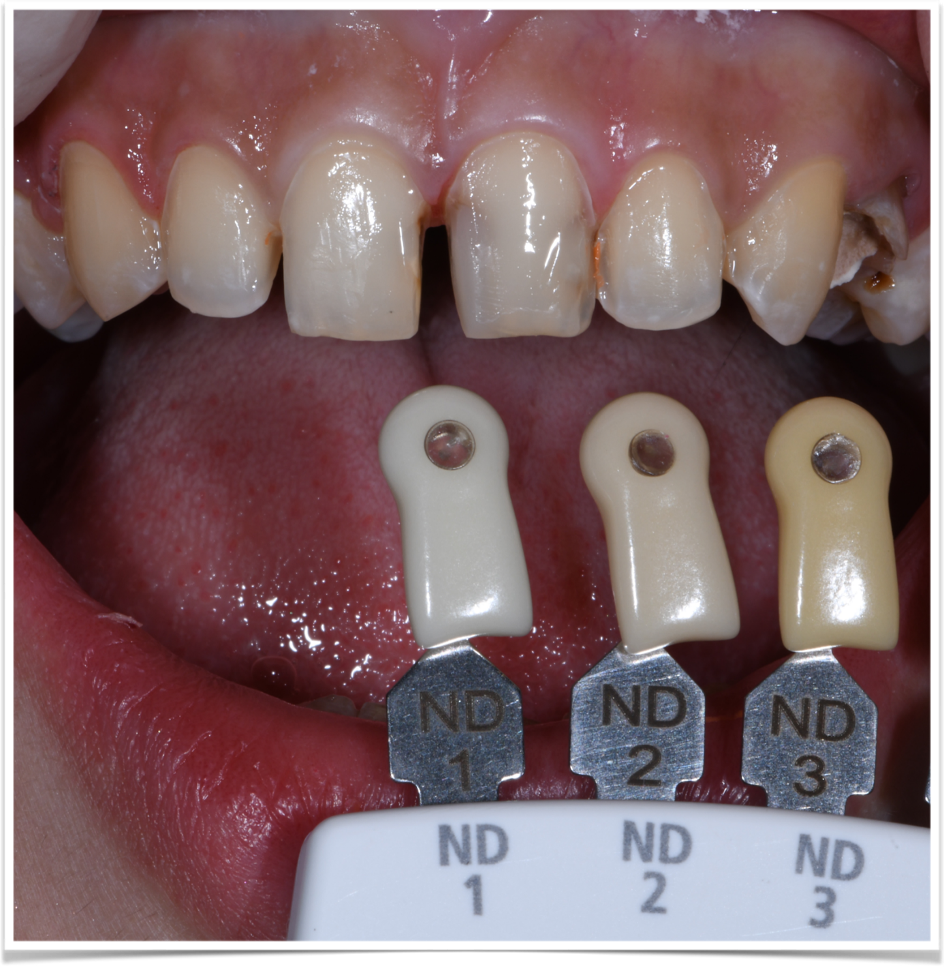
Tooth stump shade selection
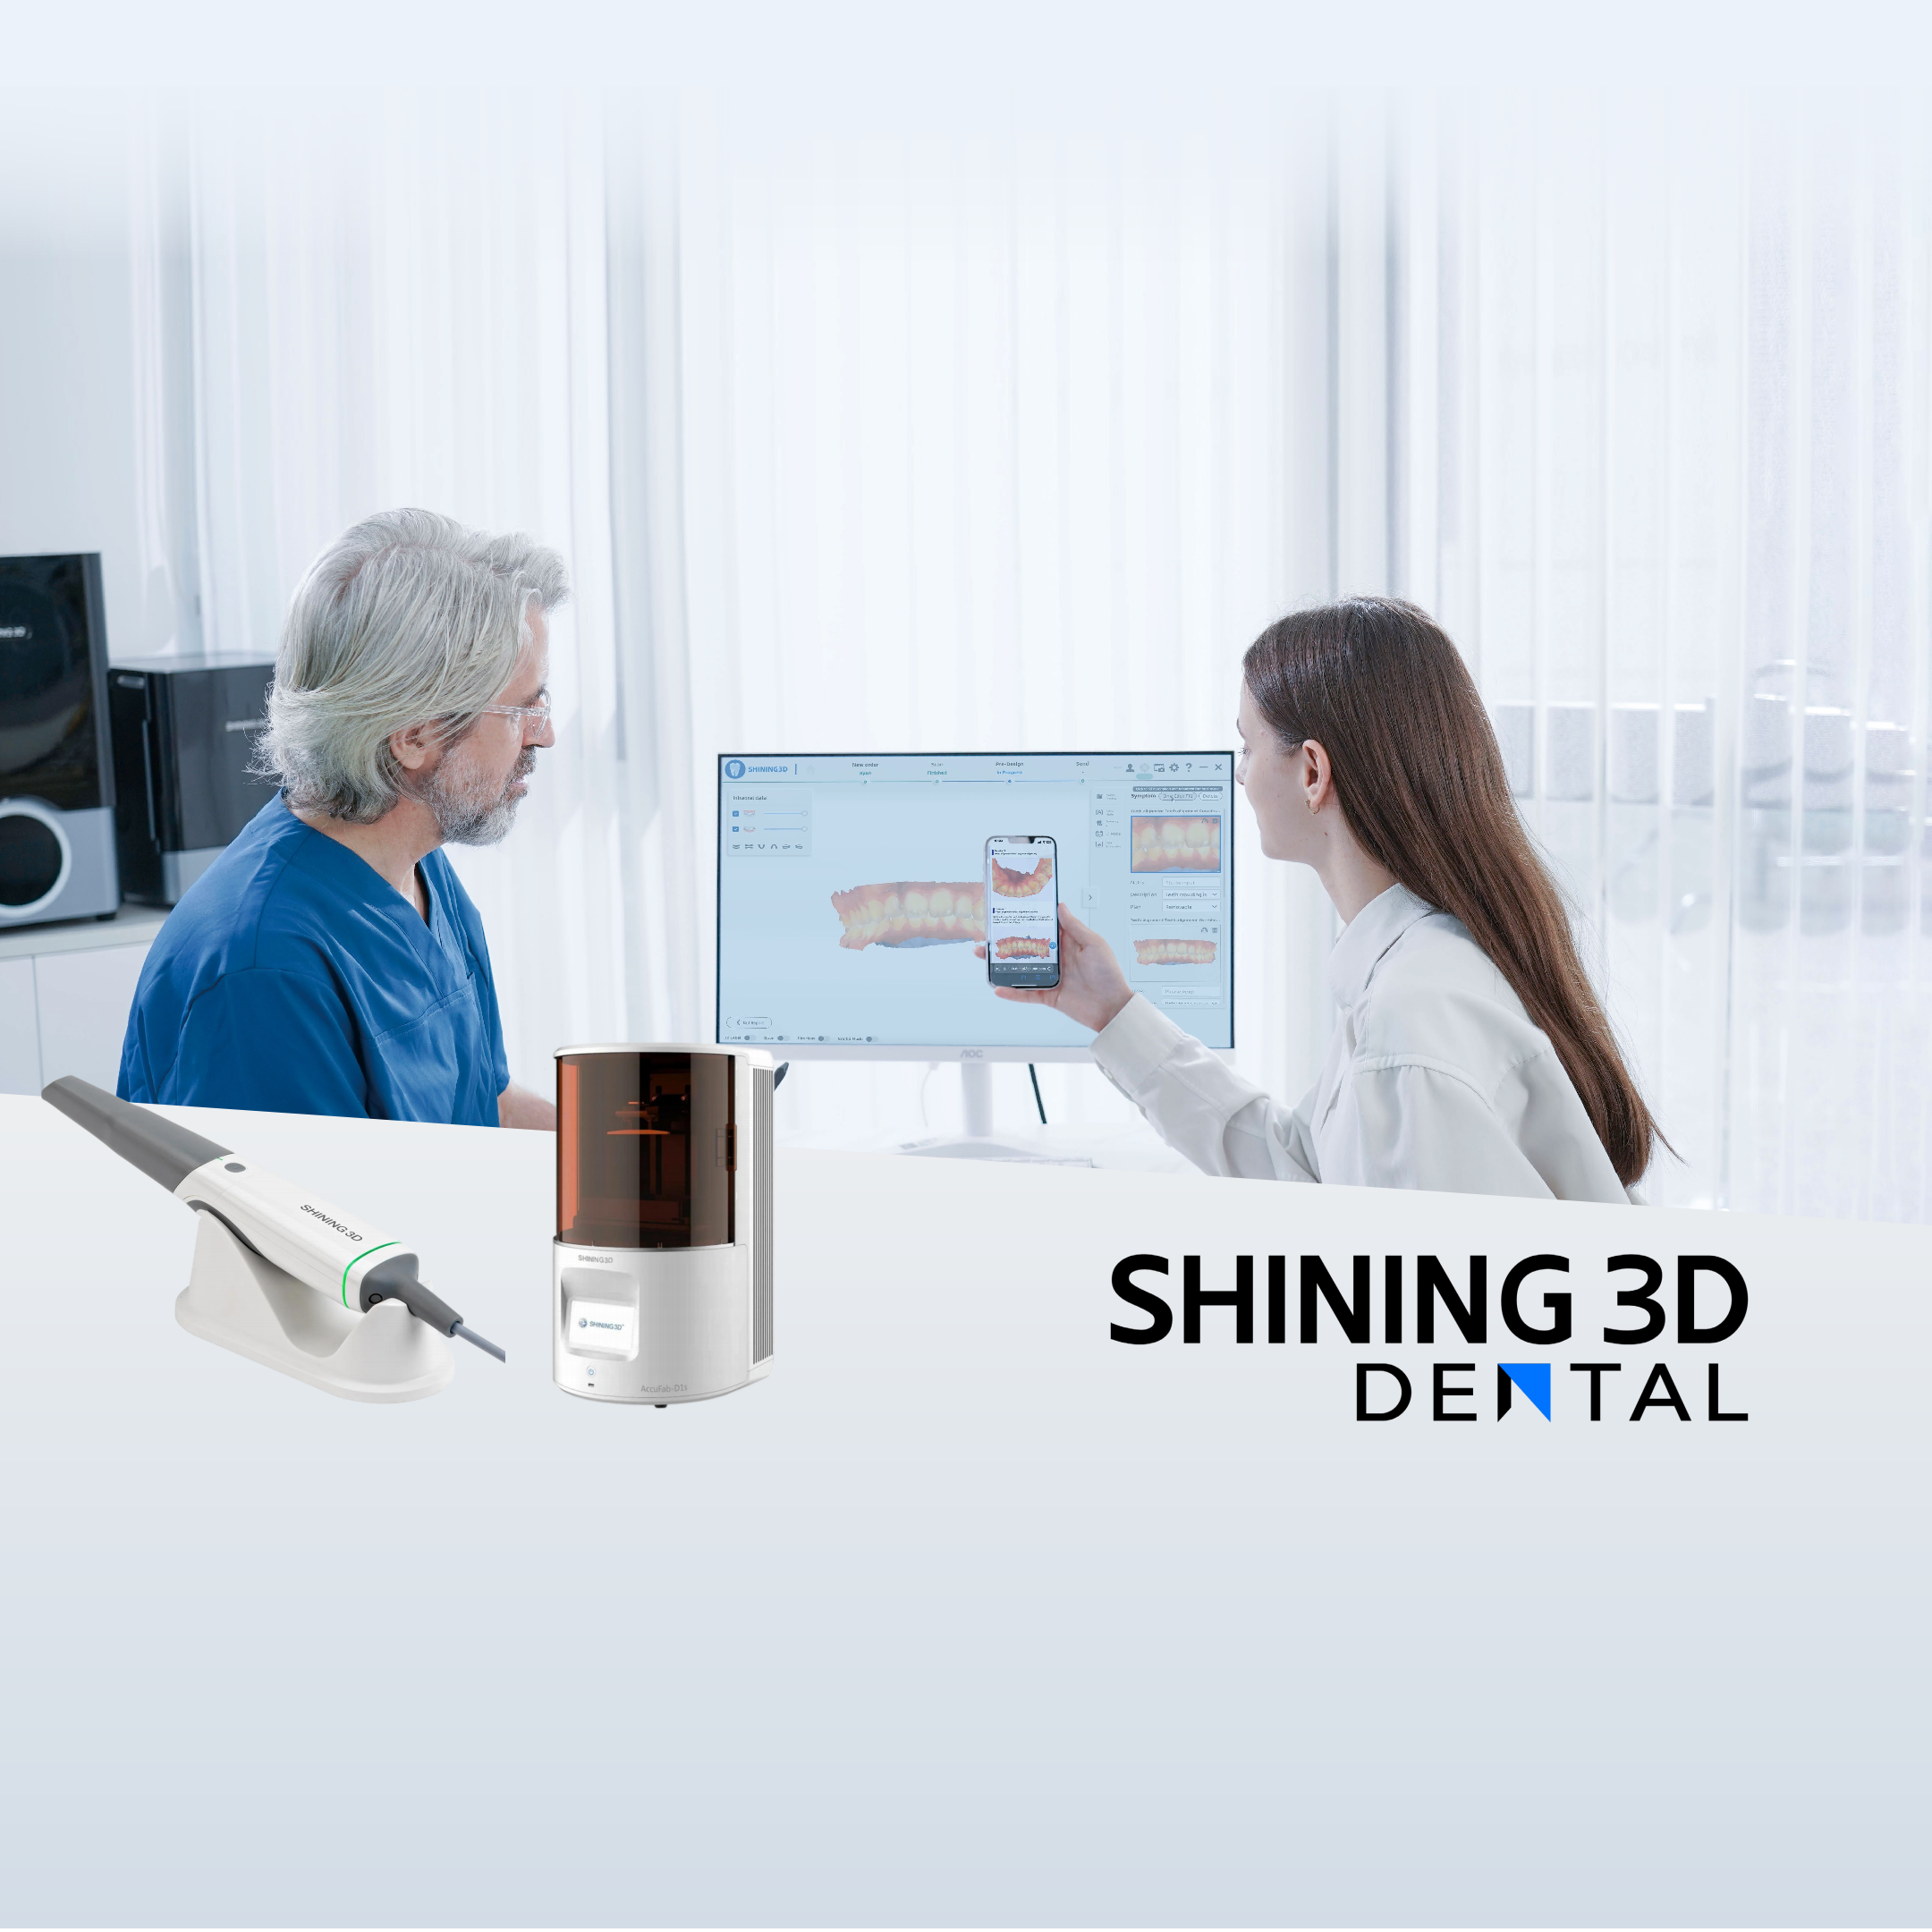
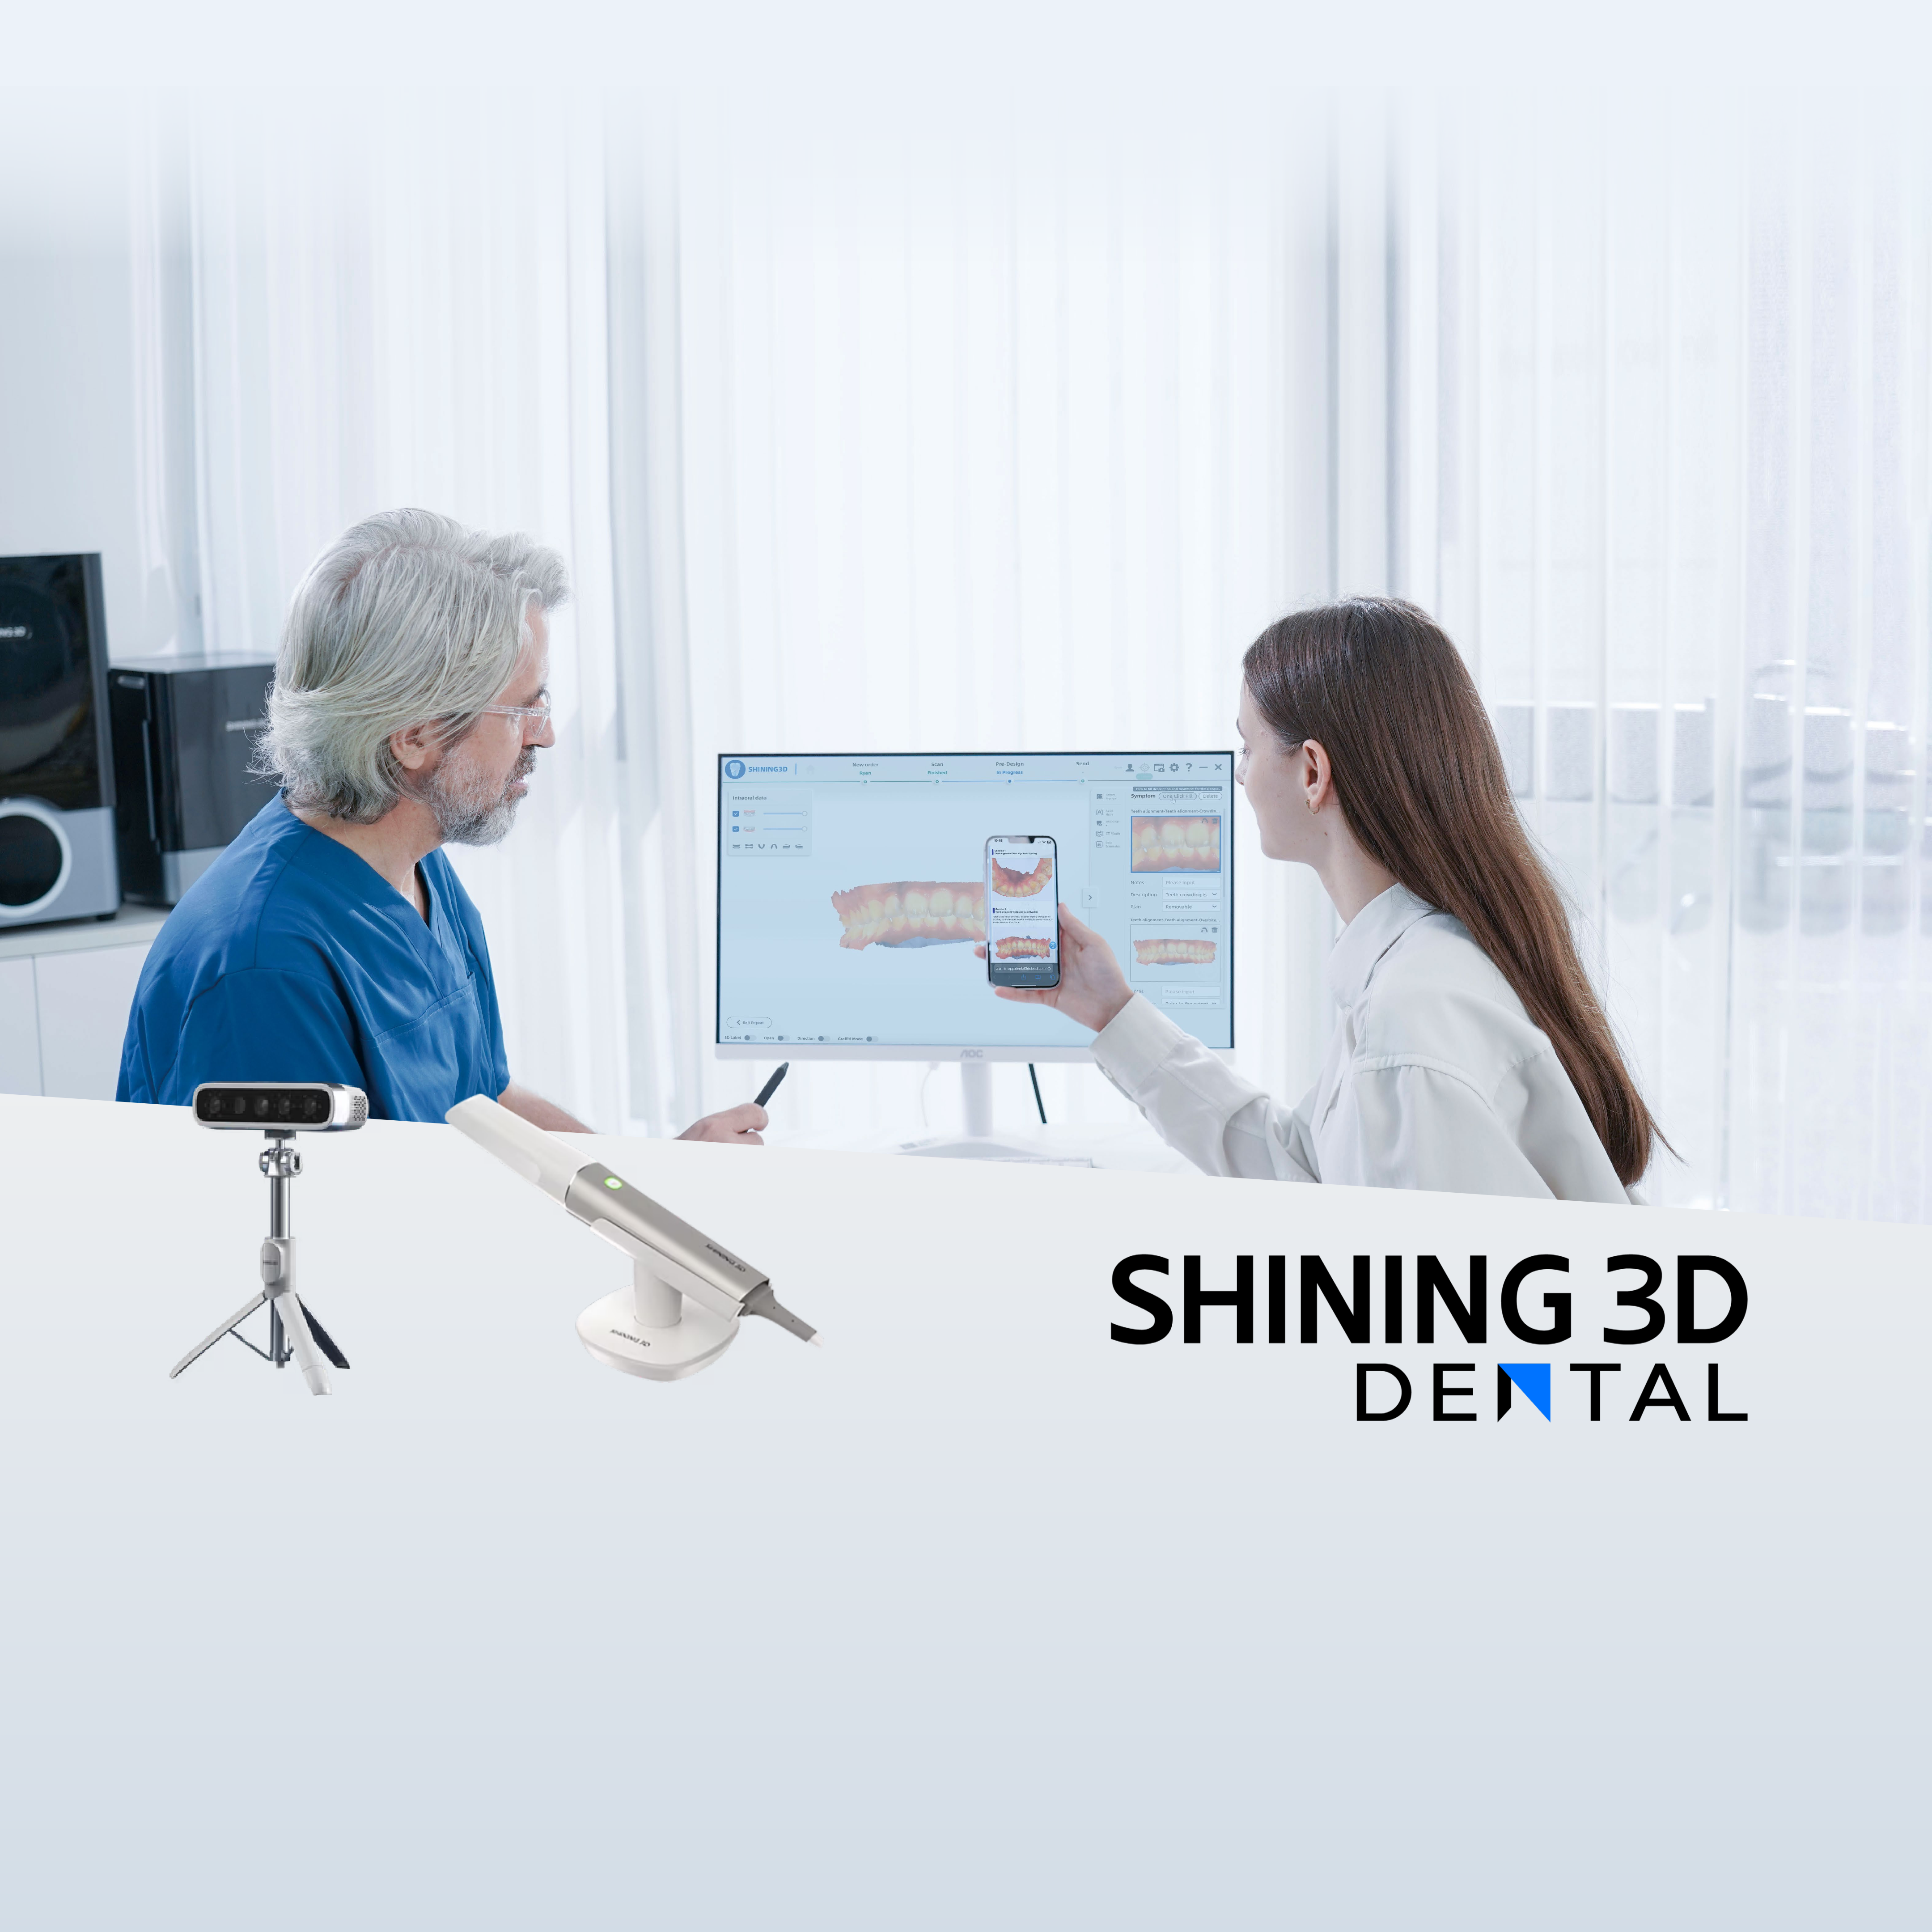
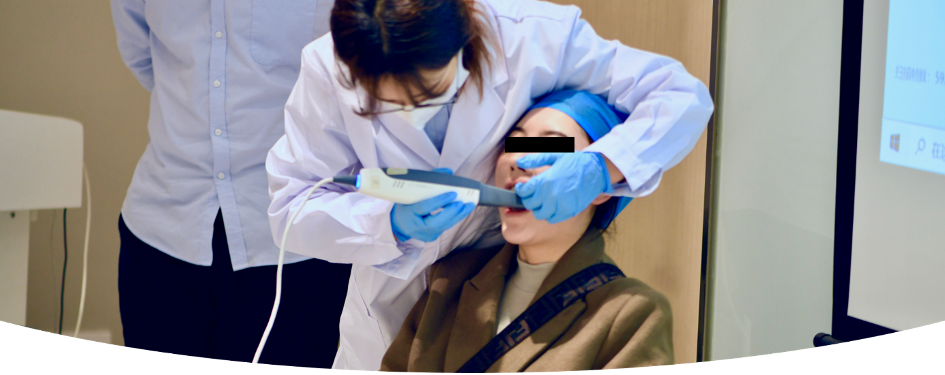
2. Data collection with Face scanner and intraoral scanner
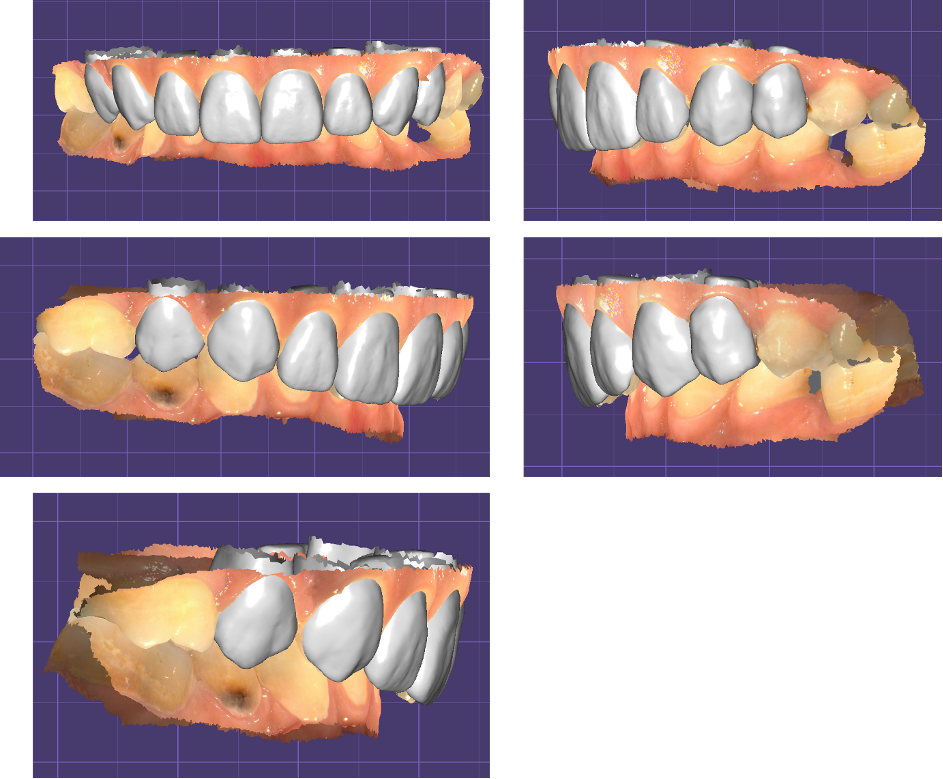
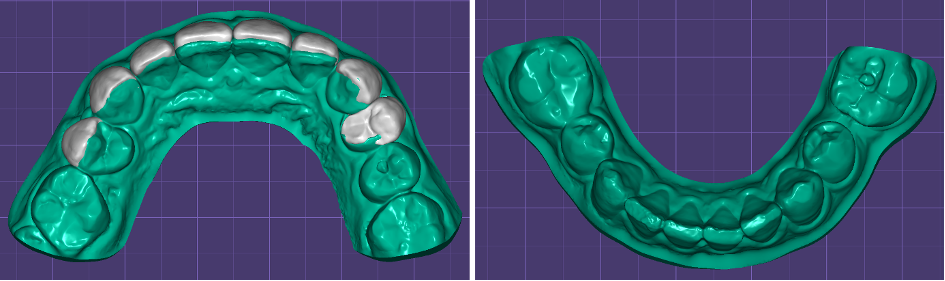
Acquire upper and lower jaw data with Shining 3D’s Aoralscan
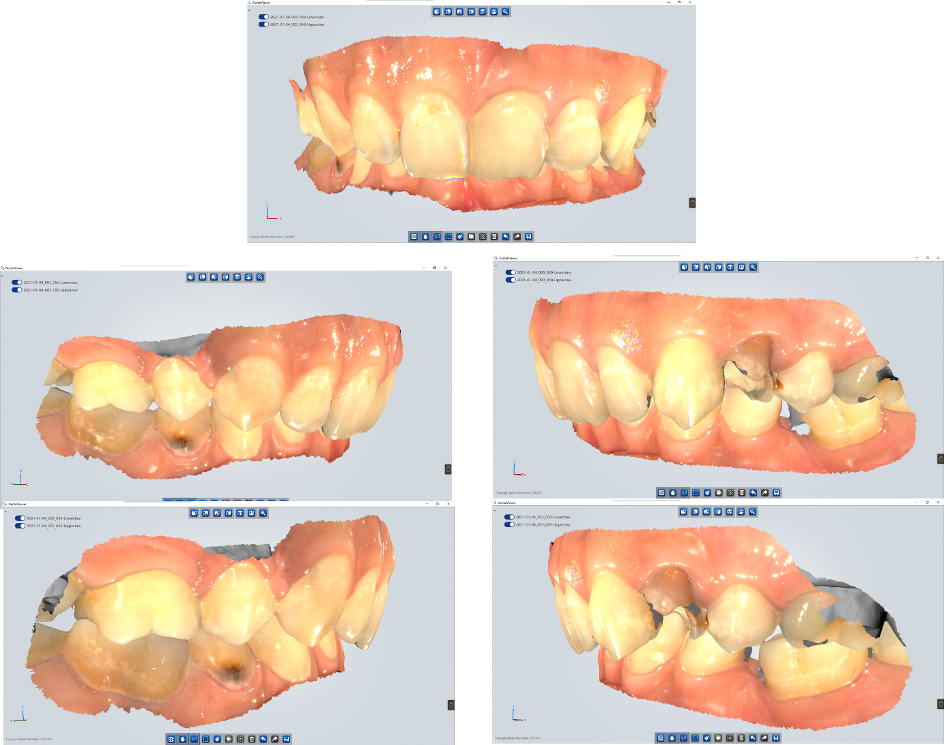
Data acquired with intraoral scanner
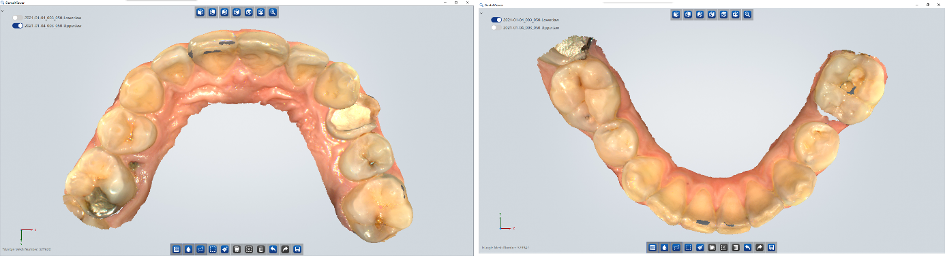
Upper and lower jaw data
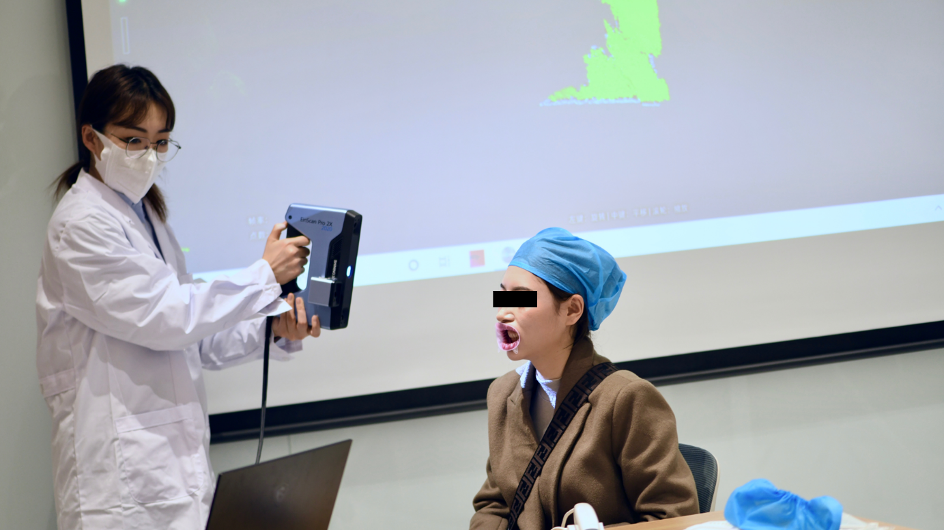
Acquire facial data with Shining 3D’s face scanner
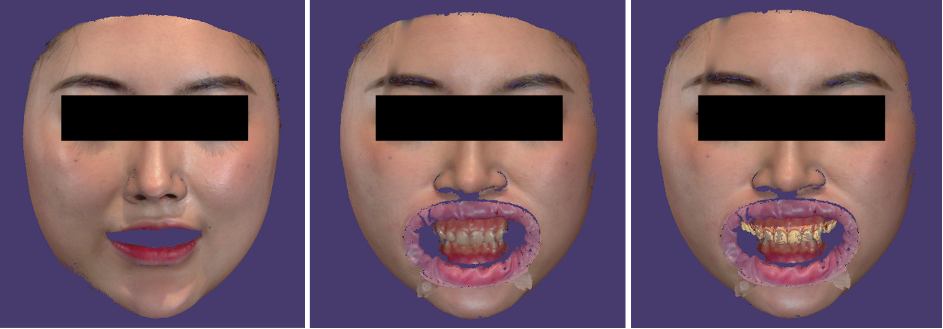
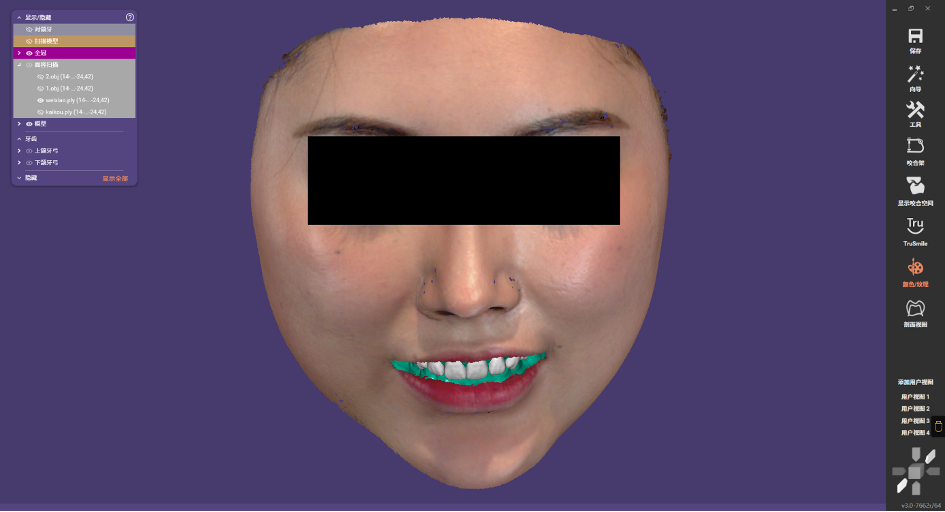
Smile, retracted and combination of data scanned by intraoral scanner and face scanner
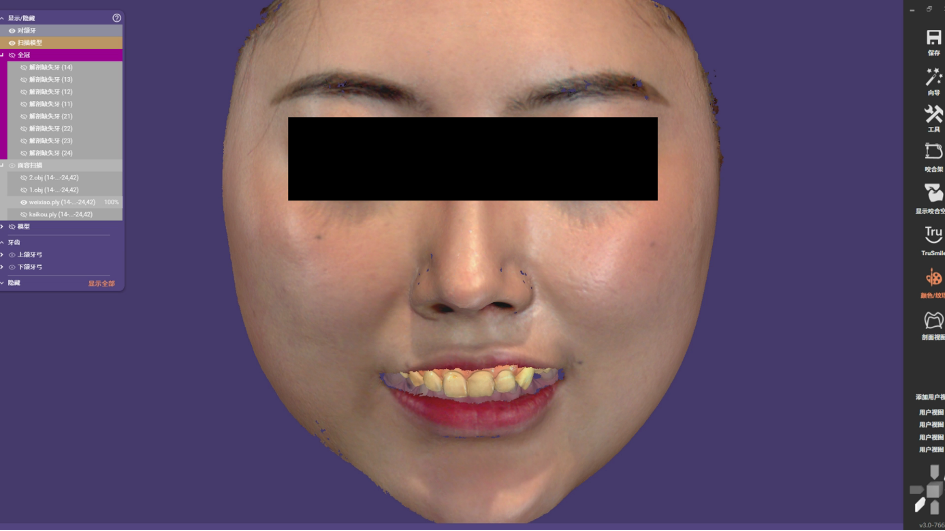
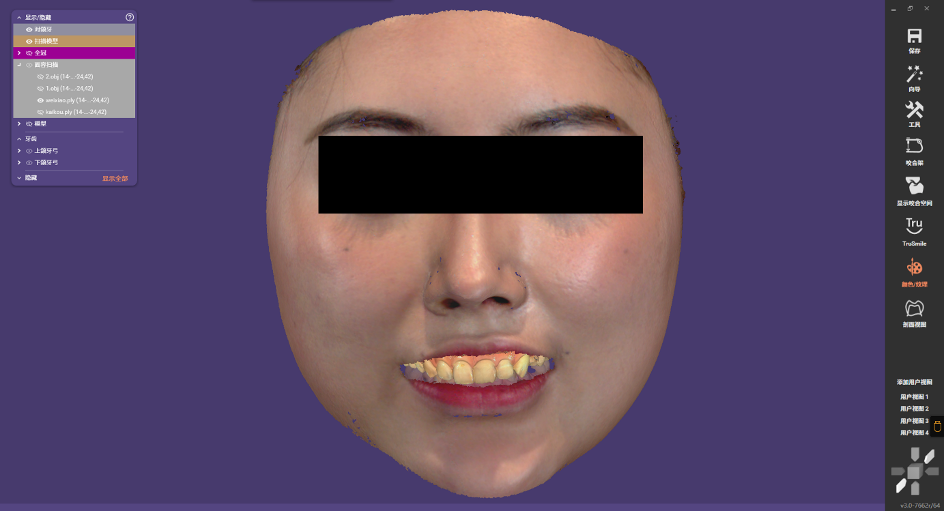
Alignment of data scanned by face scanner and intraoral scanner
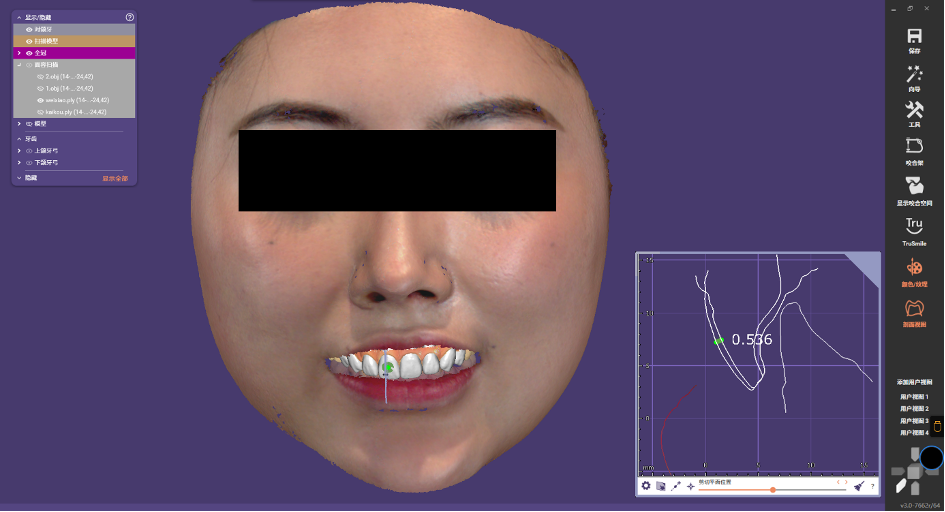
3. DSD and Model Creator
Design effect under the reference of 3D facial data

Model Measurements: Thickness of cervical 1/3 – Thickness of middle 1/3 – Thickness of incisal 1/3

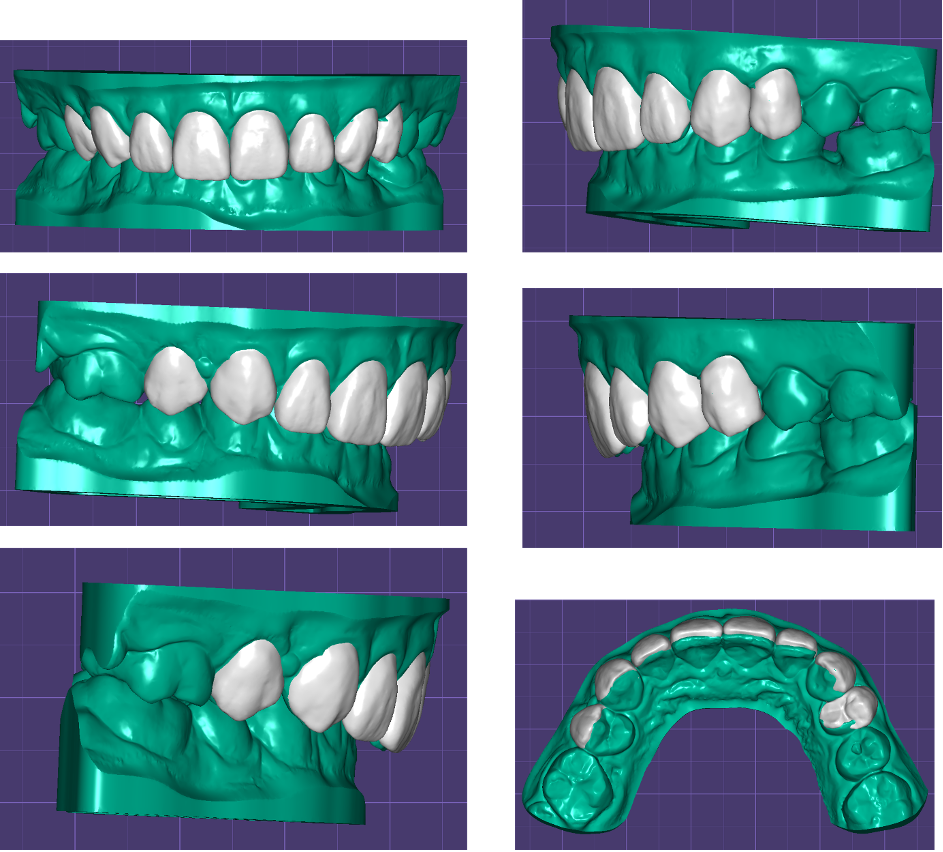
Create models for model printing
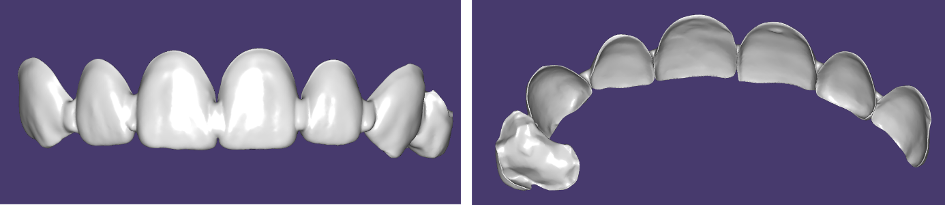
Generate temporary crowns
4. Temporary crowns and model printing

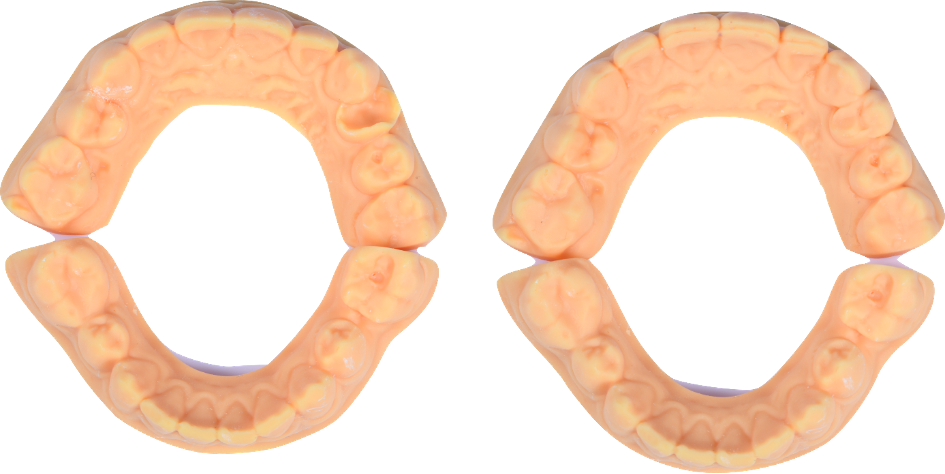
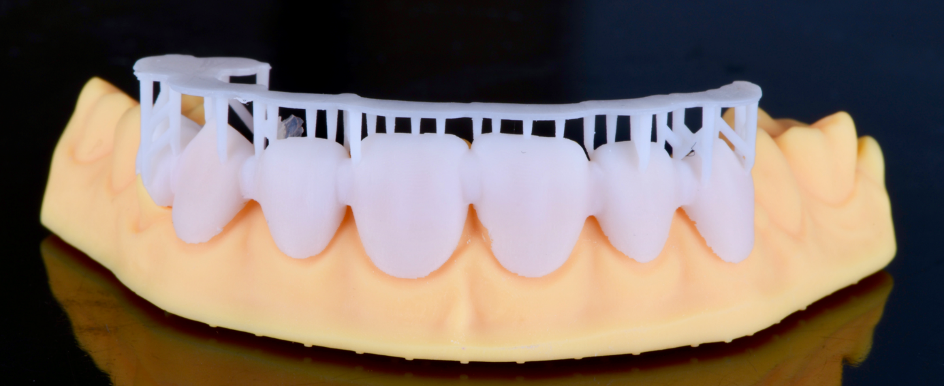
Print pre-op model and print diagnostic model
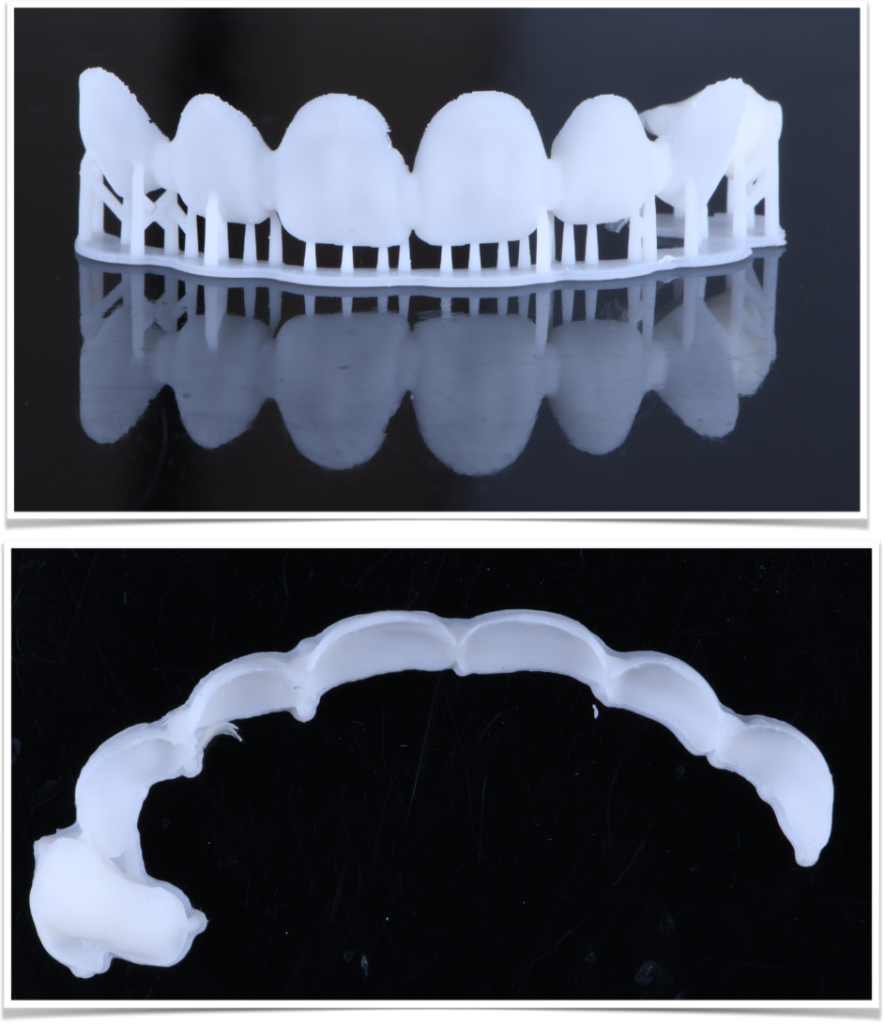
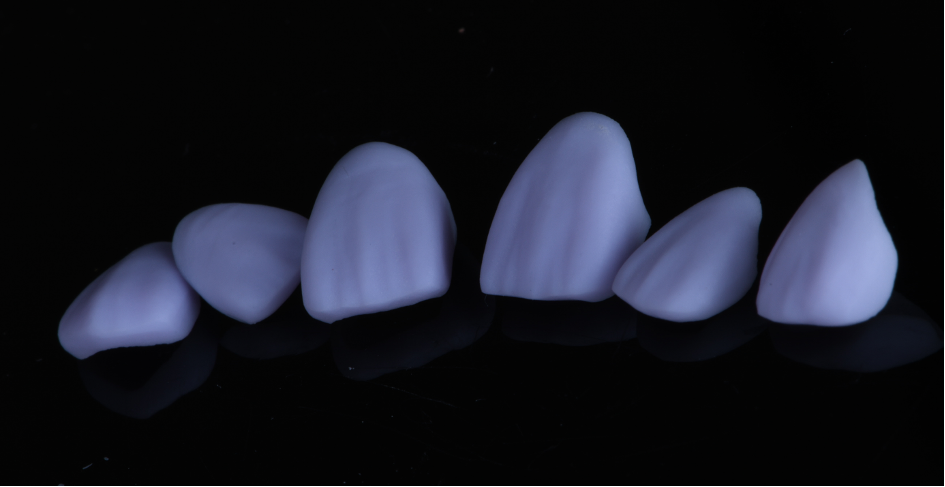
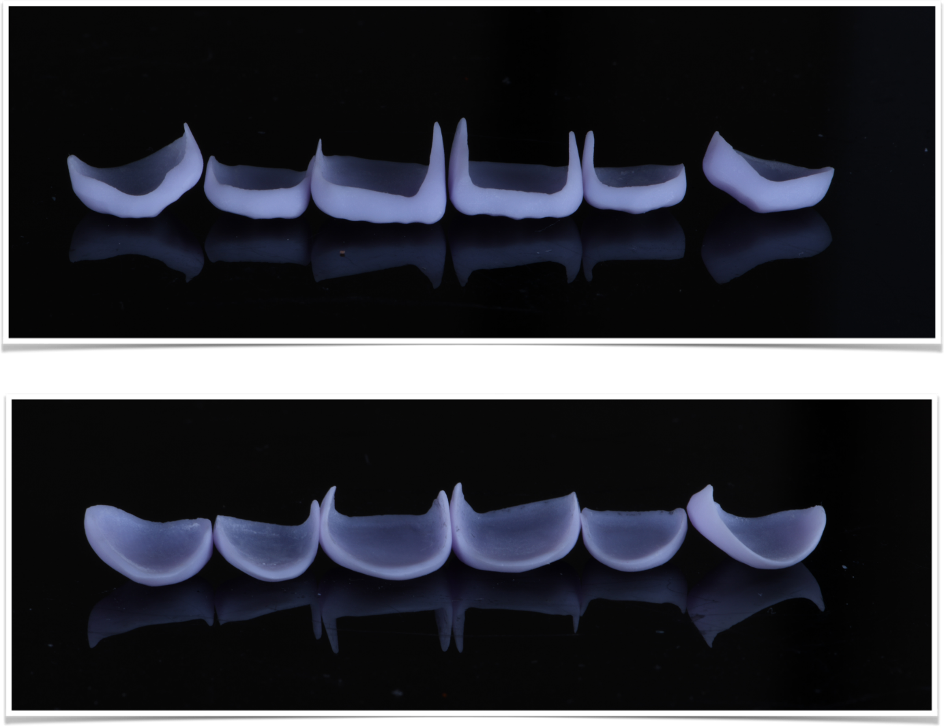
Temporary veneer printing
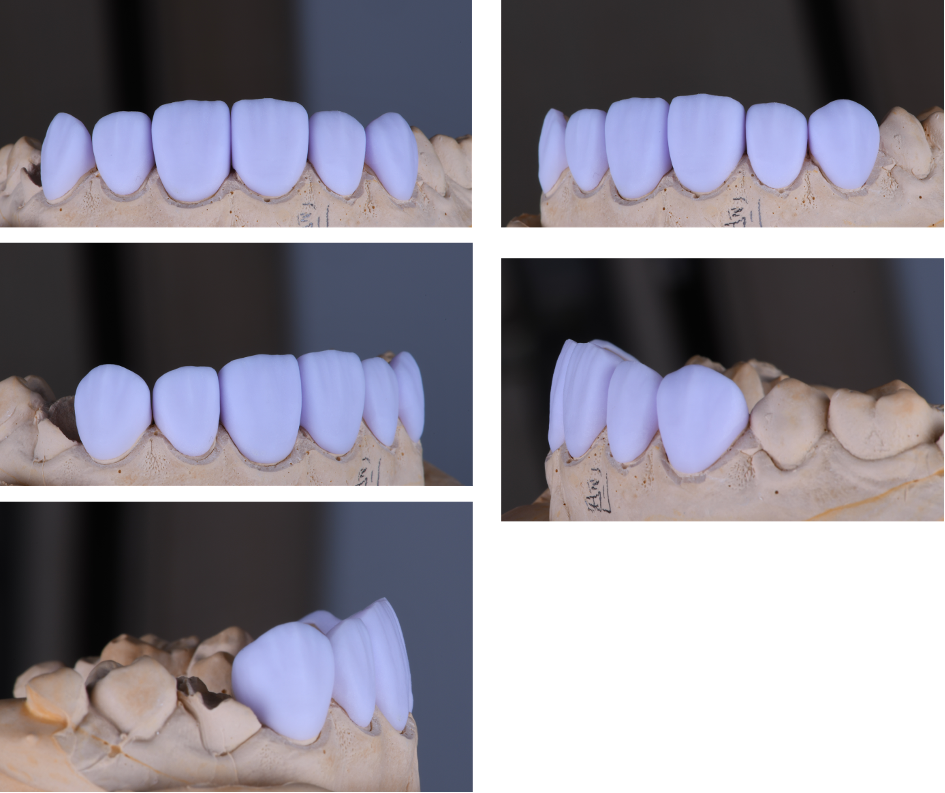
Fit check of temporaries on the pre-op model
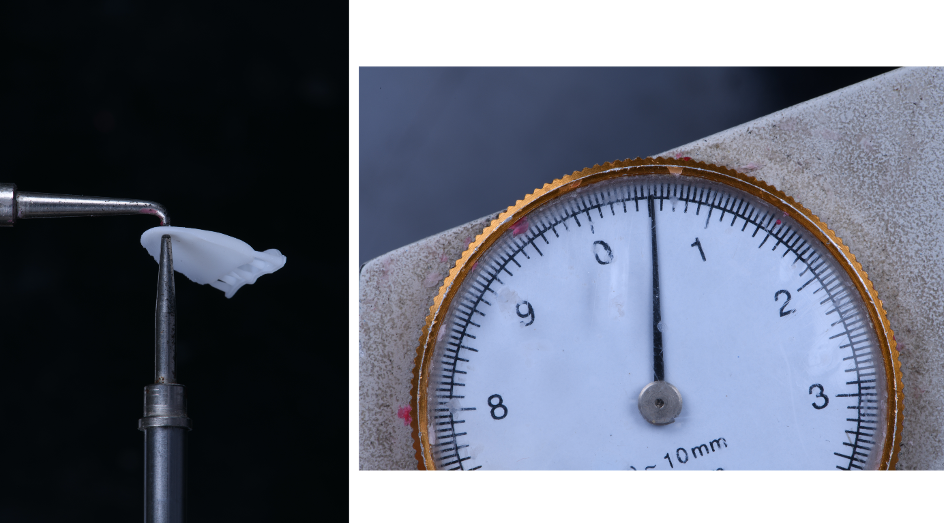
Thickness check of the temporary veneers
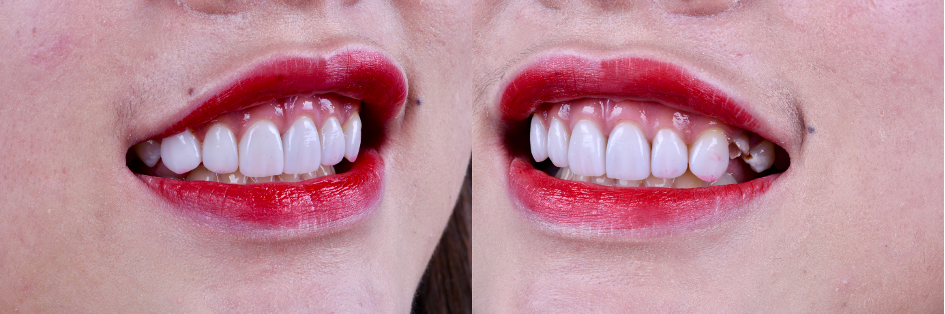
5. Try-in of the temporary veneers

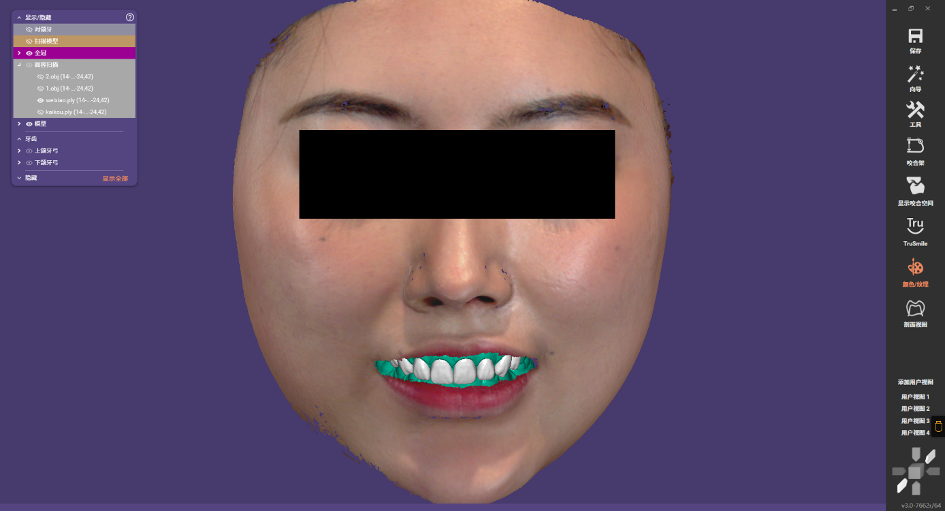
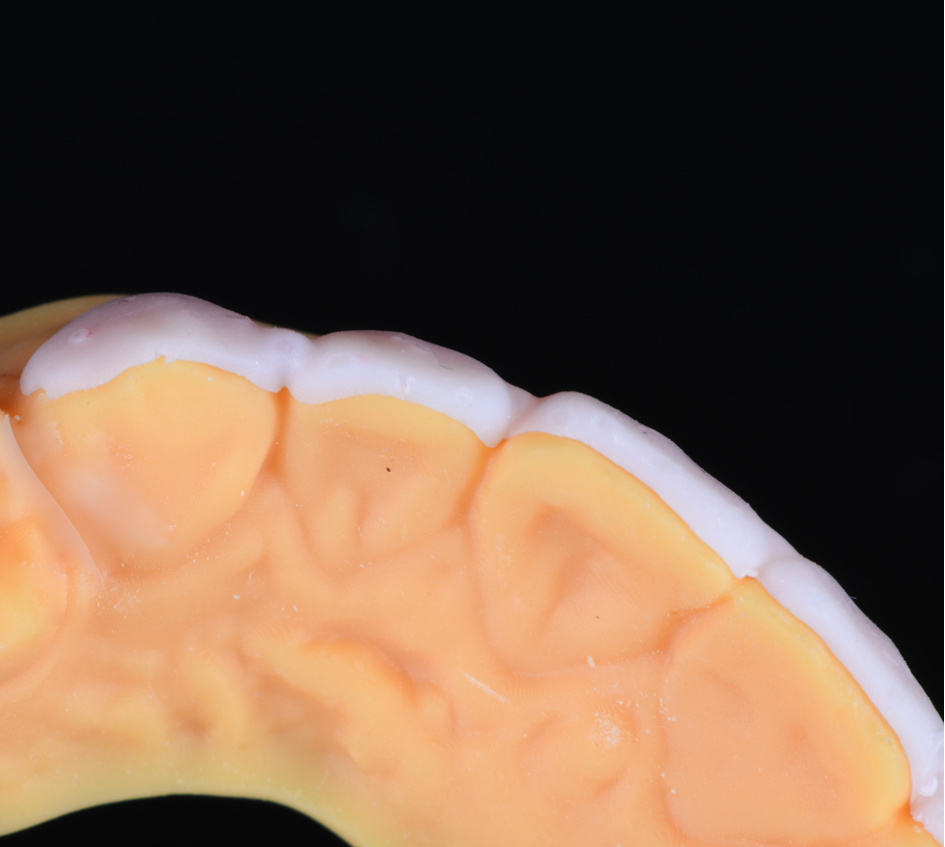
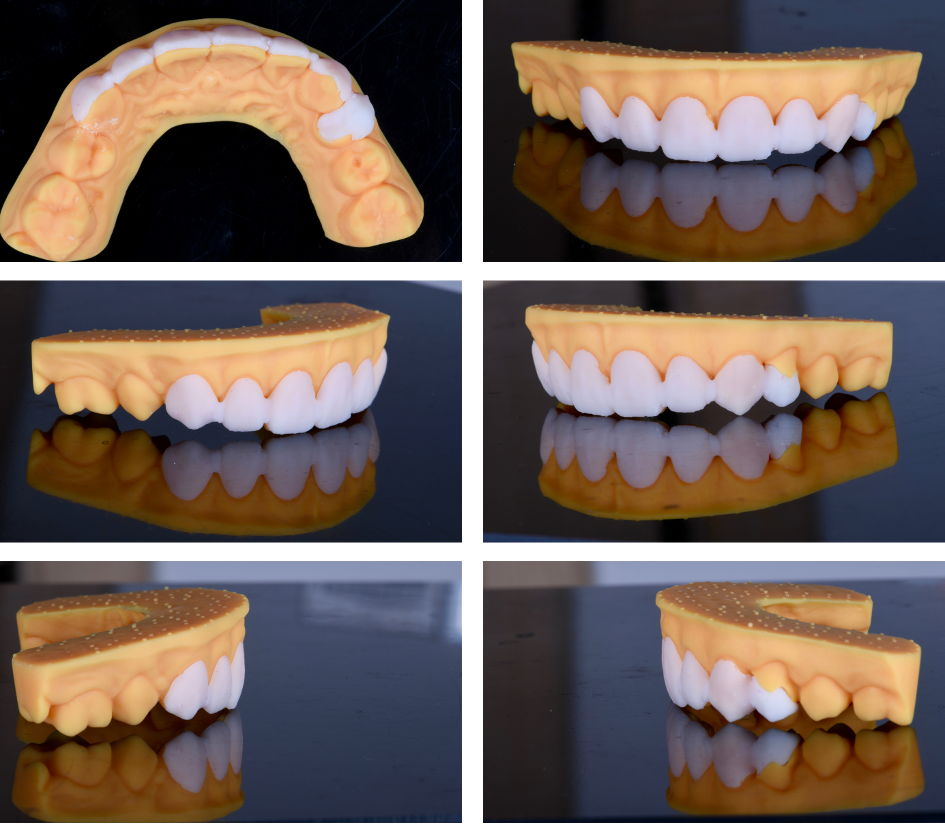
Temporary veneers – intraoral view
Lateral buccal view with the 3D printed temporary veneers.

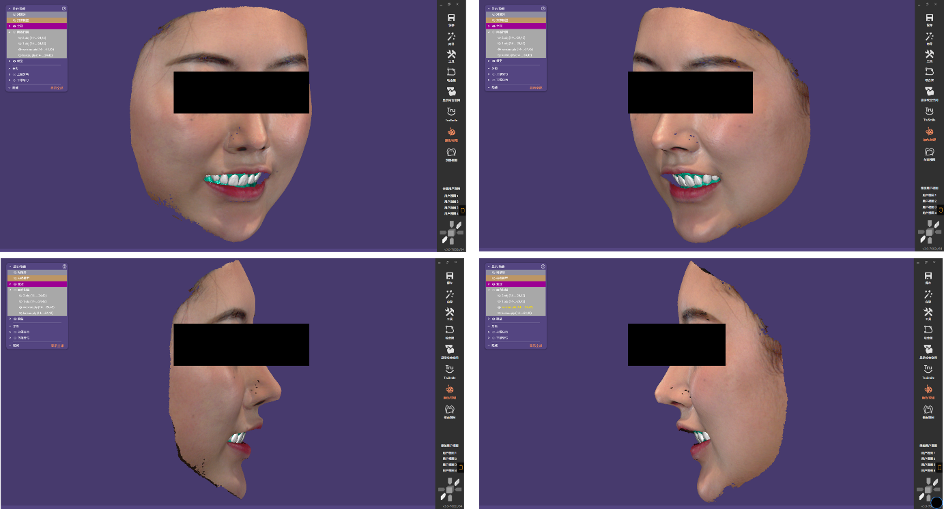
3D printed temporary veneers – lateral smile view
Anterior smile view with the 3D printed temporary veneers.
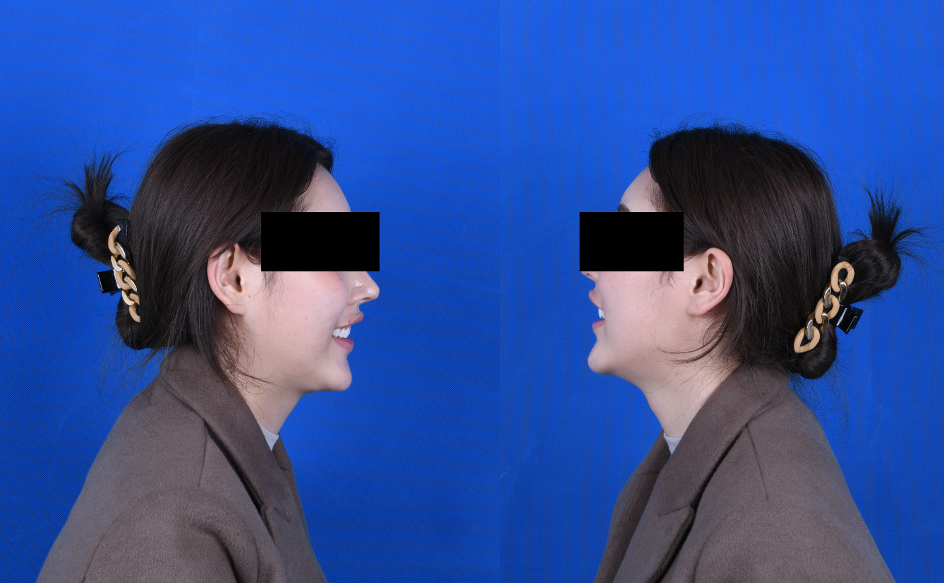

3D printed temporary veneers – full frontal face view and profile side view
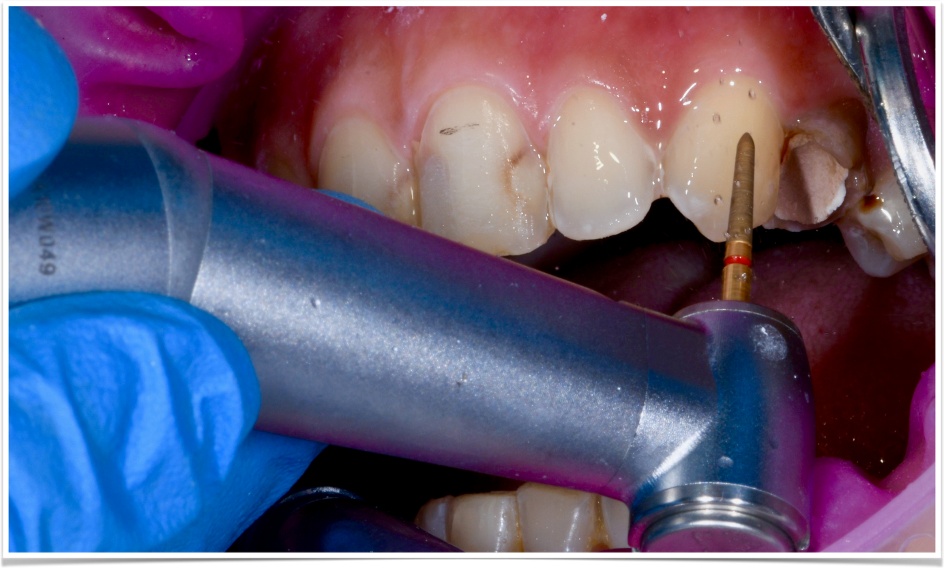
6. Tooth preparation
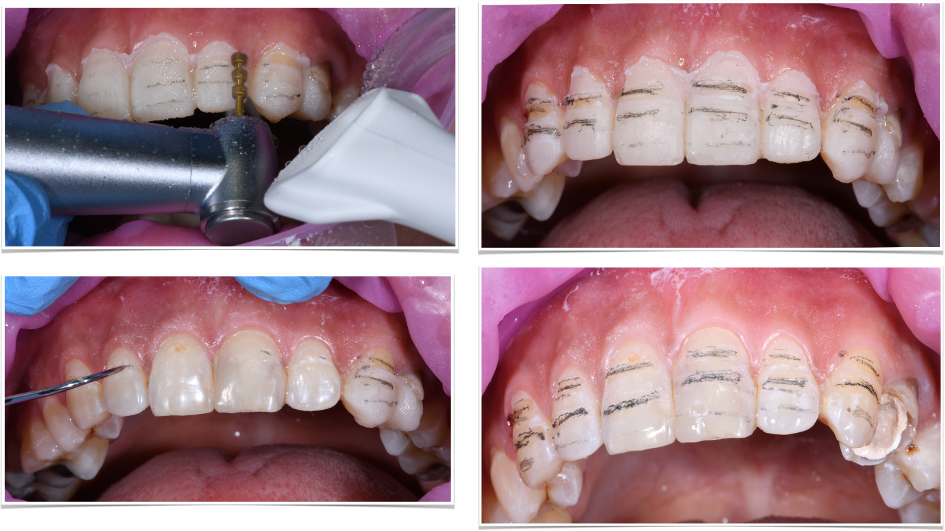
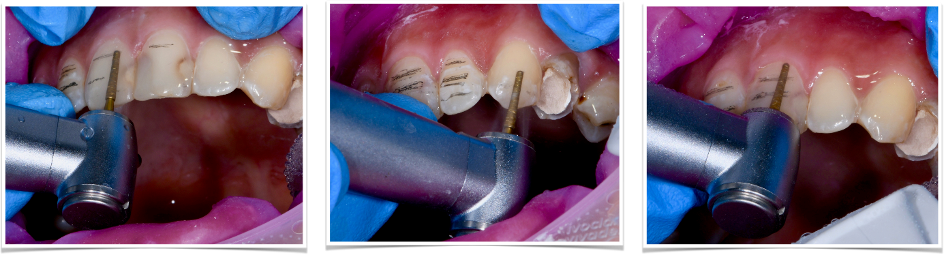
Prepare to expected depth – Preparation of the incisal – Preparation of the cervical
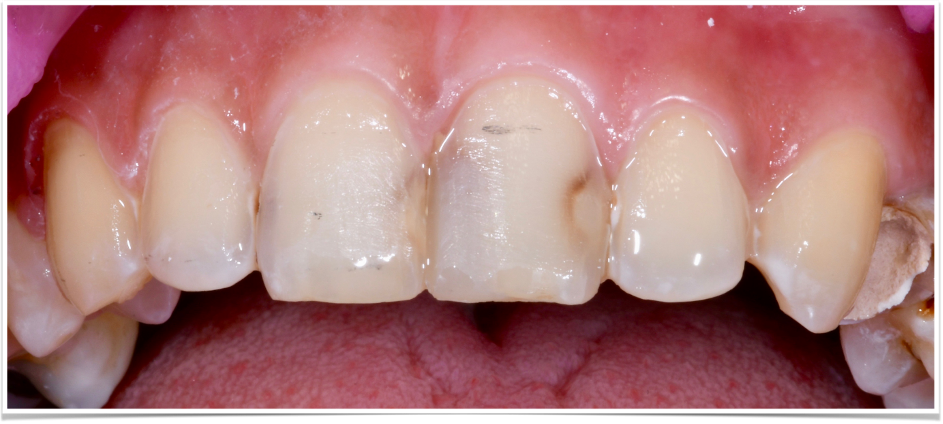
After reduction
Polishing
Finish preparation
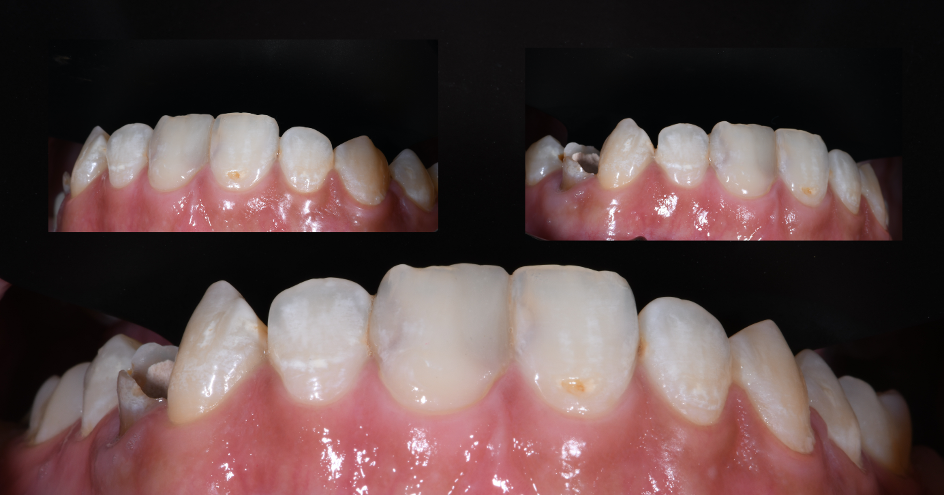
Tooth stump shade selection
7. Complete final restoration according to temporary veneers
Try-on of veneers on model
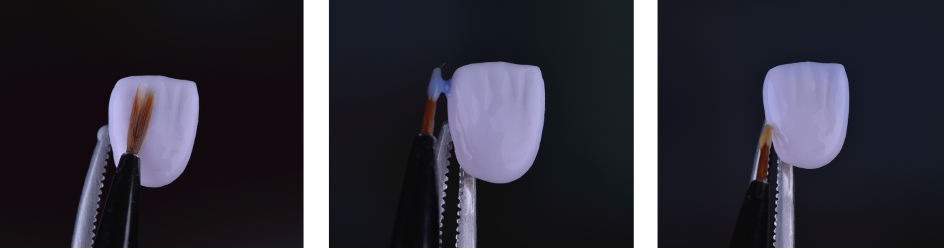
Staining
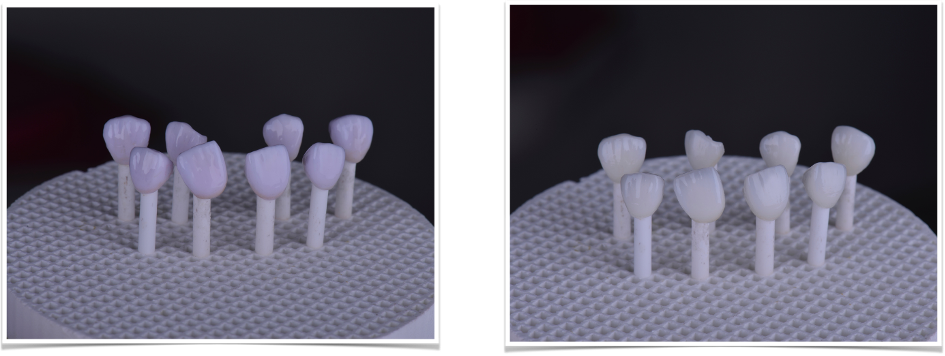
Sintering
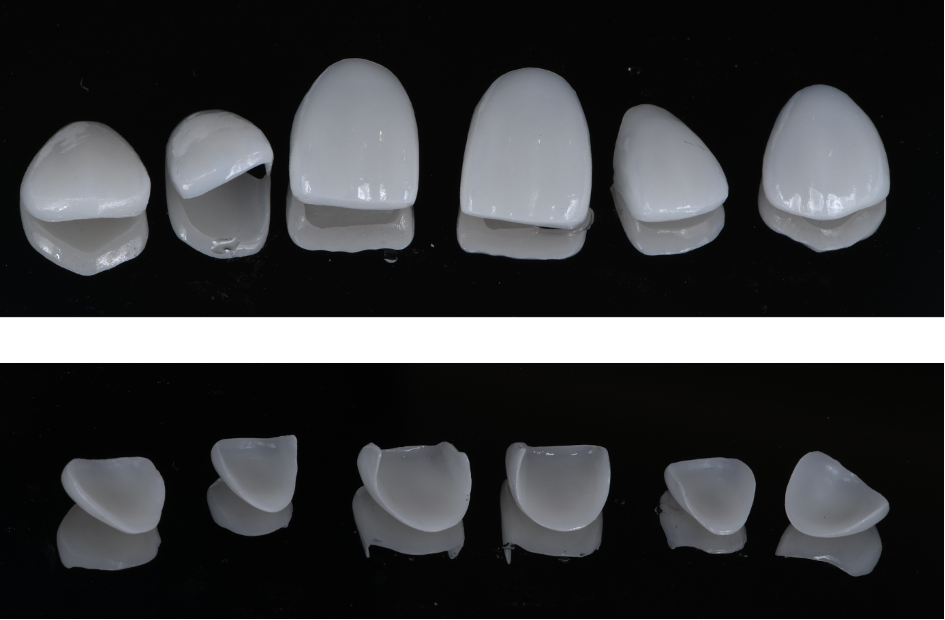
After staining and sintering
8. Bonding of Aesthetic Porcelain Veneers
Treatment of prepared tooth prior to bonding
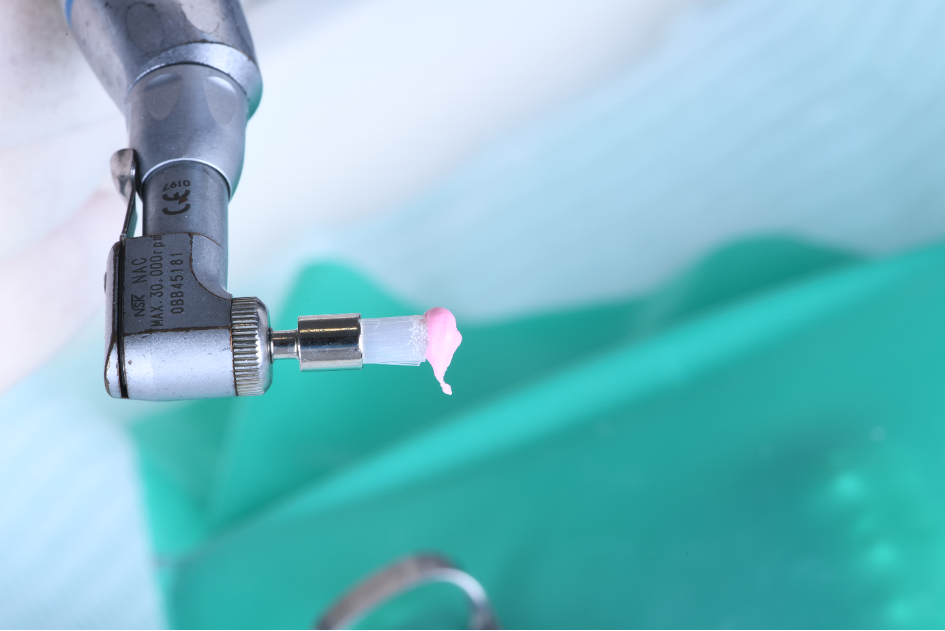
Polish the prepared tooth with polishing paste
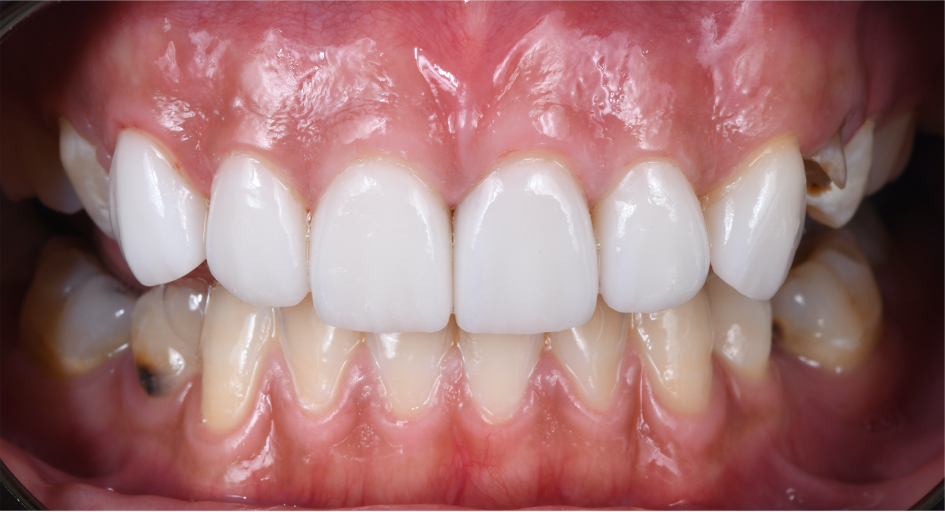
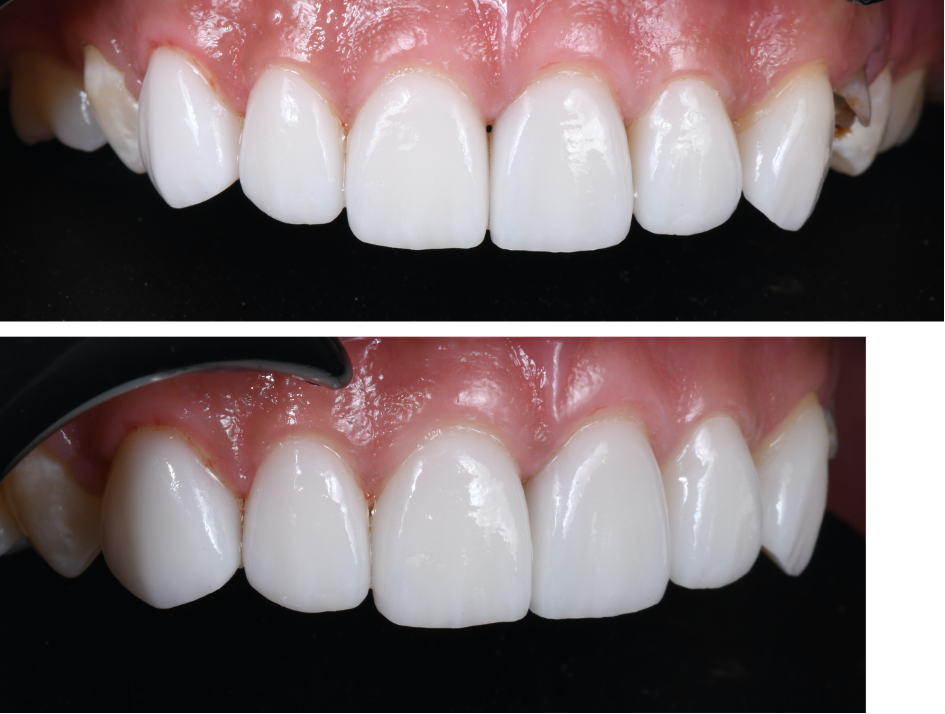
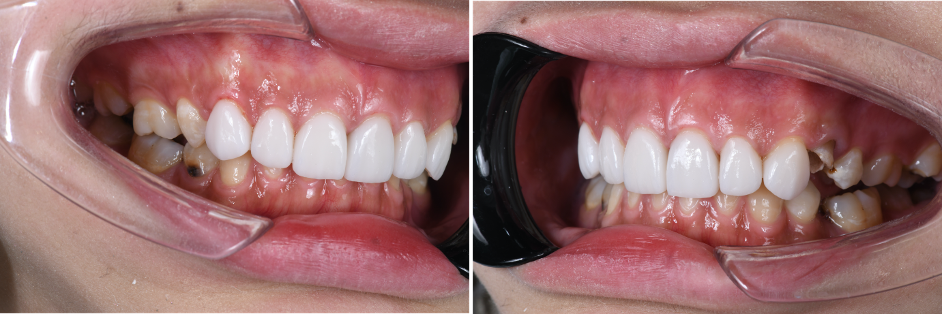
Intraoral photography after bonding
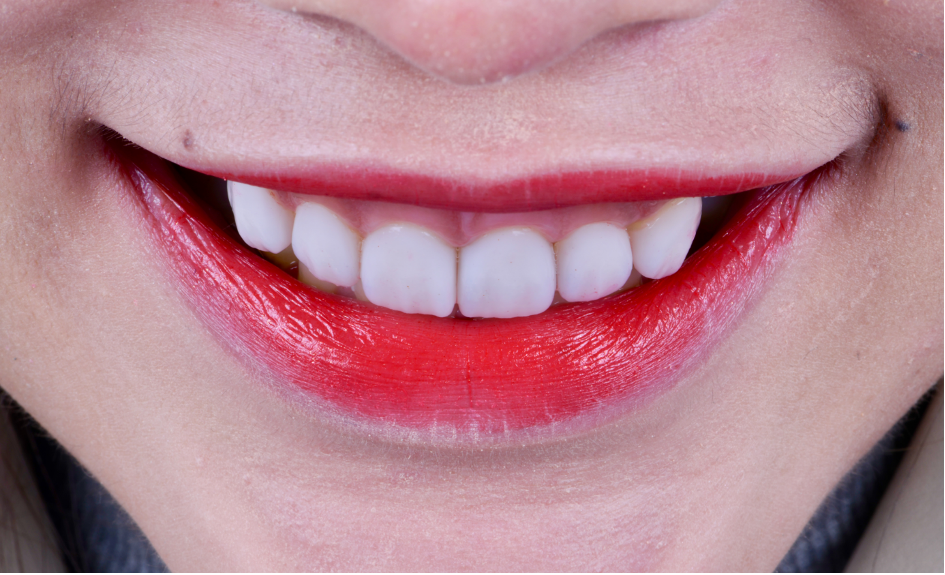

Final result
Share this on social media: