 FRA
FRA


Aperçu:
Le patient de l’hôpital stomatologique de Hangzhou Greentown a reçu un diagnostic de lésion dentaire antérieure et s’est vu prescrire le schéma thérapeutique suivant: post-restauration des fibres après traitement du canal radiculaire avec restauration de la couronne entièrement en céramique EMAX. Le dentiste Zhang, Chao du département de stomatologie, a utilisé le scan d’empreintes AutoScan-DS-EX pour la restauration numérique des dents antérieures d’un patient, raccourcissant l’ensemble du processus de traitement à une journée.
Processus Entier:
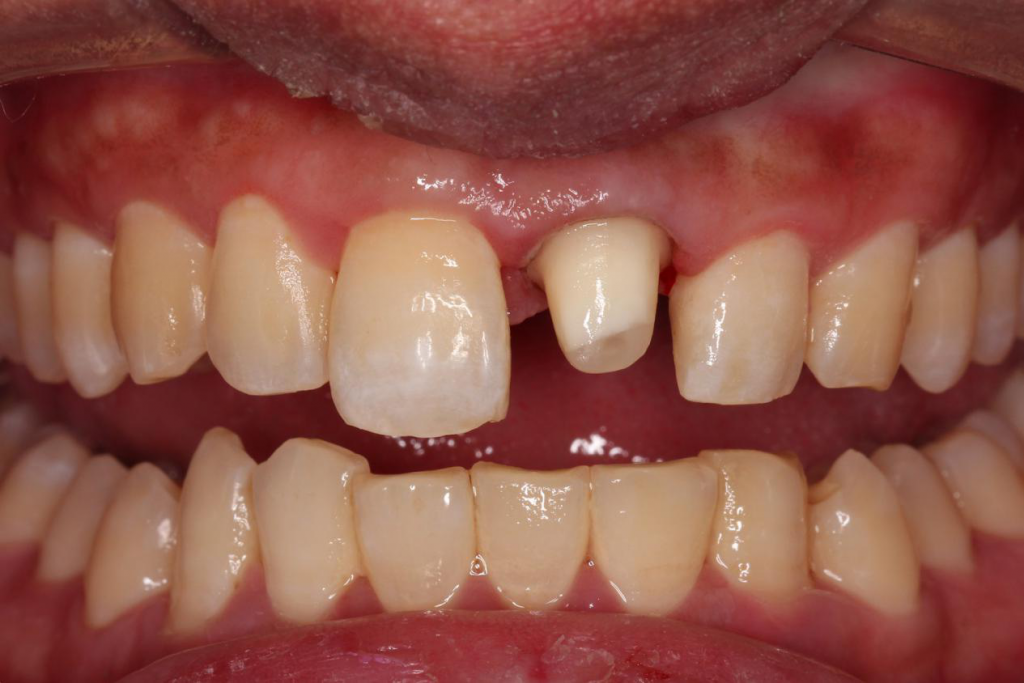
1. Diagnostic préopératoire
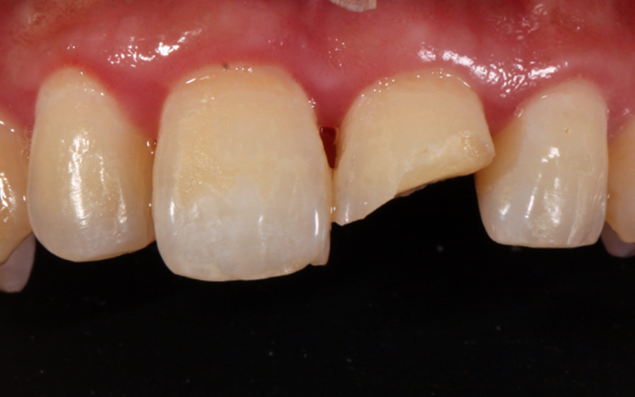
Photos pré-op 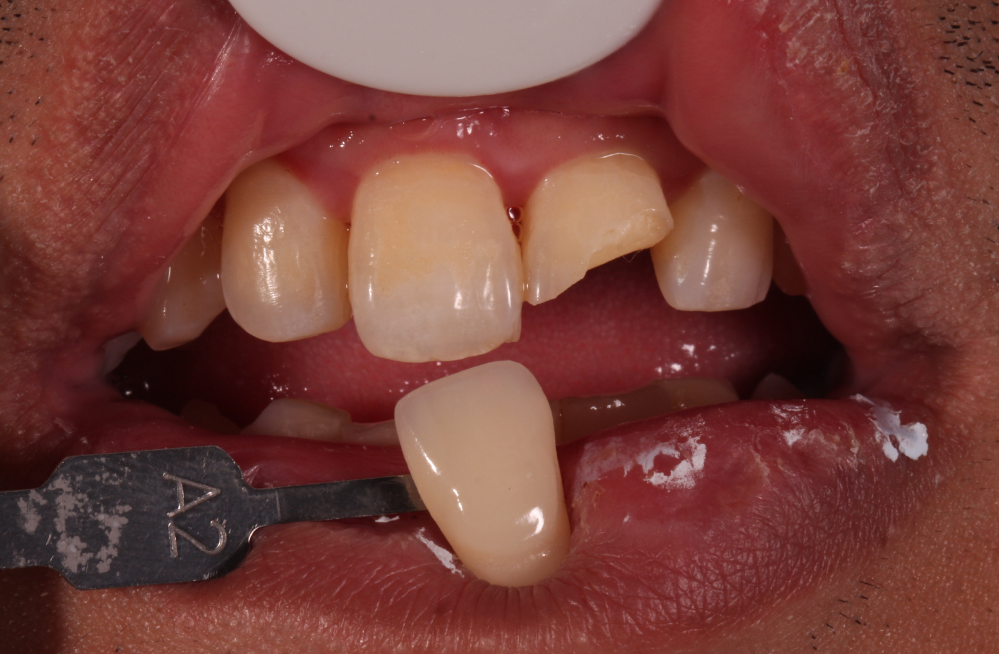
1ère teinte assortie
2. Préparation des dents
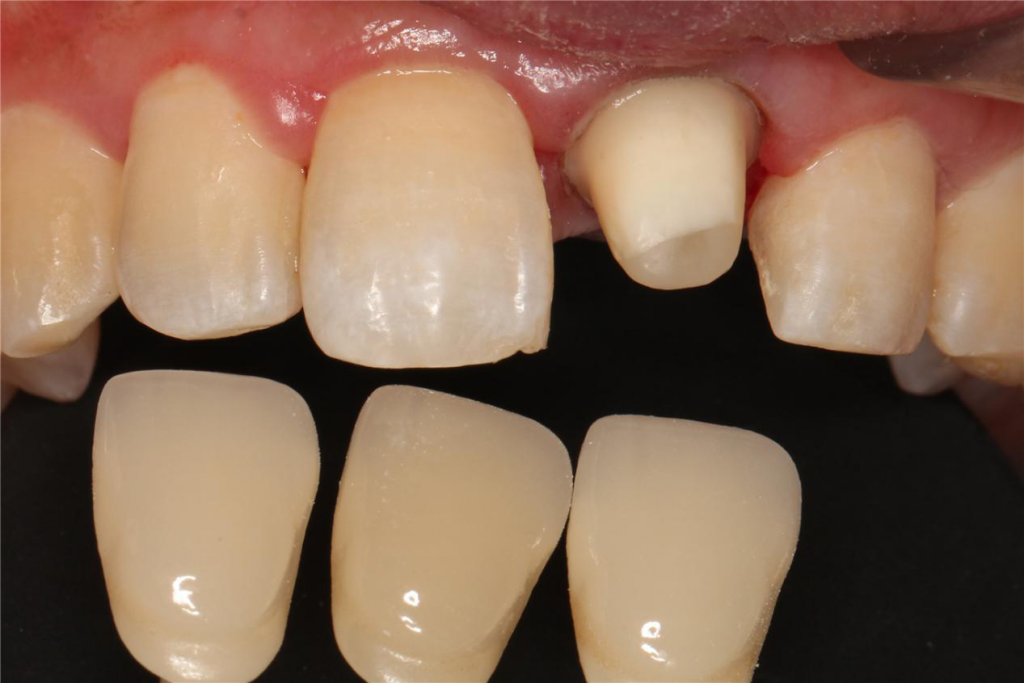
2ème teinte assortie après la préparation des dents
En effectuant la correspondance des nuances avant et après la préparation des dents, le technicien pourrait mieux déterminer la couleur des dents.
3. Prise d’empreintes
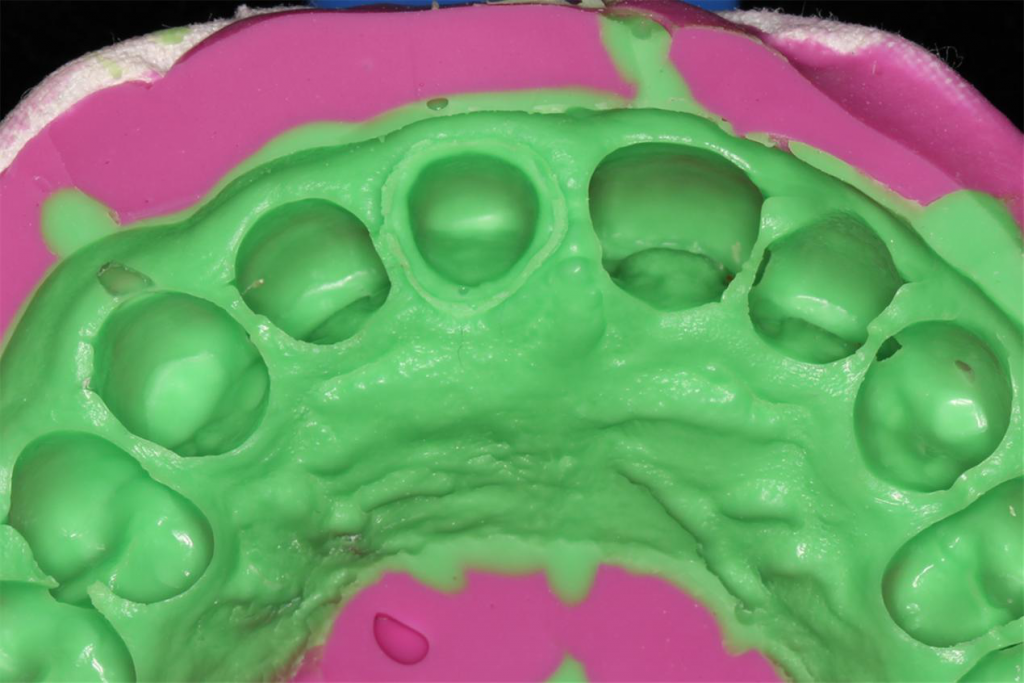
L’empreinte a été prise une fois la dent préparée confirmée.
4. Scan
Description des piéces
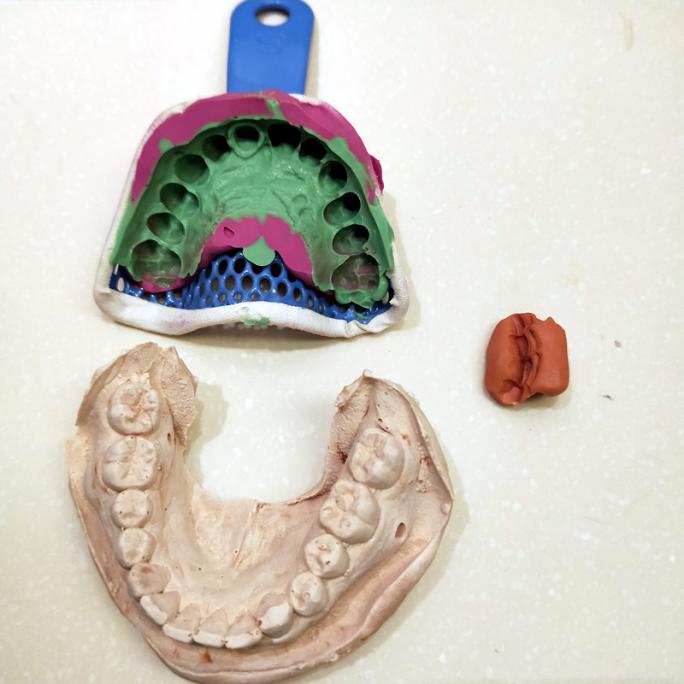
Opposite jaw: plaster model
Jaw relation record: bite wax
In this case, alginate impression was applied for the opposite jaw, which was prone to deform without perfusion of plaster model in half an hour, so plaster model of the opposite jaw was made to ensure the stability and accuracy of data.Or, the alginate impression can be scanned immediately after taking the impression.
-Create a new order (with DentalManager)
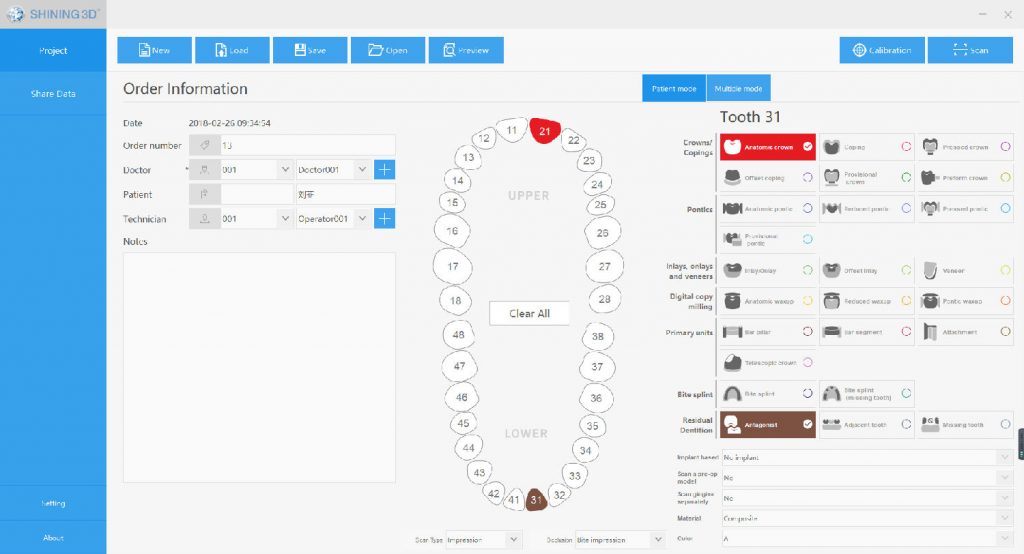
Opened DentalManager and created a new order, then filled in dental position and prosthesis information, order information, scanning type, jaw relation record, and etc.
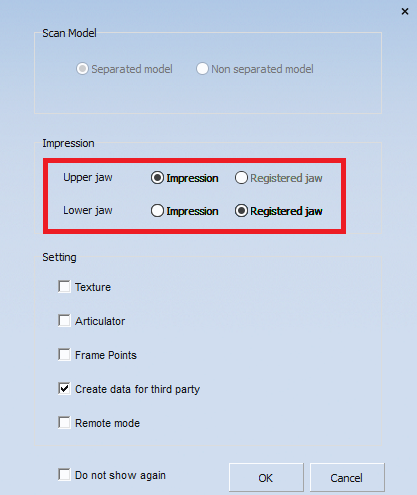
Clicked “Save” and “Scan”, entering DentalScan automatically, and then selected data type of the upper and lower jaw according to prompt.
-Scanning the parts by AutoScan-DS-EX
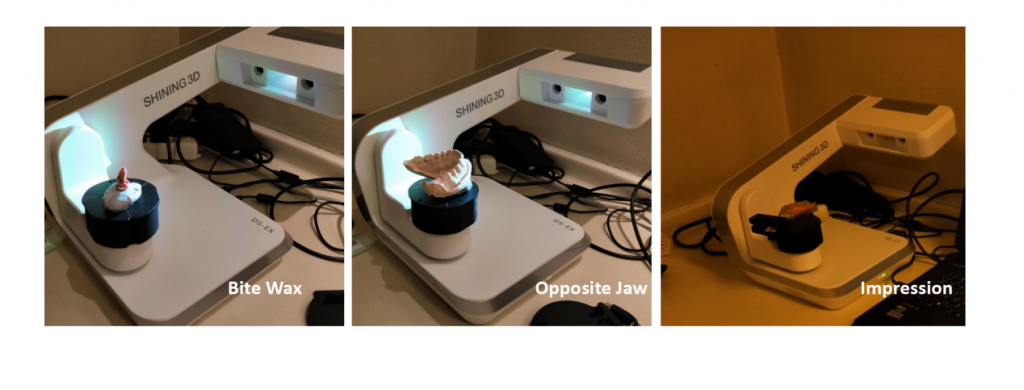
Placed in sequence the bite wax, opposite jaw model, and impression on the scanner for scanning.

Captured Jaw relation record data 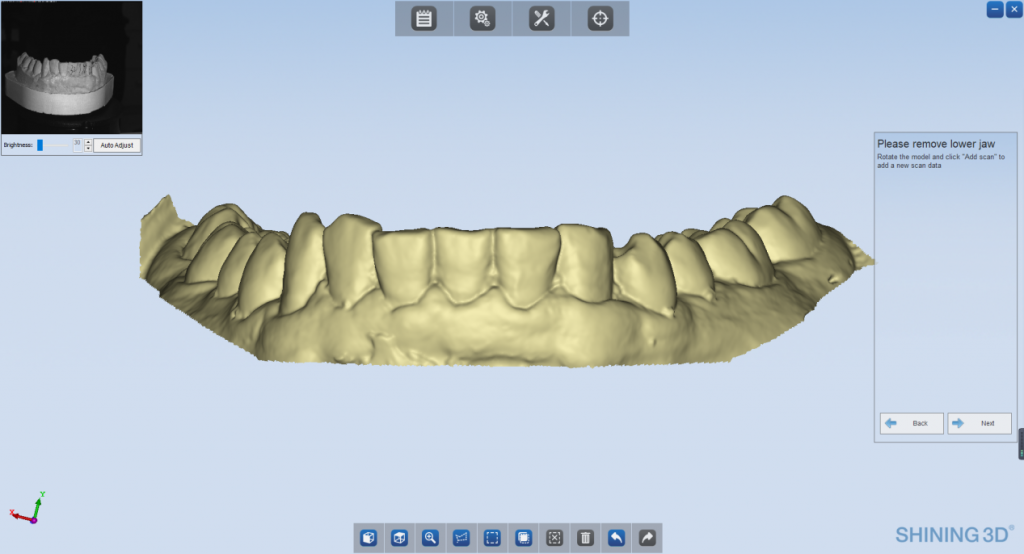
Data of the opposite jaw was real-time displayed on the computer 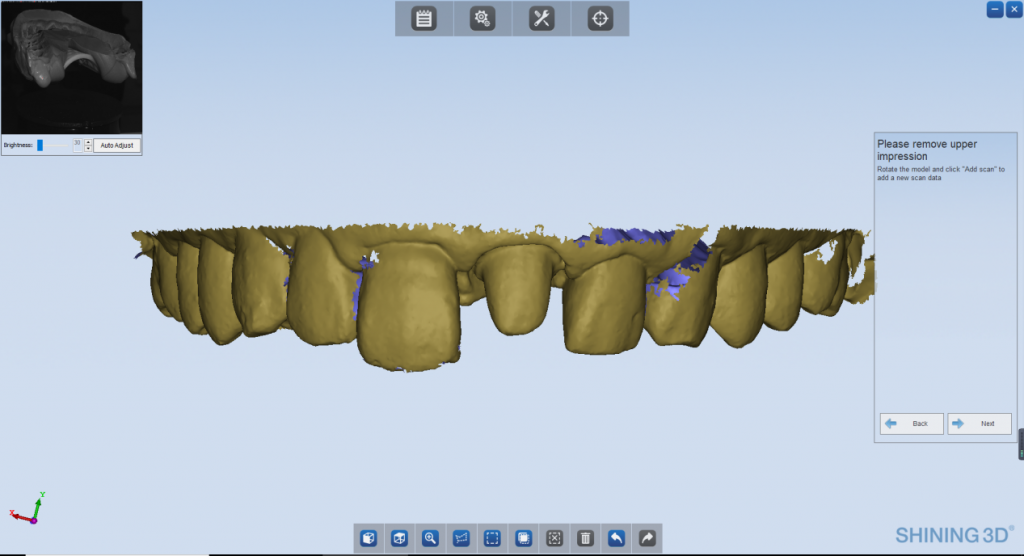
Captured Impression data 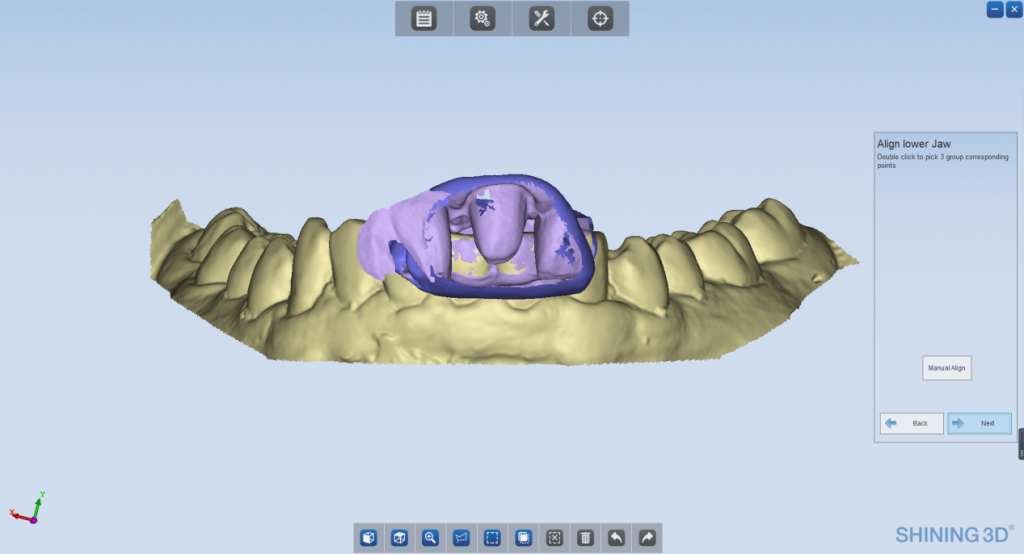
-Aligning 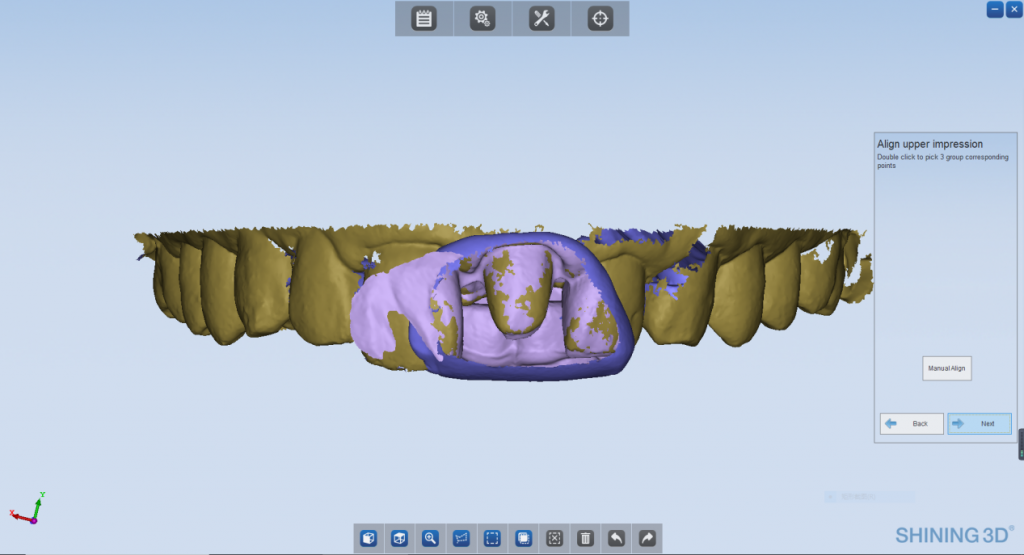
Aligned the upper and lower jaw models with bite wax.
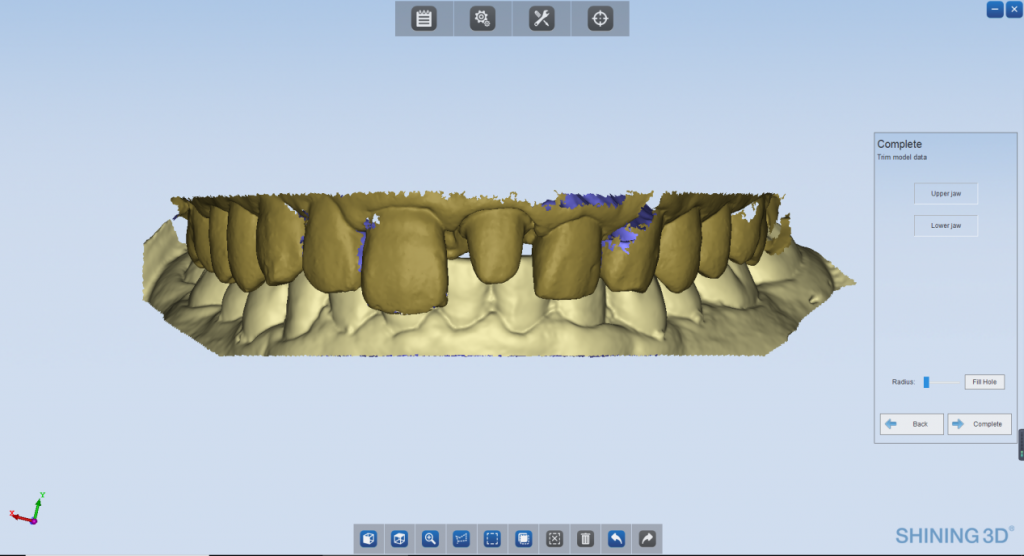
Checked the data, pruned the data and deleted the redundant data.
Finally, the complete data needed for manufacturing crown were obtained and data scanning was completed
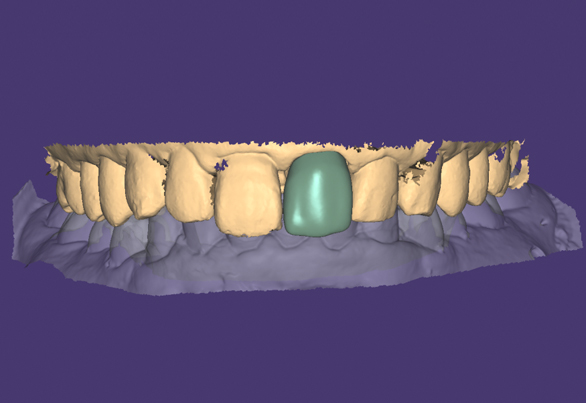
5. CAD design
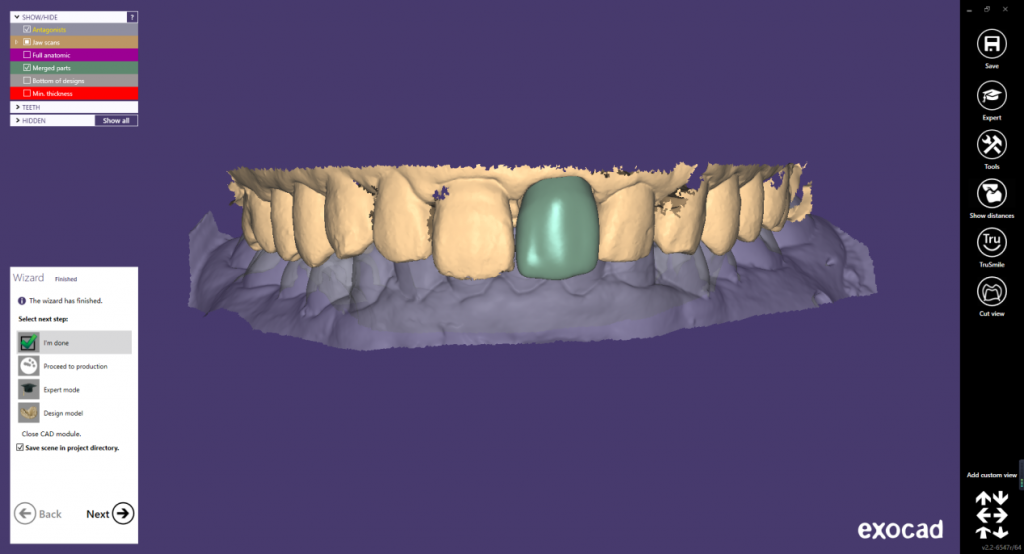
Through DentalManager, the scanned data could be directly shared to a CAD designer who can download and open it in exocad to design directly.
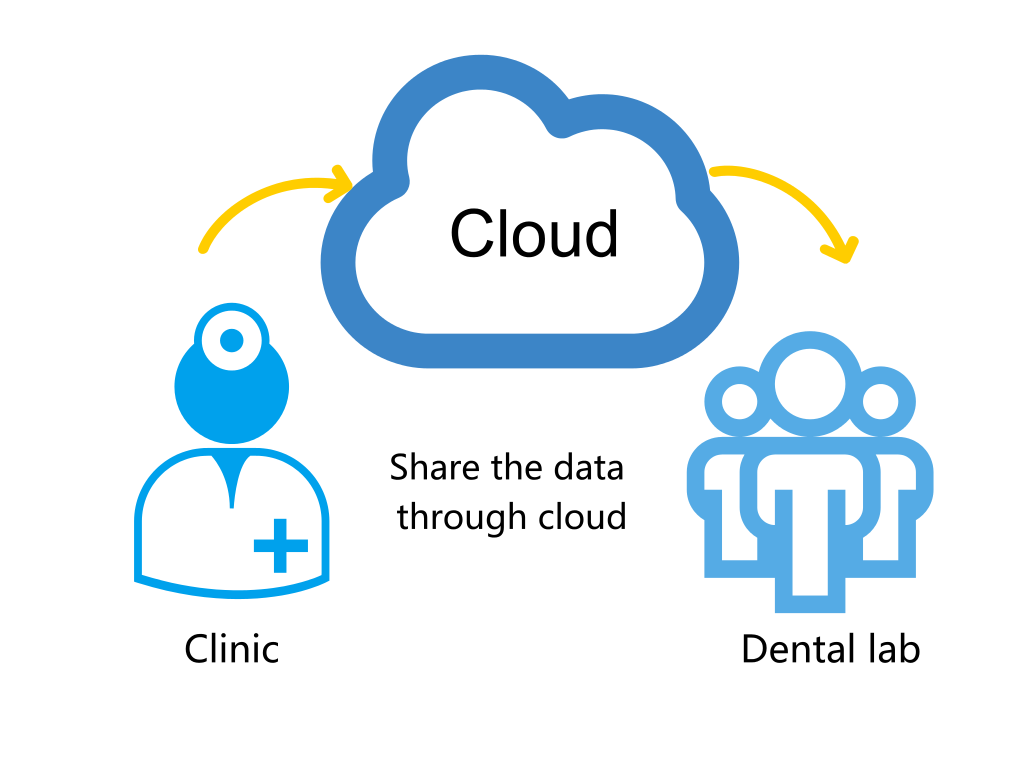
6. Digital processing and manufacturing
After the design was completed, data would be sent to a dental lab for milling and production through the internet, thus eliminating the process of transporting the dental model from the clinic to the dental lab and optimizing the overall crown production process.
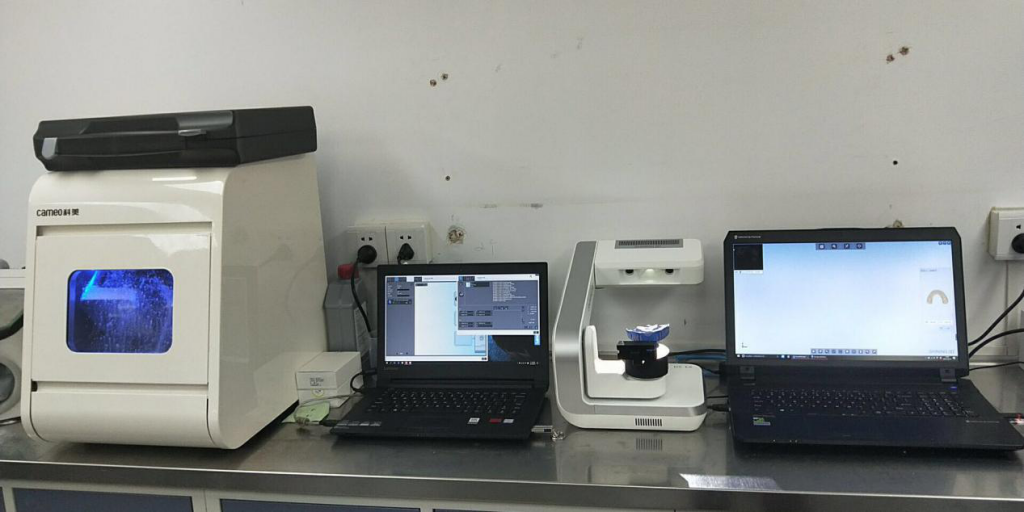
Real-life scenario of digital processing
Data collection (3D scanning) ——CAD design——CAM milling and production
7. Completion
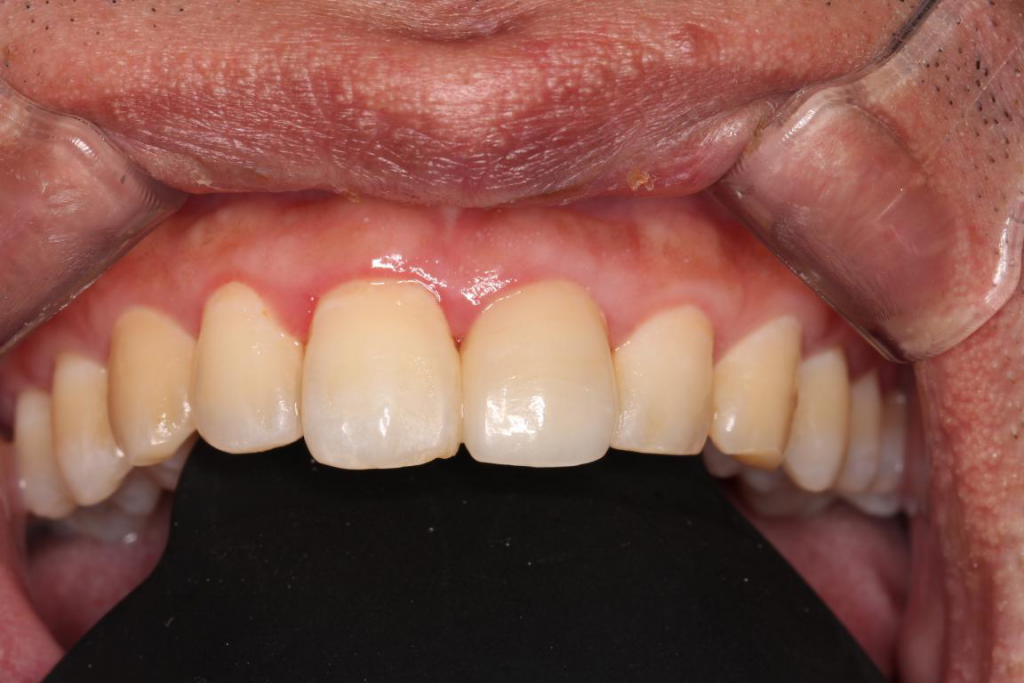
Intraoral crown wearing
The crown was made and put into the mouth of the patient, which was nice-looking and seemed quite like natural teeth. The patient was satisfied with the final result in such a short treatment time.
Advantages:
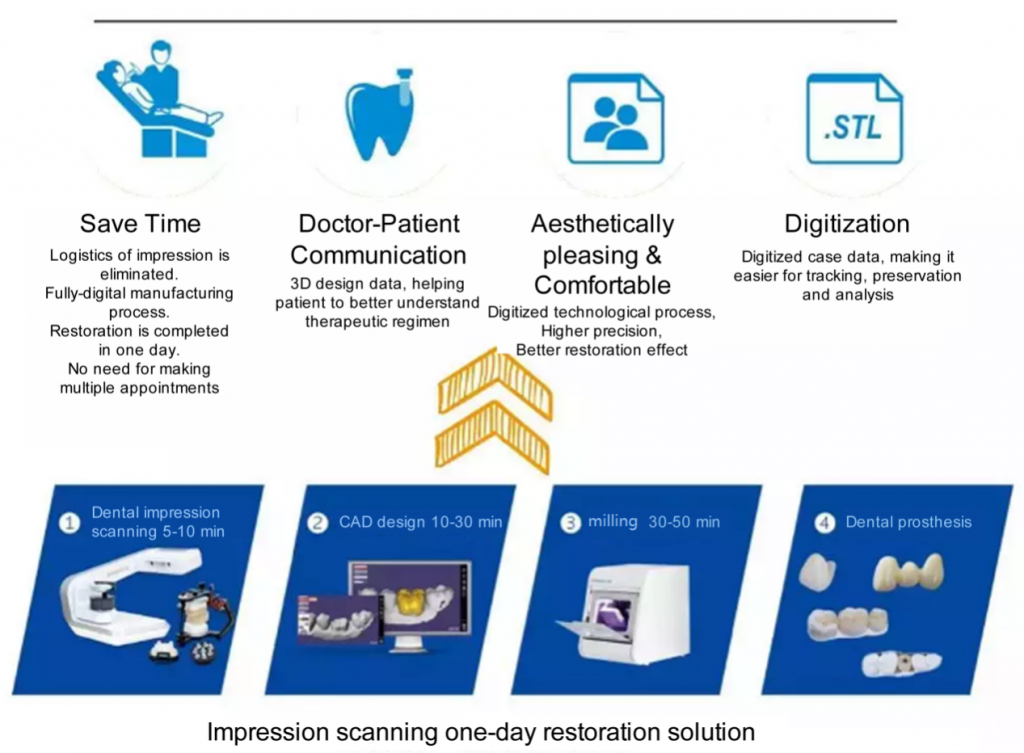
-Save time and bring a better effect
With the light and compact AutoScan-DS-EX scanner, it’s quick and convenient to capture the complete and high-accuracy data for manufacturing crown. Compared to the traditional dental treatment process, the whole manufacturing process of dentures is simpler and smoother but with better restoration effect, saving time from the transport process of the impression.
-Improve patients’ experience
By completing the restoration in one day, patient doesn’t have to make multiple appointments. Also, the 3D data helps patient to better understand therapeutic regimen, improving the doctor-patient communication.
-Data digitization
The software DentalManager can be seamlessly integrated with three mainstream CAD software in the market and support public cloud sharing. The dentist can send the scanned data directly to CAD designer in the factory for design and then for intelligent manufacturing. The traditional plaster model has been transformed to digitized data, which is easier for tracking, preservation, studying and analysis.