 ENG
ENG


Getting an accurate occlusion is very important for final restoration cases, and how to acquire accurate data for different types of occlusions is of the utmost importance. This article will serve scan advice for different types of occlusions.
Common methods to scan occlusal information
Using an intraoral scanner to capture the occlusal relationship
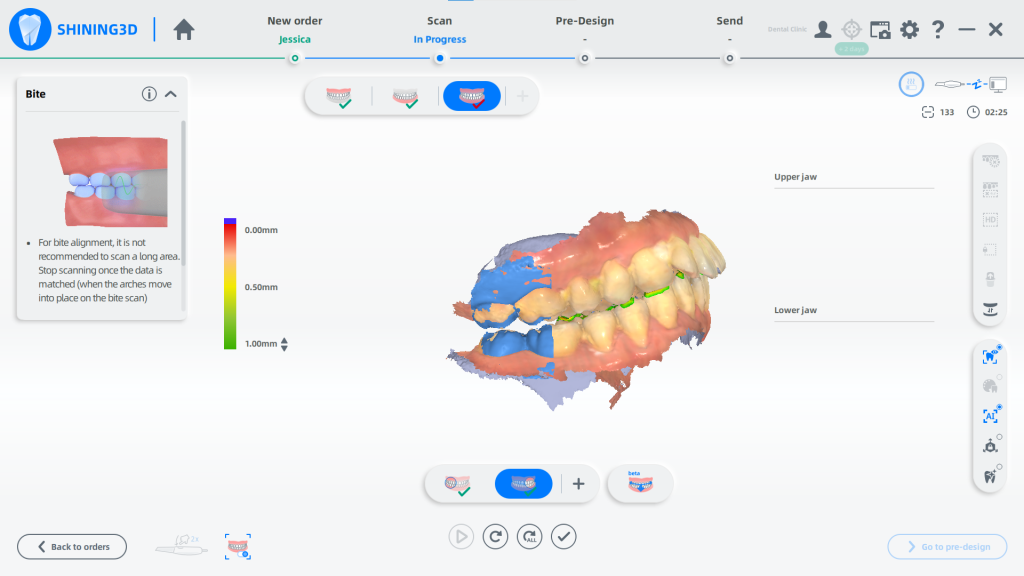
Fig. 1 
Fig. 2
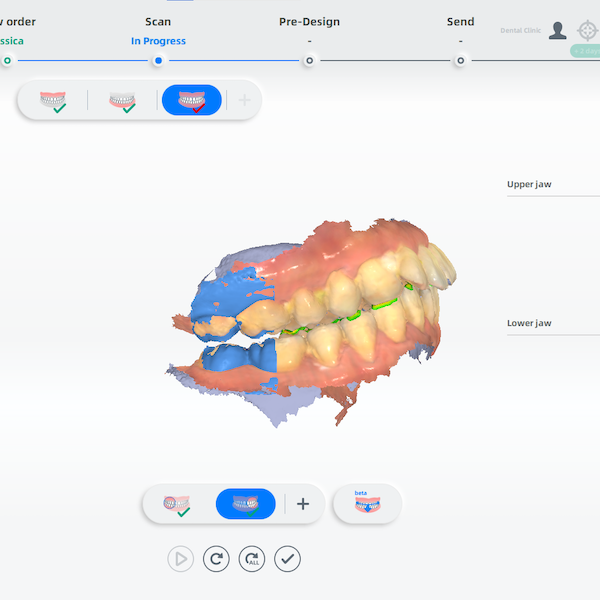
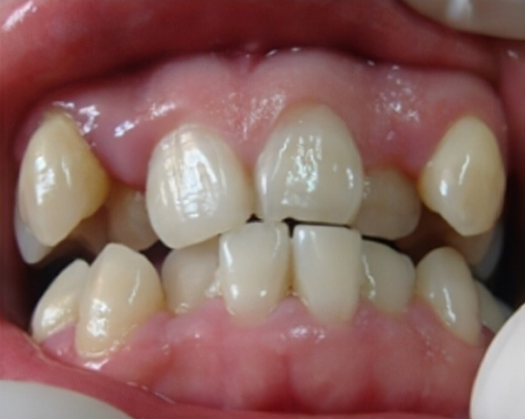
First, check the occlusal situation in the patient’s mouth. During the scan process, we can hold the patient’s jaw by hand to ensure that the patient’s occlusion is fixed and does not move. After placing the intraoral scanner in the target position, start scanning by pressing the start button. Moving the scanner smoothly to scan 2 or 3 teeth (Fig. 1, Fig. 2), stop scanning once the occlusal alignment is successful. To ensure the accuracy of the occlusal relationship, multi-group occlusal splicing is recommended for cases with a long arch scanning range. Check the occlusal relationship after optimizing.
The occlusal relationship after operation is determined by the one from the pre-op scan
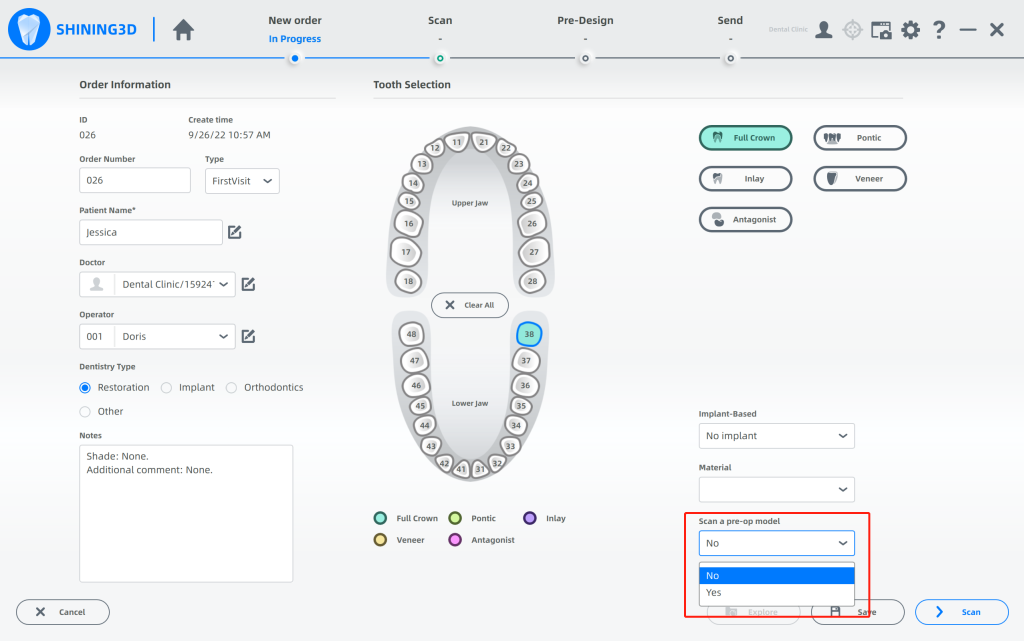
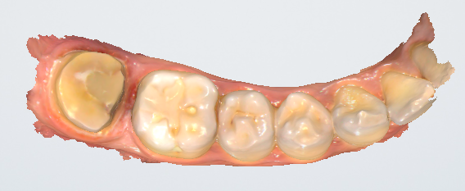
The pre-op scan (Fig. 3) can help determine the occlusal relationship, morphology, height, teeth arch radian, etc.
Making occlusion records traditionally
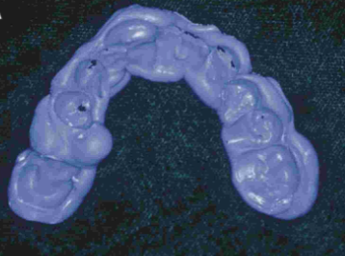
Fig. 4 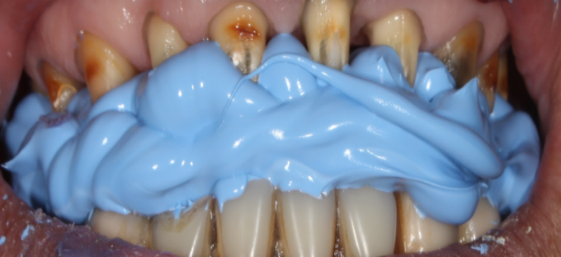
Fig. 5
For cases of large area teeth missing, edentulous jaw, or occlusal instability, traditional methods such as wax or silicone rubber(Fig. 4, Fig. 5)can be used to make occlusal records.
Scan advice for different types of cases
Advice for cases with common orthodontic treatment
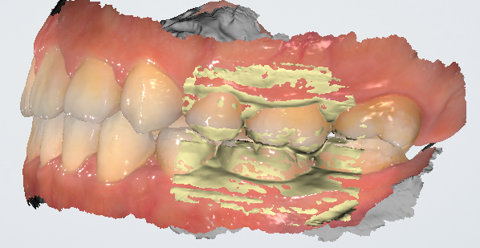
Fig. 6 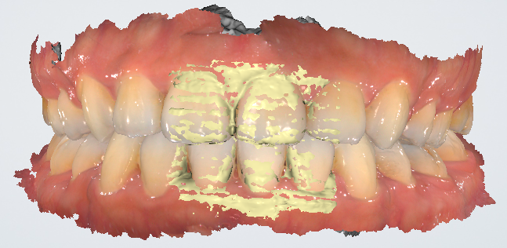
Fig. 7 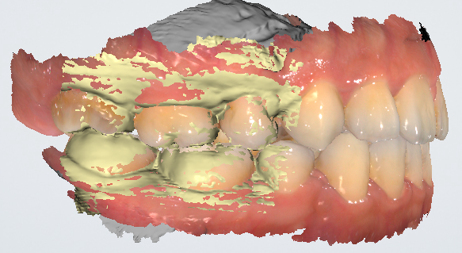
Fig. 8
Scan full arch data for orthodontic cases. Bilateral occlusal or three-sided occlusal (Fig. 6, Fig. 7, Fig. 8), move the scanner up and down smoothly to scan 2-3 teeth, then stop scanning when the data is matched together. Make sure to have enough gingival data. No saliva, blood, or stains should be present when scanning.
Advice for cases with short arch implants or fixed restorations
To save the clinical operation time, if the case is unilateral restorations, quarter arch scanning data could be enough, please follow the requirements of your dental lab. (Fig. 9)
Scan advice for cases with unstable occlusion
Orthodontics cases with unstable occlusion
For such cases (Fig. 10), scan the full arch, ensuring the completeness of the data, move the scanner up and down smoothly to scan 2-3 teeth, then stop scanning when the data aligns. Make an additional occlusal record.
Cases with free end or implant restorations
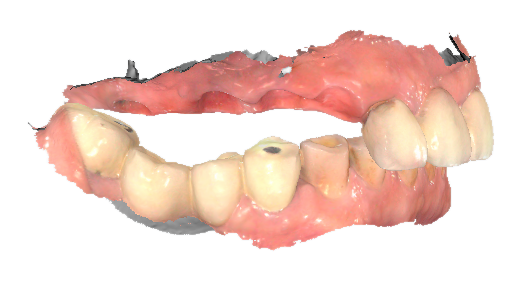
For cases with free end or implant restorations (Fig. 11), we recommended scanning the full arch with 2 or 3 sets of occlusal data. Based on a healing abutment, the occlusal record was made with wax or silicone rubber. Scan the occlusion in the anterior area and the other side of the arch. It is highly recommended to send the occlusal record silicone rubber/wax sheet, together with the intraoral scan data to your dental lab.
Case with extensive loss
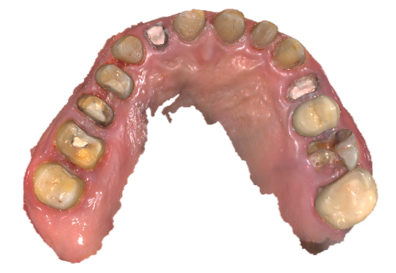
For cases with extensive loss, scan the full arch with 2 or 3 sets of occlusal data. Record the occlusal information using a silicone rubber or wax sheet in the anterior area, left, and right posterior tooth regions. During scanning, a cheek retractor can be helpful, it can help to fix the free end mucosa and prevent it from deforming when pulling.