 ENG
ENG


Increasing the vertical dimension always presents a challenge since the success of the treatment depends on multiple factors usually associated with the etiology that generated its loss. In this particular case of aesthetic implant occlusion reconstruction, the patient came to the clinic looking to improve the aesthetic appearance of his smile. He noticed that his teeth have been fracturing over time and had reduced significantly in length.
Case Profile
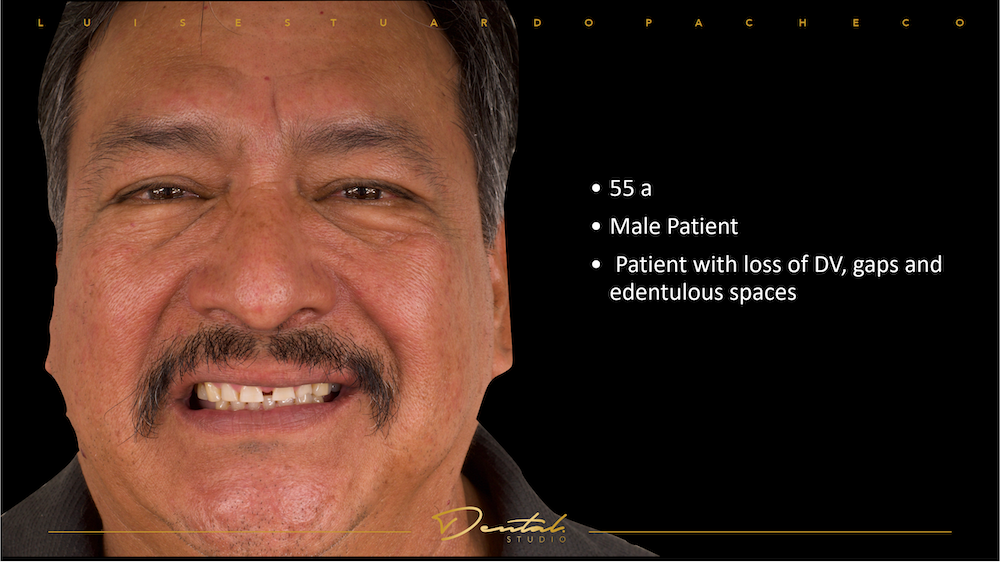
Fig 1: The front face photo before treatment, a 55-year-old male patient.
Case Analysis
The following case corresponds to a 55-year-old male patient who had become edentulous in the lower posterior region over time, which had caused the posterior support to be lost so that the masticator force was oriented practically in the anterior sector, which caused esthetic damage including excessive wear, malocclusion, and fractures to the upper anterior teeth.
In the initial smile photographs, we can observe a diastema in the anterior region. The patient has visible loss of anatomy as the result of excessive wear. The loss of tooth anatomy has caused the vertical dimension to close in the posterior region, and as a result has put the patient into a class 2 overbite occlusion.
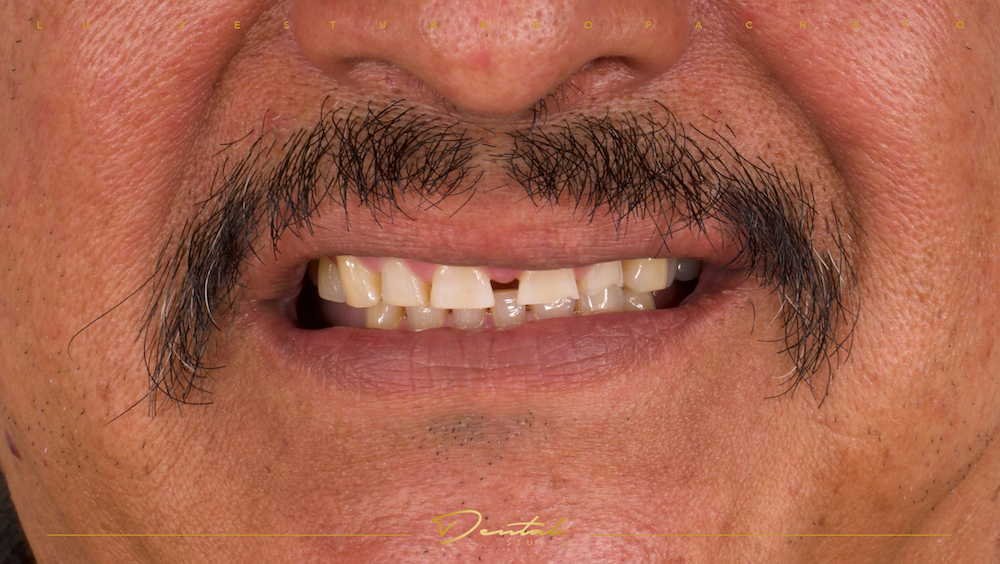
Fig 2: The extraoral photo before treatment.
Treatment Process: DSD Simulation
DSD proposal was made for the patient during his first consultation in order to show a design proposal for the shape and length of the final restorations.
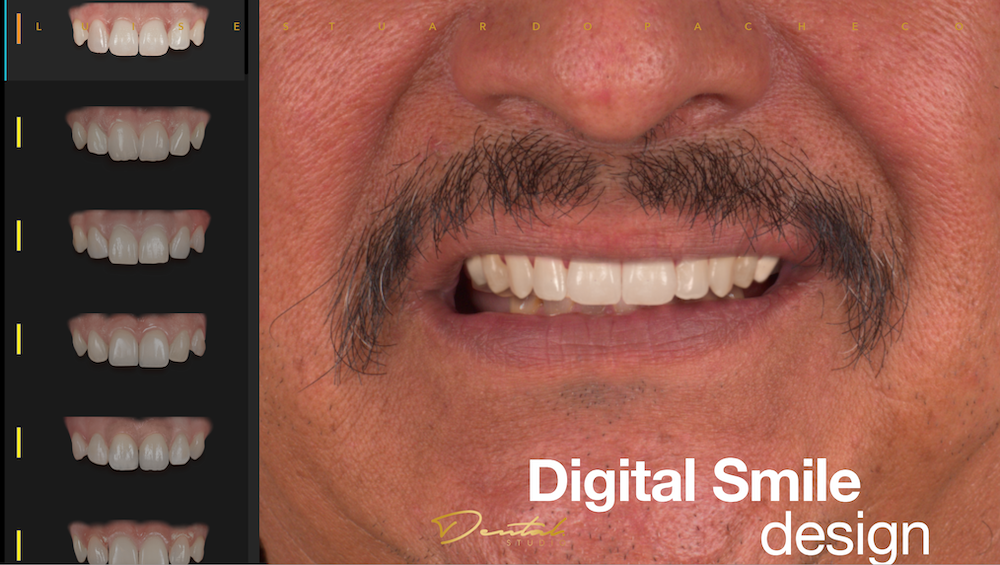
Fig 3: DSD simulation to show a design proposal for the patient.
Treatment Process:Data Acquisition
The initial scan was recorded with the Aoralscan 3 in order to thoroughly inspect the patient’s current smile, the scanned data will later be used for the manufacturing of the surgical guide for the placement of 100% guided implants.
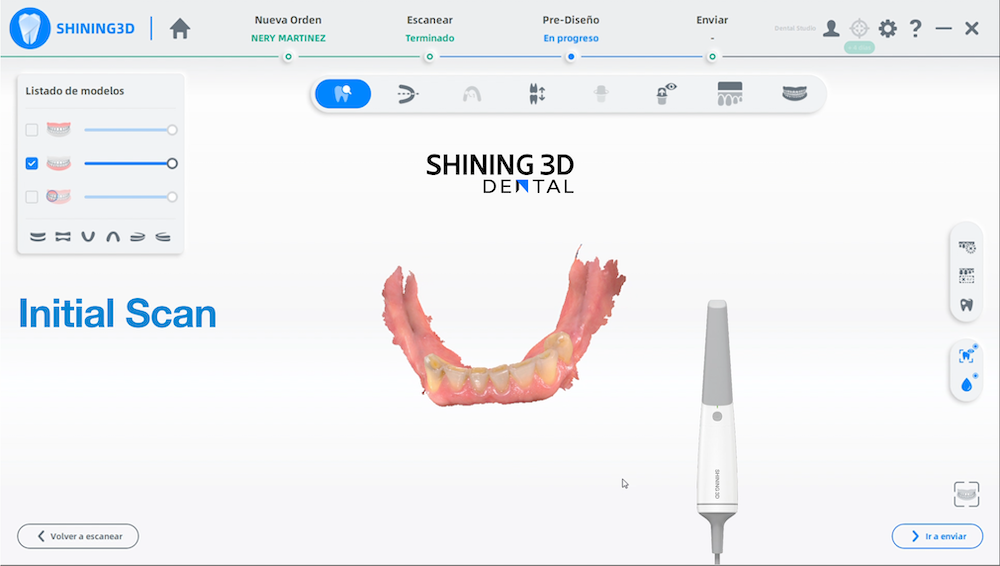
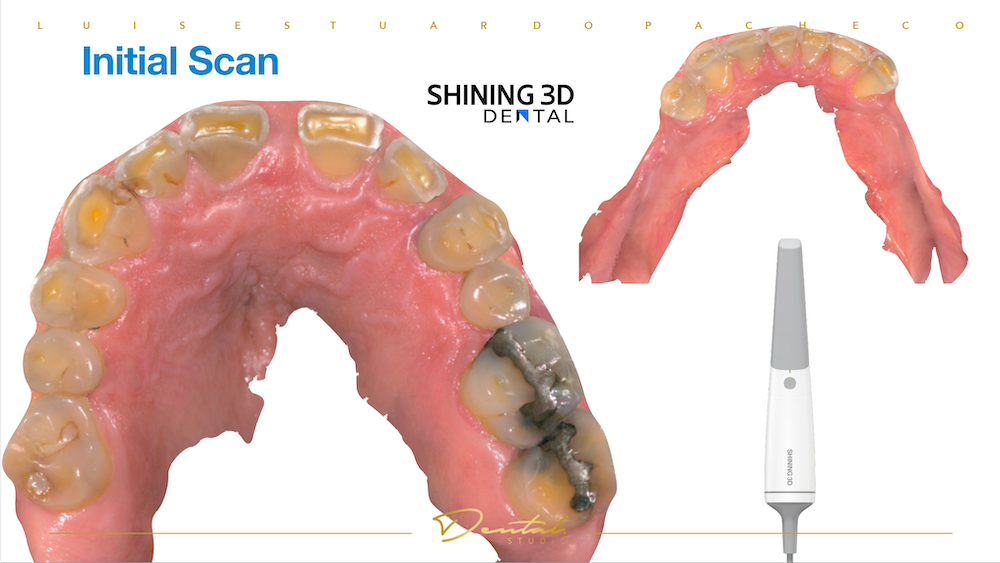
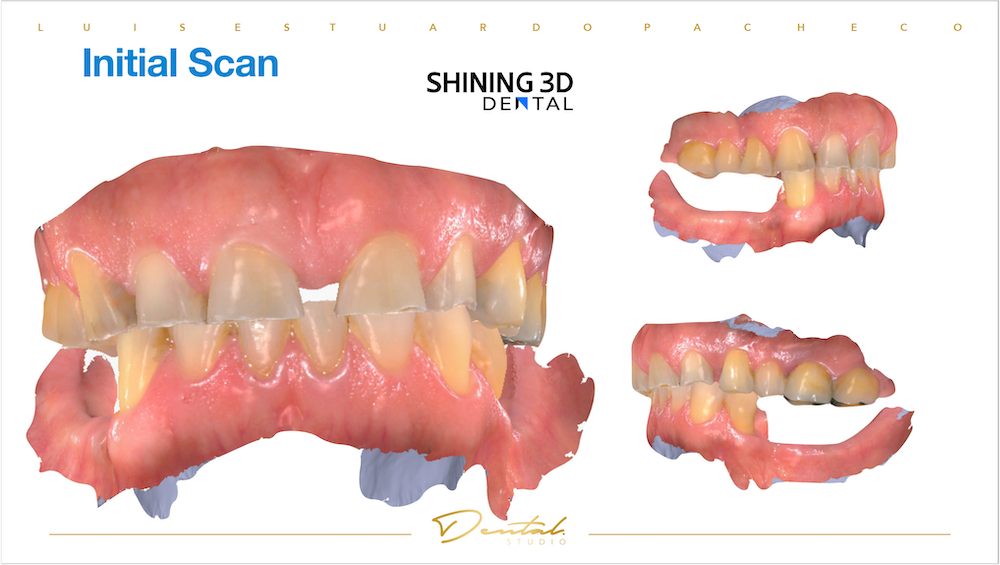
Fig 4,5,6: The intraoral scan data to record the initial situation. In this scan of the upper sector, we can observe excessive wear, poor restorations, and spaces between some teeth.
In the frontal and lateral scan of both dental arches, we can observe an increase in the vertical overbite, decrease in the vertical dimension as well as the absence of canine guidance and bilateral molar relationship.
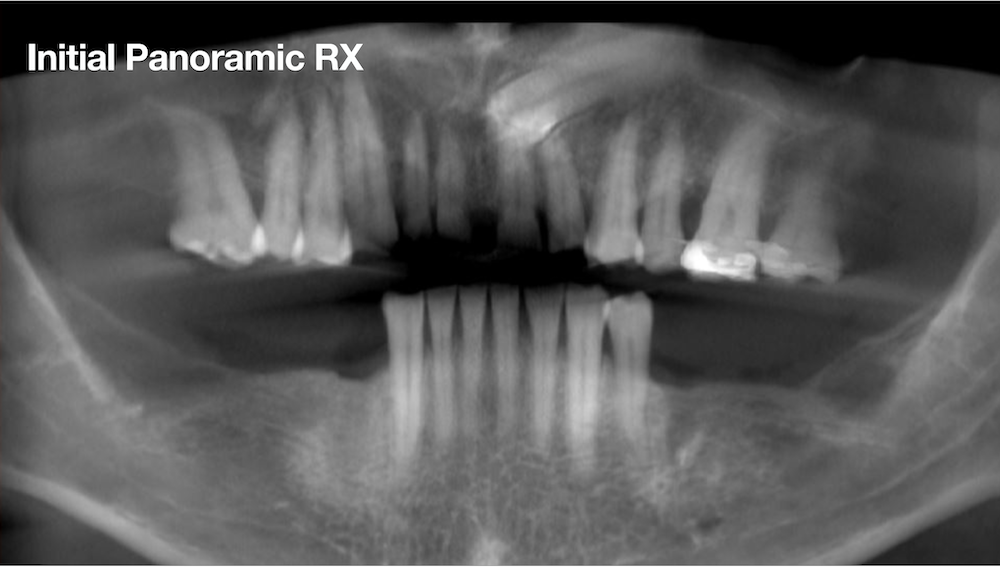
Fig 7: The initial panoramic RX
In the panoramic radiograph we can observe a retained upper canine, absence of premolars and molars in the lower posterior sector, as well as deficient restorations. After the planning phase, we carried out the acquisition phase where we obtained DICOM files that included information related to the bone component and hard tissues in reference to the patient’s skull, Additionally STL files that contain information of soft and dental tissues were integrated, so that we could continue with the design phase of the case.
Treatment Process: Surgical Guide Design
Implant placement in the lower posterior sector was carried out to rehabilitate the posterior support and increase the vertical dimension, in this case to subsequently rehabilitate the aesthetic sector.
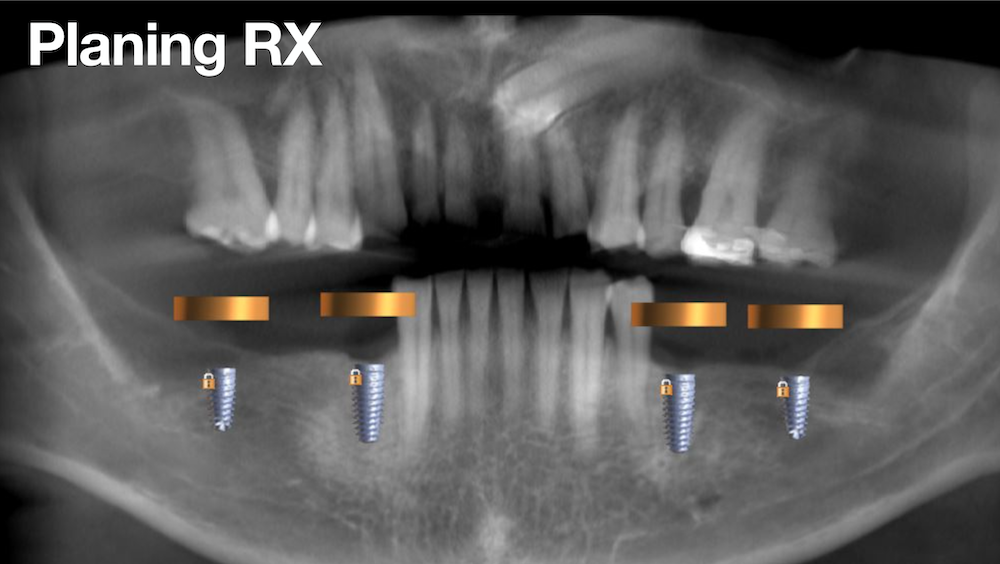
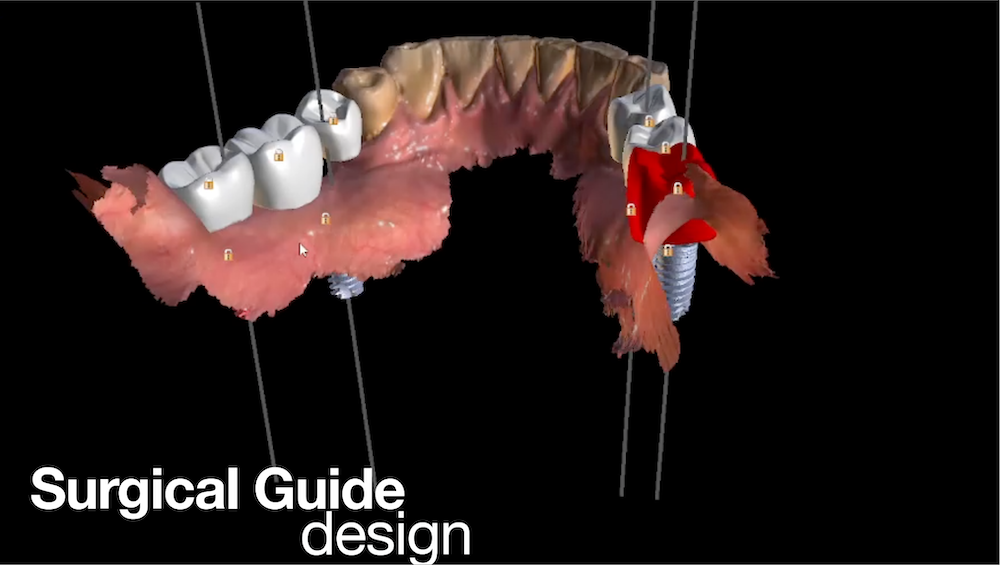
Fig 8,9: The design of surgical guide, 4 implant bodies have been planned to implant into the lower jaw.
Treatment Process:Surgical Guide Printing and Implant Surgery
With the final information on the three-dimensional position of the 4 implants that were planned for this case, the design of the surgical guide is complete. Utilizing the Accuware software from SHINING 3D, we can make the slicing file. Accuware slicing makes the printing process much easier, with an intuitive and friendly user interface, this program has the necessary configuration to print 3D files of the highest quality using different types of resins. Once the surgical guide was manufactured , the implant surgery was carried out.

Fig 10: Accuware is useful slicing software to make the surgical guide ready for printing.
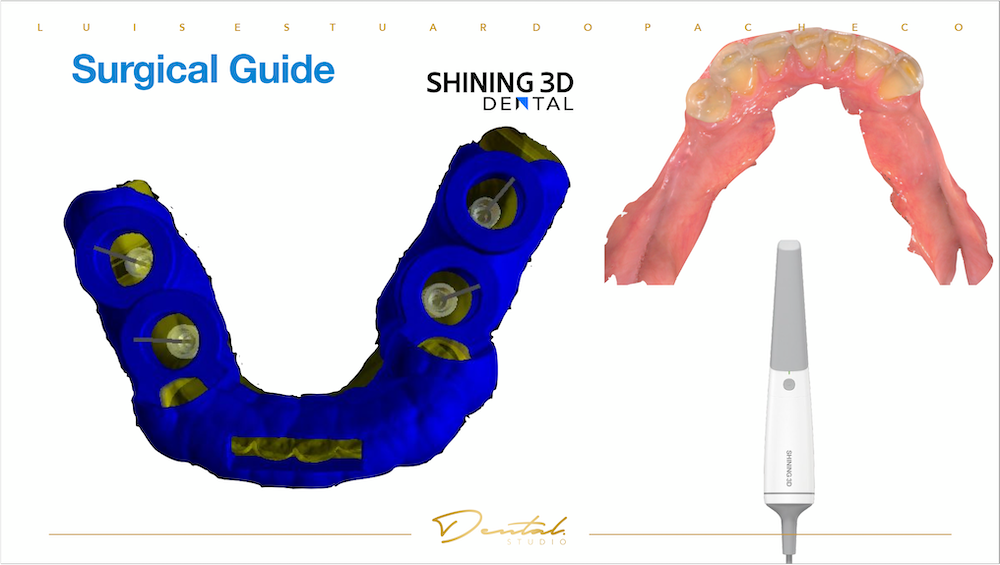
Fig 11: The surgical guide was printed by a printer.
Treatment Process:Intraoral Scan Before Final Restoration
After the surgical wound was healed from implant treatment and the osseointegration was stable, the Aoralscan 3 from SHINING 3D is used for the acquisition of information from already integrated implants. We can now see the increased vertical dimension during the bite registration scan.

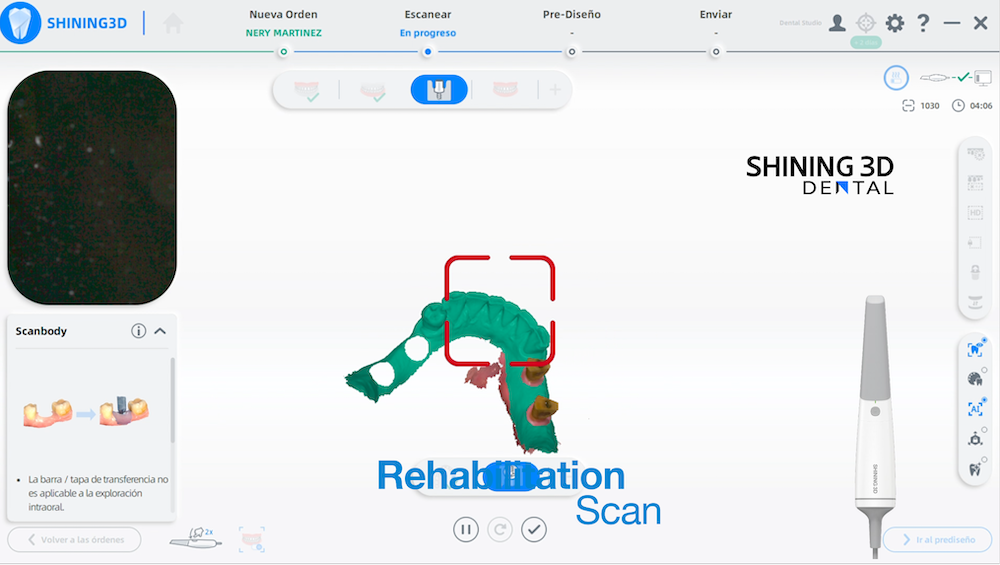
Fig 12,13: After implantation, recapture the intraoral data using Aoralscan 3.
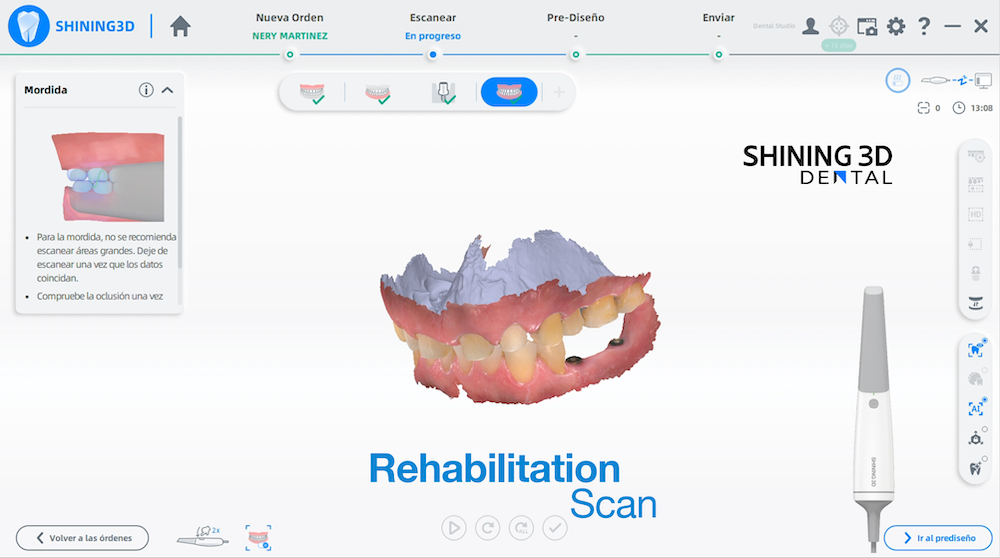

Fig 14,15: The occlusion situation showed in the scanned data, it can be show that the vertical dimension has been increased.
Treatment Process:Digital Smile Design
After obtaining the intraoral scan data, the dentist entered the final design phase using exocad CAD software to design the restorations.
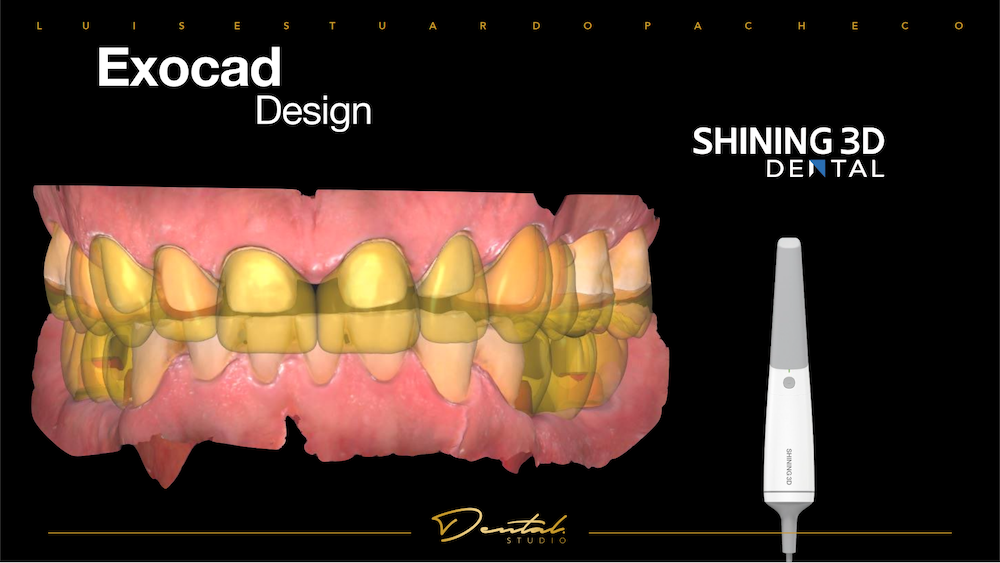
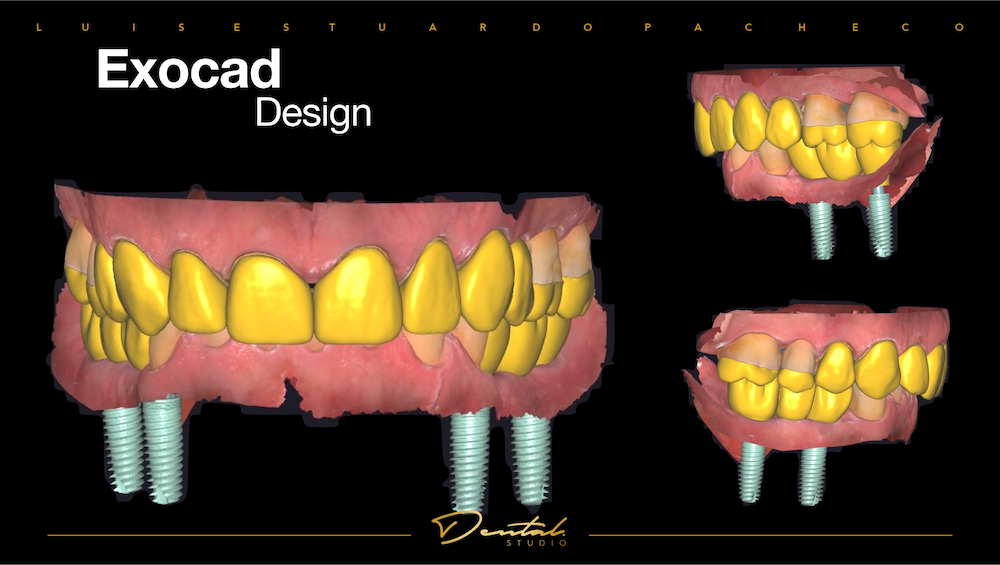
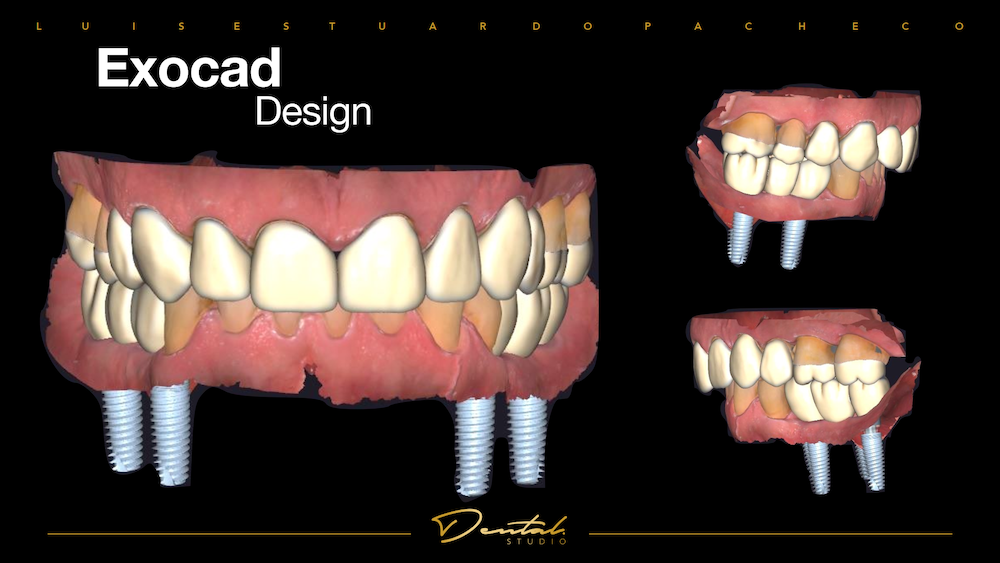
Fig16, 17, 18:The design process of the restorations in exocad. There are 12 teeth in the upper jaw, and 6 teeth in the lower jaw.
Treatment Process: Design and Deliver the Final Restorations
Final models were printed in AccuFab-L4K with zirconia restorations done by a milling machine. The laminate veneers in the anterior are stable and slightly brighter than the patient’s natural tooth shade.
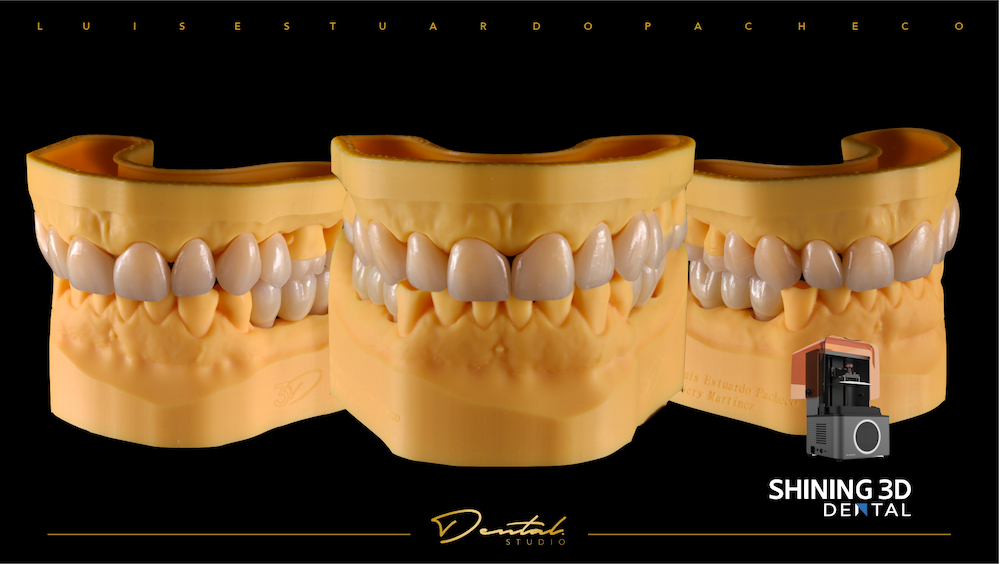
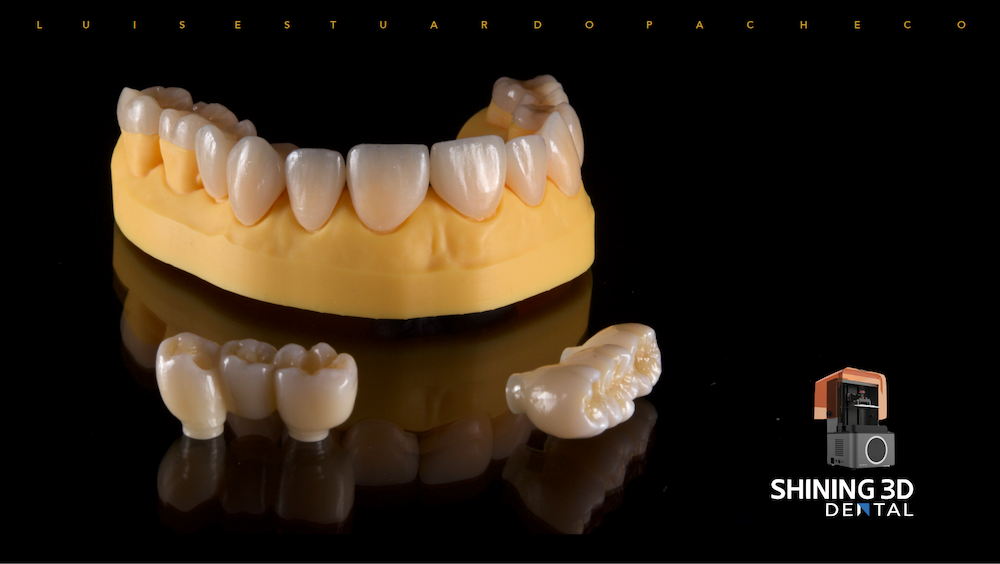
Fig 19,20: The model was printed by AccuFab-L4K, they are very accurate and can be used for extraoral detection of the restoration’s quality.
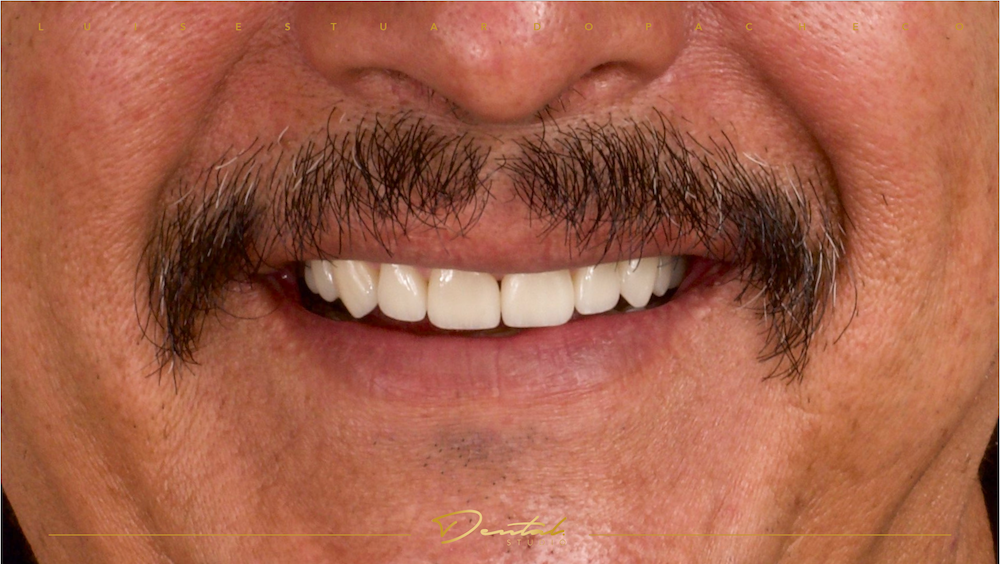
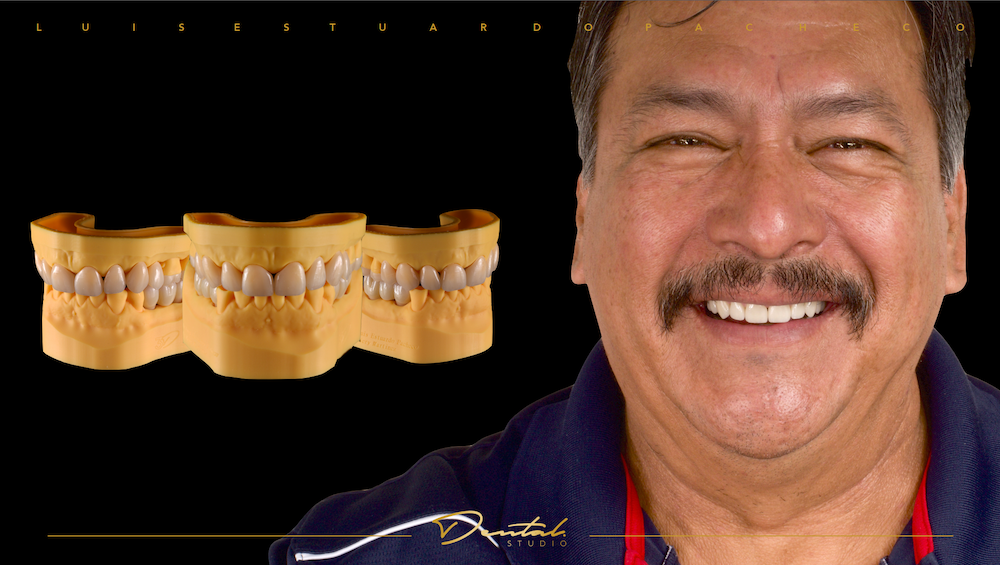
Fig 21,22: The extraoral photo after treatment.
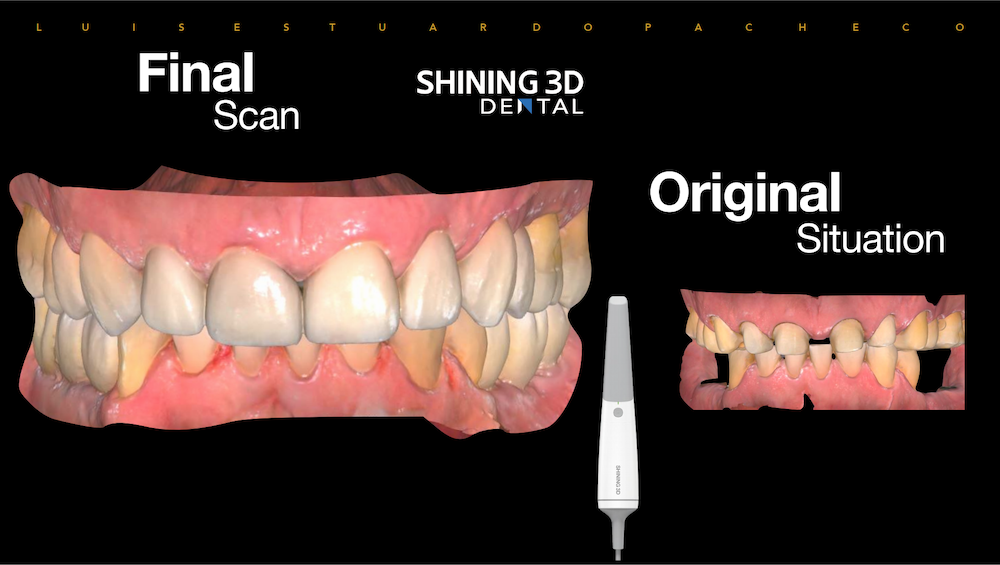
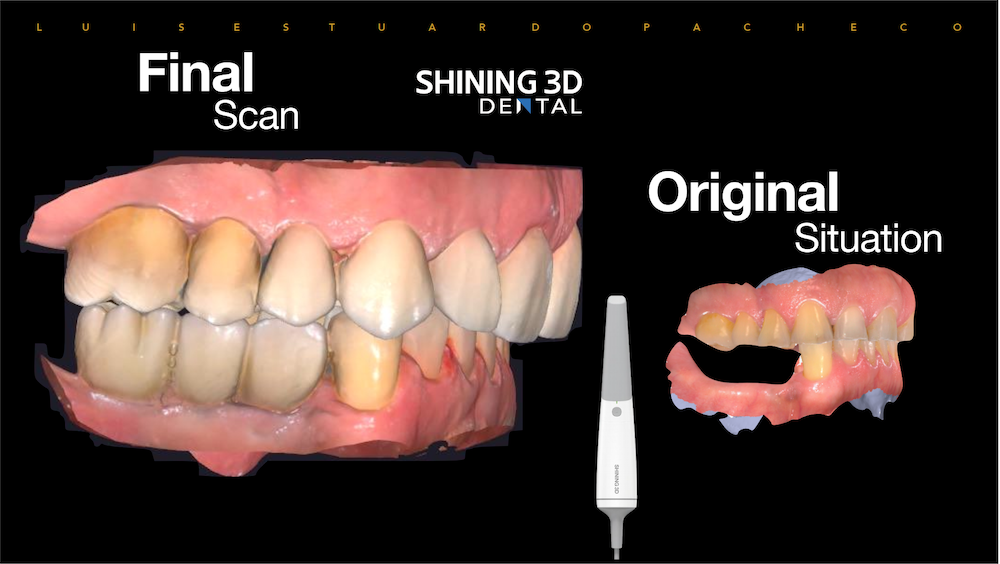
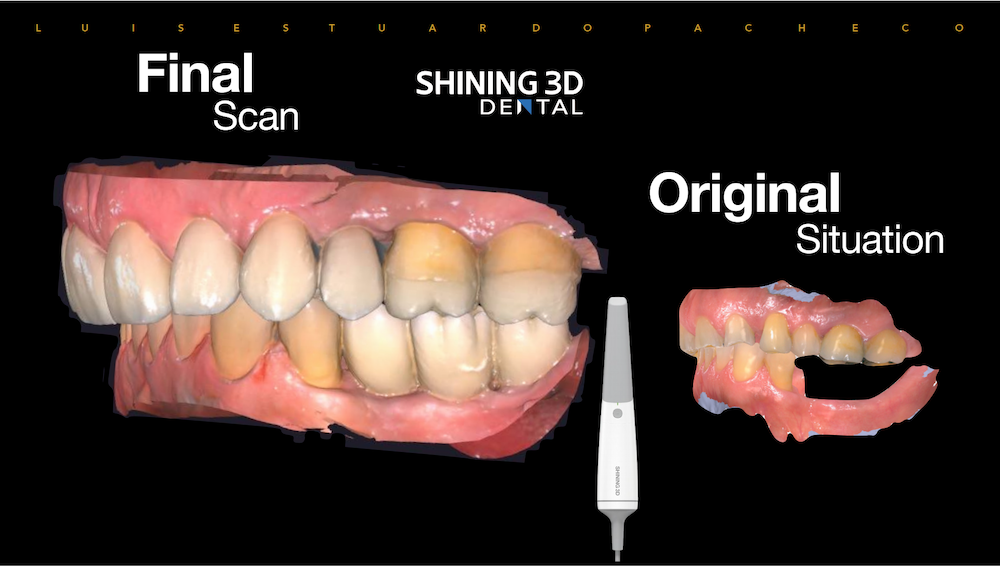
Fig 23,24,25: The dentist took a final intraoral scan. The photos above showed the comparison between the “final scan” and the “original situation”.
Treatment Process: Occlusal Guard for Protecting
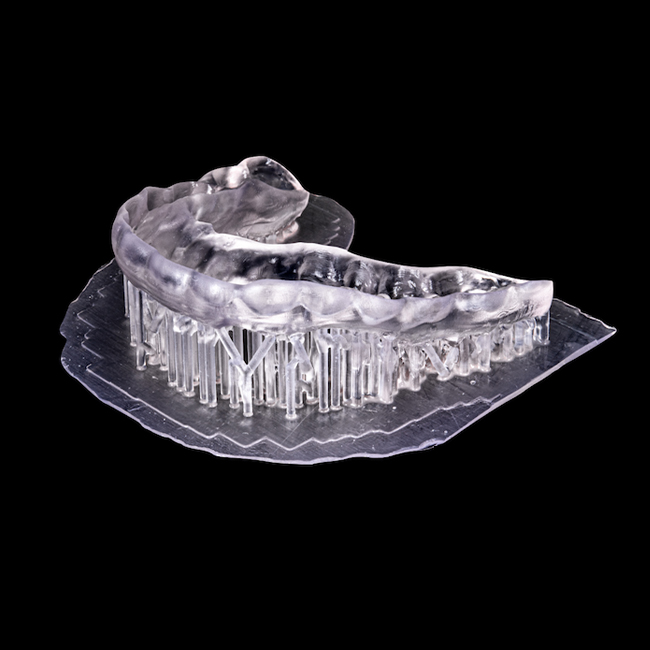
Finally, to protect the teeth, the dentist made an occlusal guard for the patient. The final design of the occlusal guard was carried out in exocad, and was printed using an AccuFab-L4K 3D printer.
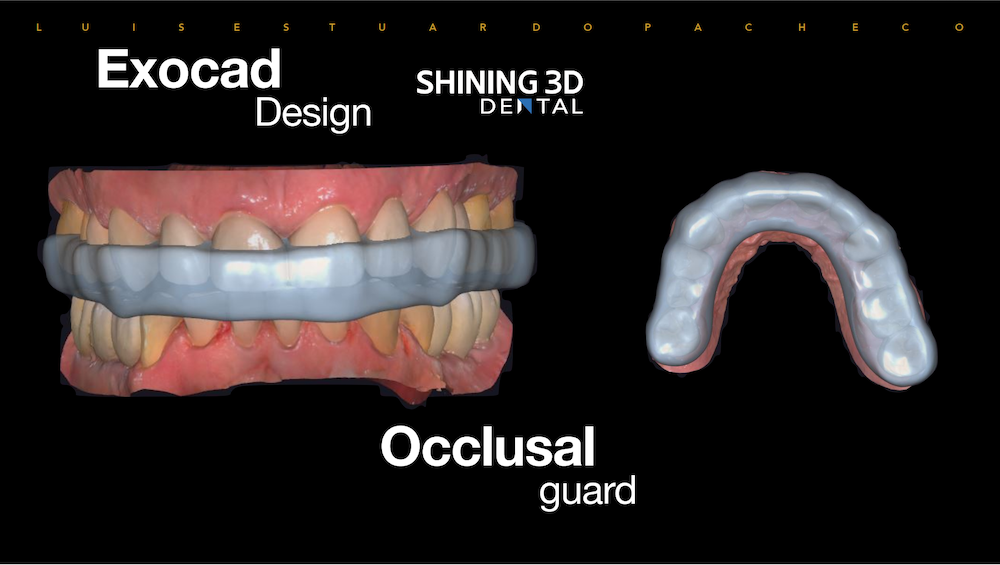
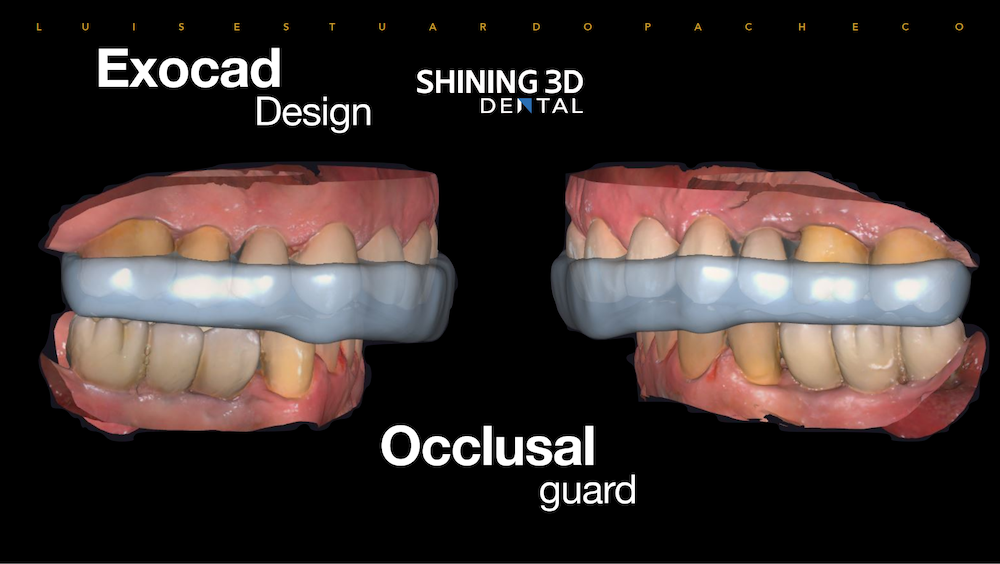
Fig 26,27: The design process of occlusal guard in exocad.
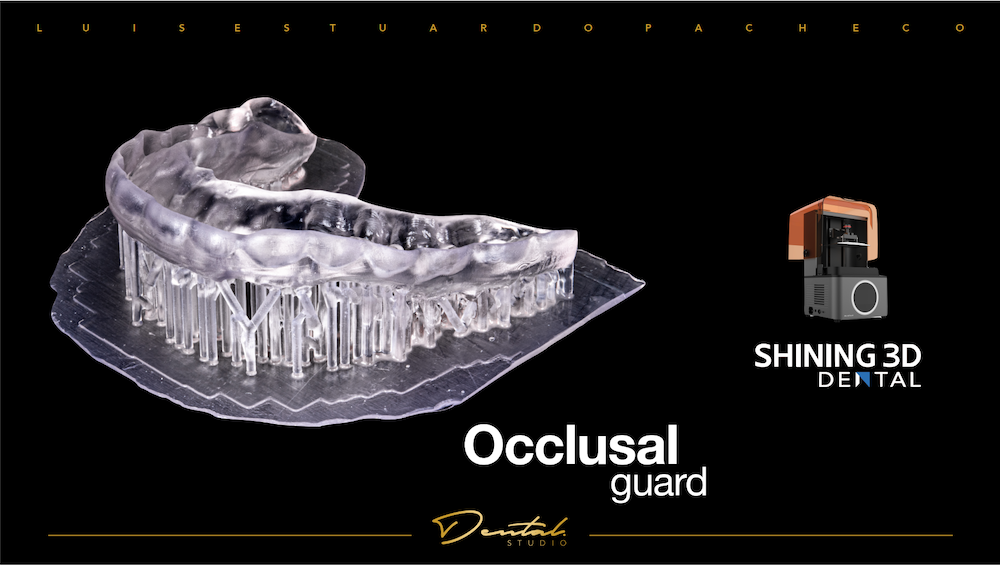
Fig 28: The occlusal guard was printed by AccuFab-L4K.
Case Summary
The loss of molars generates dental wear and fractures, accelerating the loss of vertical dimension. The use of dental implants and adhesive restorations helps us restore function and aesthetics in these patients.
Getting an accurate diagnosis and analysis of occlusion, overall facial, and dental structure can be easy and precise, based on the data collected by digital intraoral scanning.
Thanks to Aoralscan 3, the entire process is done in a fraction of the time, increasing the accuracy of the implant treatment and the final restorations, and reduces manual errors. Especially in challenging cases, cutting costs by saving impression materials and shipping cost. The end result is an extremely satisfied patient with a healthy oral environment and a new found self-confidence in his aesthetic appeal.
About Author
- Dr. Luis Estuardo Pacheco
- DDS., MSc.
- CEO at Dental Studio, Guatemala.
- Senior CAD/CAM consultant, Scientific Team Lab(STL), 3D Labs CAD/CAM Laboratories, Guatemala.
- Senior consultant in oral and maxillofacial radiology at 3D Xray, Guatemala.
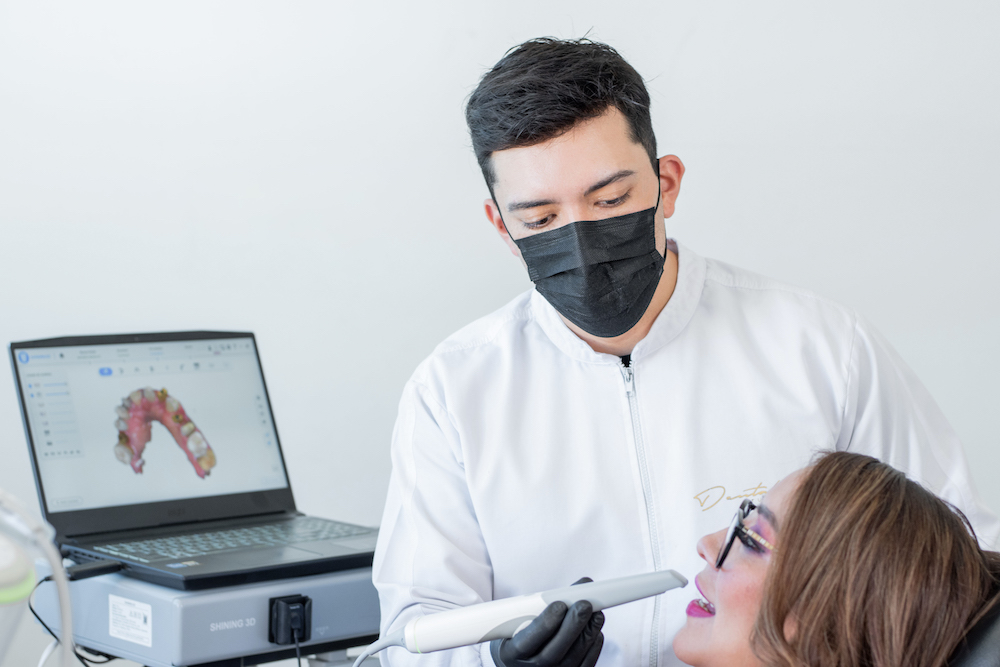
Fig 29: Dr. Luis Estuardo Pacheco